
Pixie CRM guided video tutorial
Enter and verify a customer custom field value
Recorded live · 1:49 · English captions
Enter and verify a customer custom field value: live walkthrough
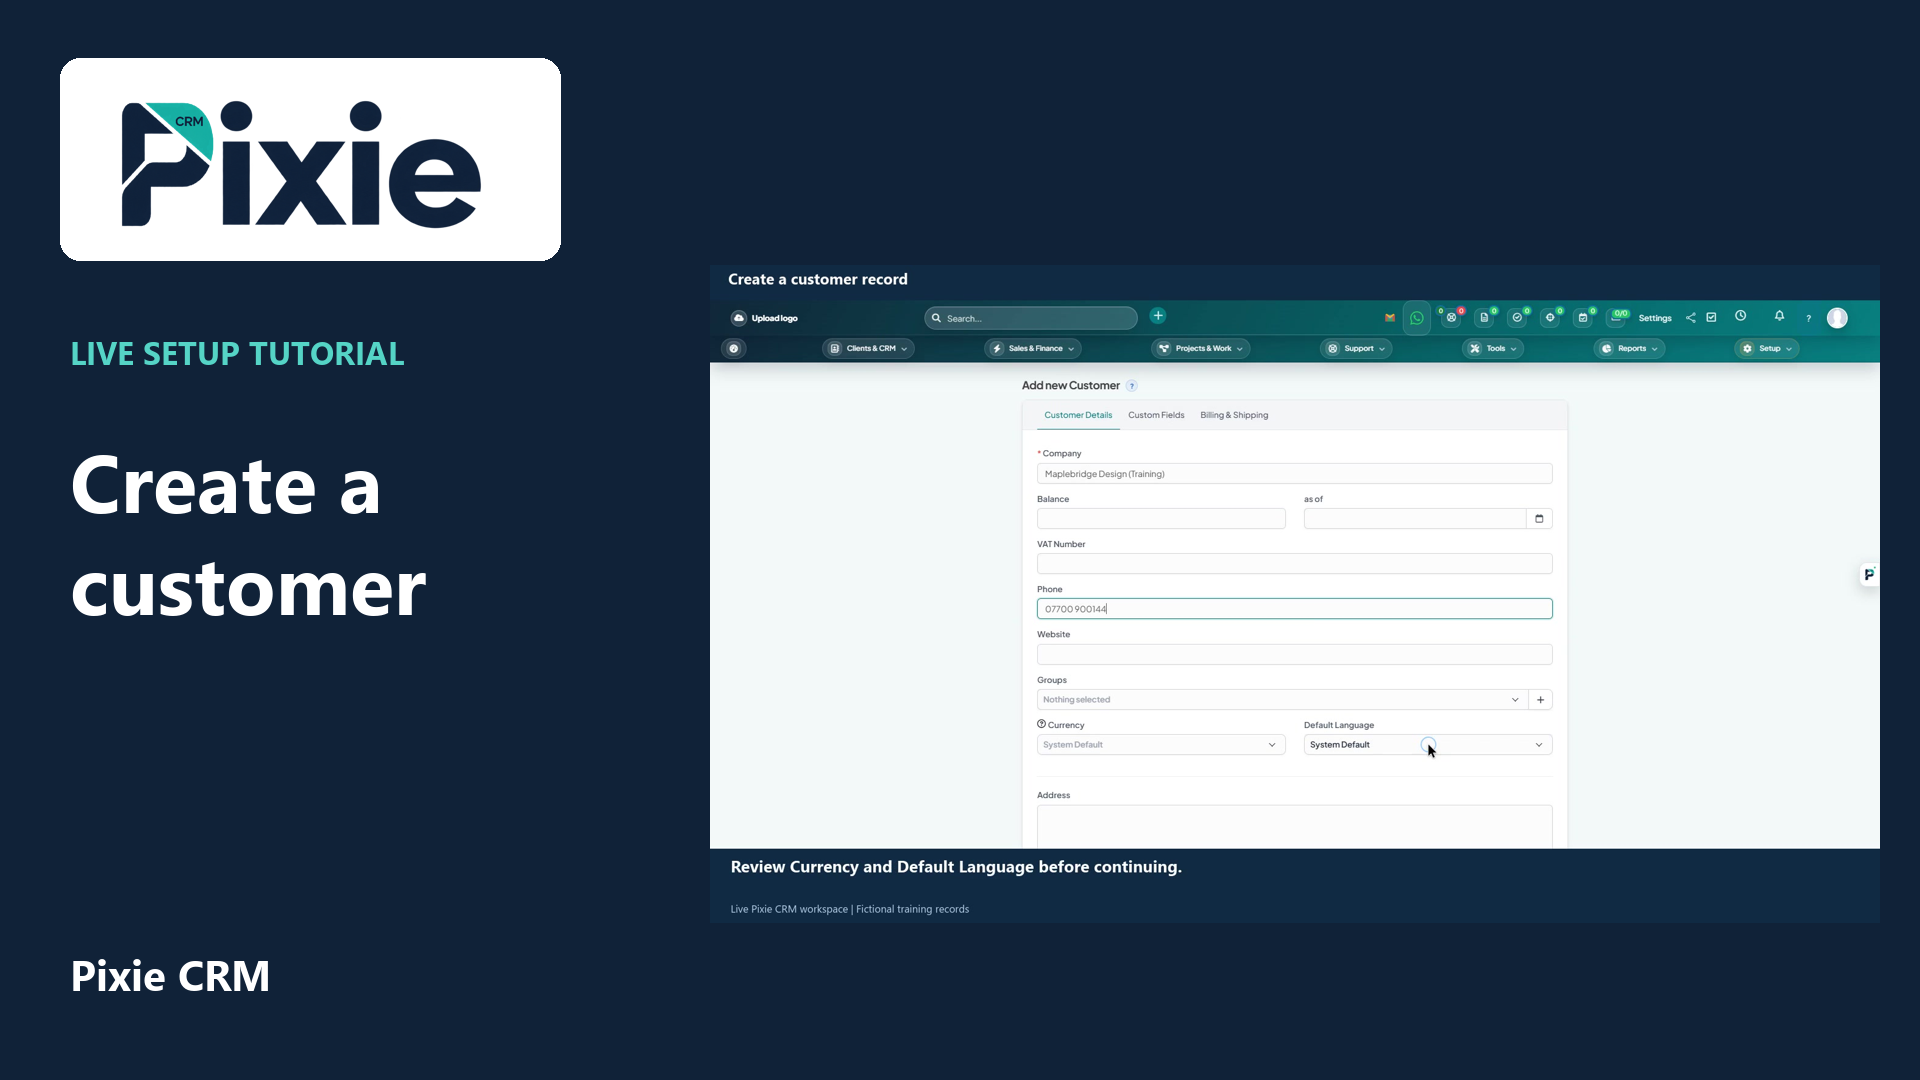 Create a customer record in Pixie CRM
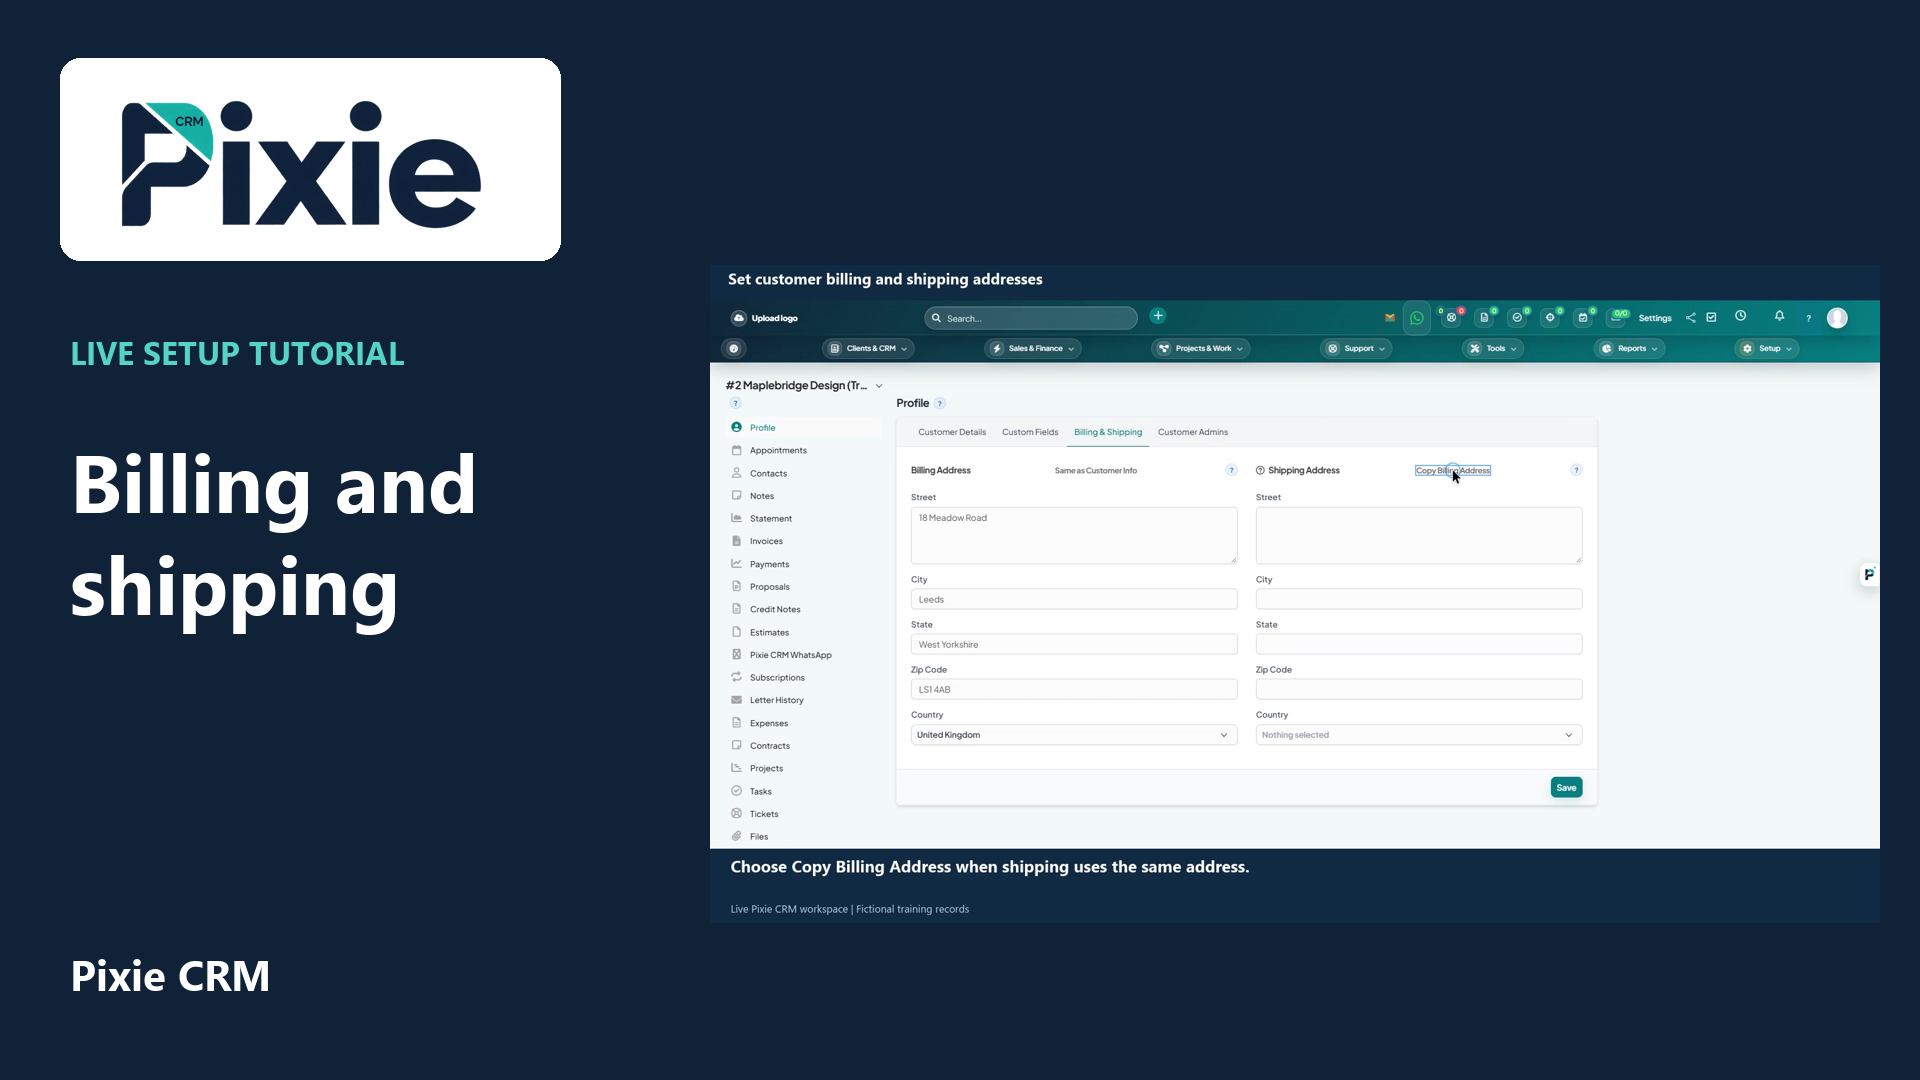 Set customer billing and shipping addresses
More videos in this category · Read the matching instructions
Enter a Pixie CRM customer custom field value with live clicks. Open the customer Custom Fields tab, enter the planning reference, save and reopen the record to verify that the value is retained.
Matching written guide · Download MP4 · English captions
The customer and planning reference are fictional training data. The optional field is restricted to administrators and hidden from the client portal. The separate Verified WhatsApp Numbers field is unchanged. No phone verification, message, invoice or account-access change is performed.
Watch this tutorial on YouTube ↗ · Related Pixie CRM tutorials ↗
Video chapters
- 0:00 — Open the customer record
- 0:16 — Open the Custom Fields tab
- 0:34 — Enter the planning reference
- 0:51 — Save and verify the retained value
- 1:11 — Reopen the customer and confirm persistence
- 1:28 — Continue with related Pixie CRM tutorials
Read the video transcript
Enter a customer custom field value in Pixie CRM. Open Customers and choose Maplebridge Design, the fictional training customer. This tutorial uses the Planning reference field created in the related setup guide.
Choose the Custom Fields tab and locate Planning reference. The field is an optional text input, with visibility restricted to administrators in this example. Available fields depend on the record type and the visibility settings saved during field setup.
Enter the planning reference shown on screen. Use a consistent format that your team understands and check the value against the customer record. Leave the separate Verified WhatsApp Numbers field unchanged; this example does not register or verify a phone number.
Choose Save. After the customer page reloads, return to Custom Fields and verify that the planning reference is retained. Saving this value updates the customer record only. It does not send a message, create an invoice or change client portal visibility.
Return to Customers and reopen the same customer. Confirm that the company identity and planning reference are retained. Use the custom-field setup guide to review the field definition separately from the values entered on individual customer records.
Follow the written instructions
Open the matching written guide ↗ · Browse all Pixie CRM video guides