
Pixie CRM guided video tutorial
Set customer billing and shipping addresses
Recorded live · 1:43 · English captions
Set customer billing and shipping addresses: live walkthrough
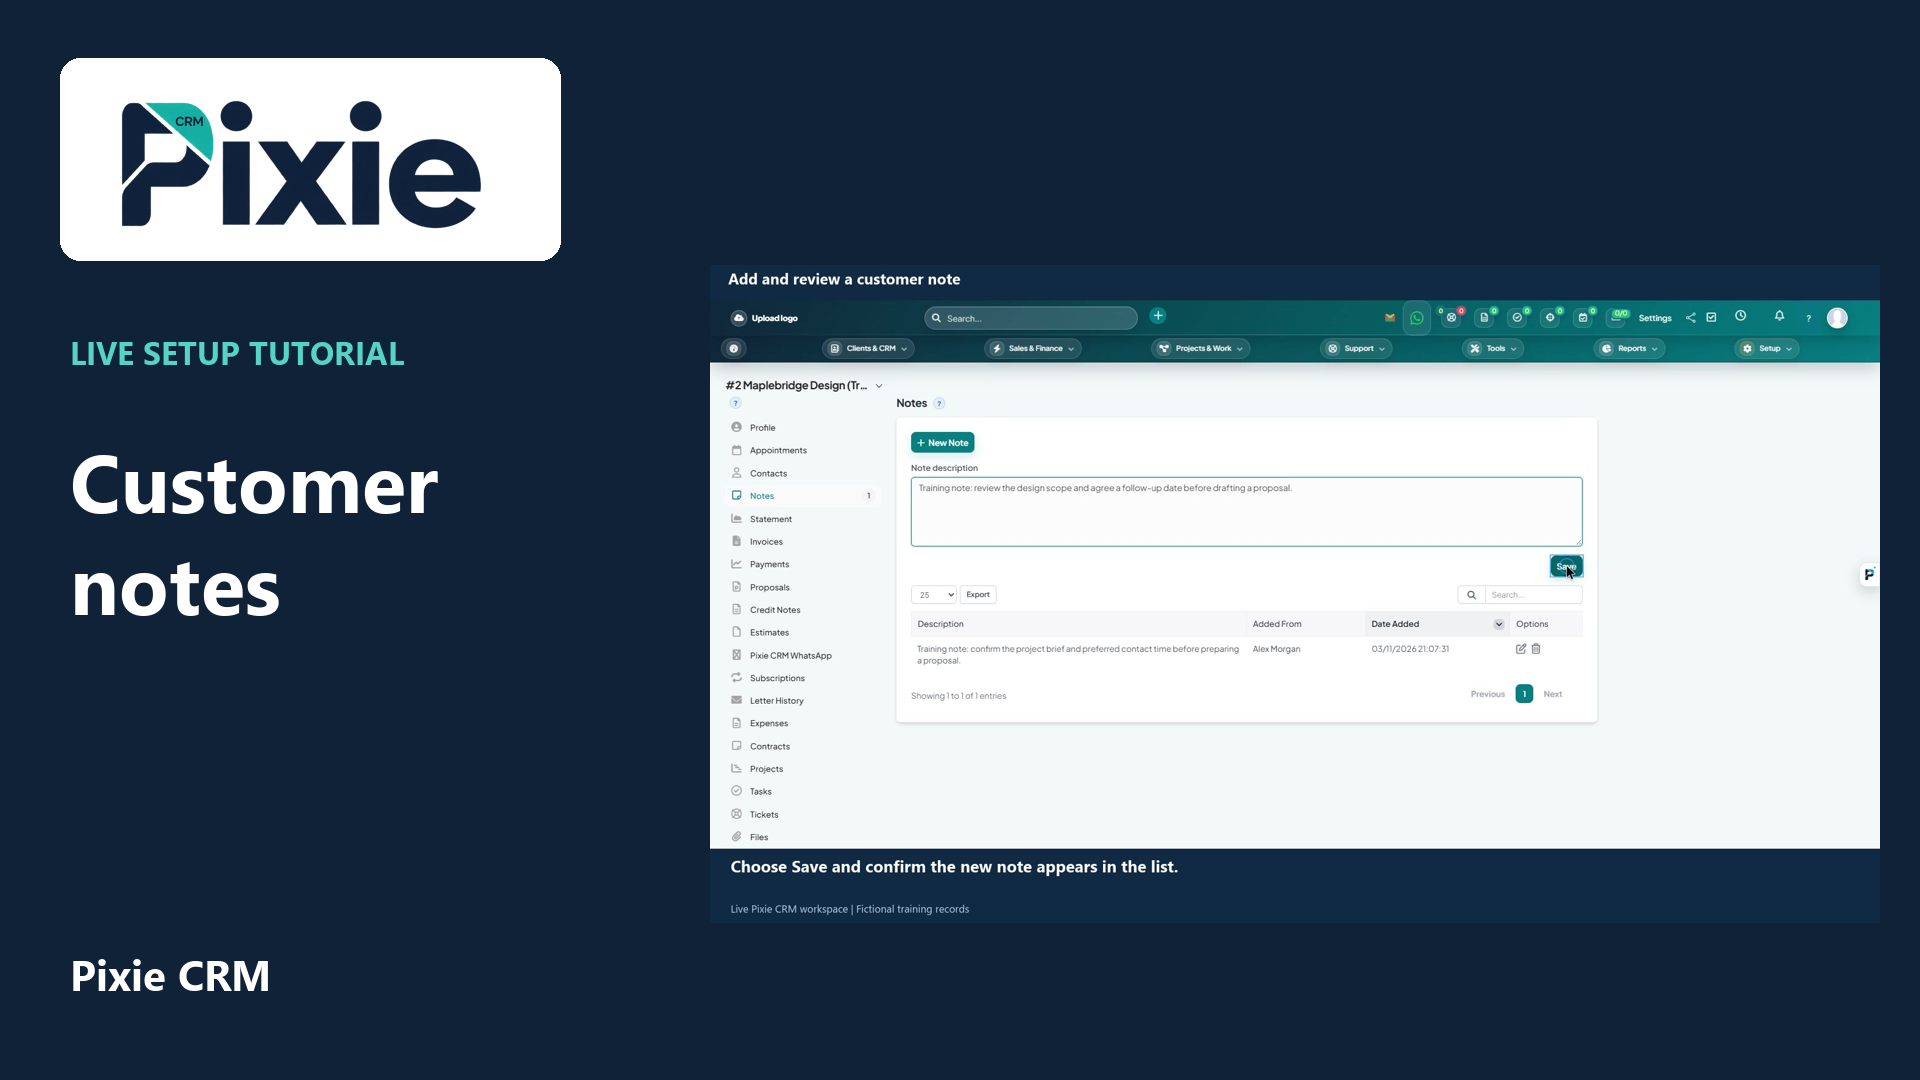 Add and review customer notes
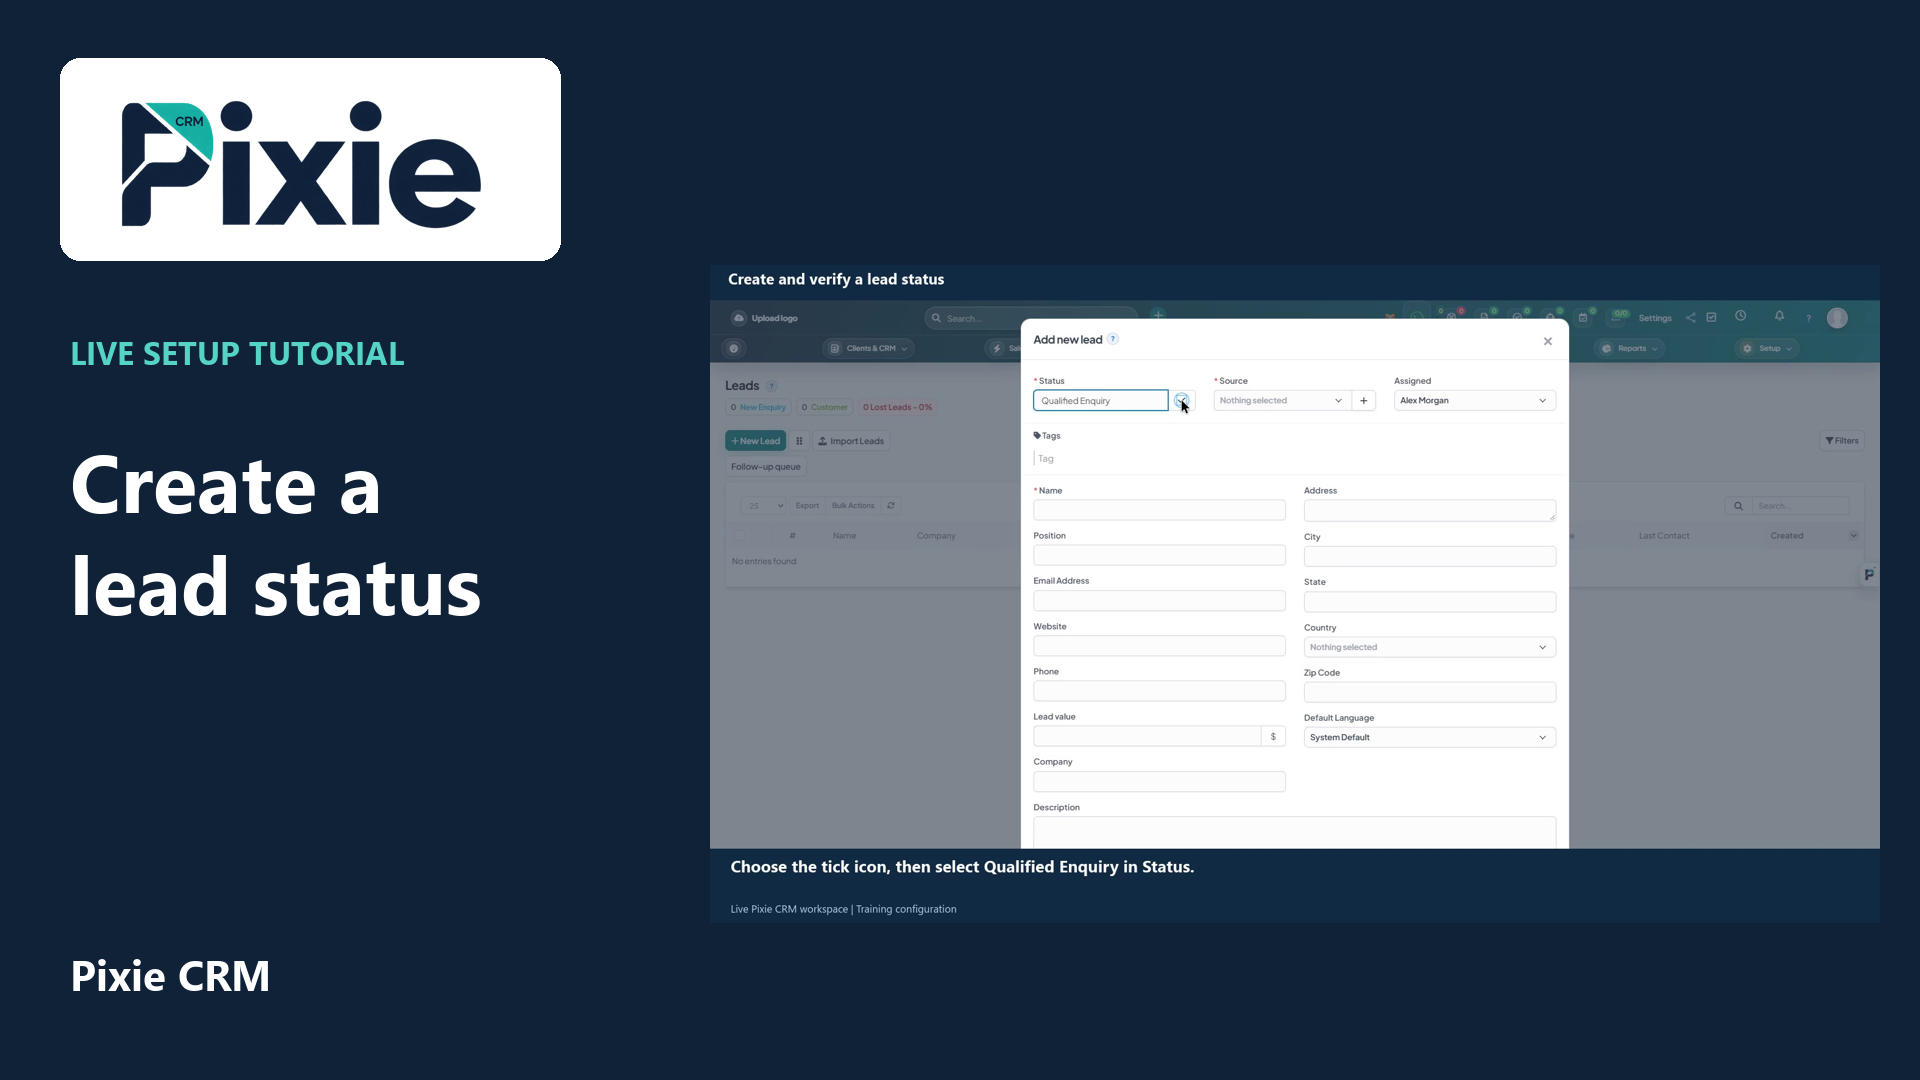 Create and verify a lead status
More videos in this category · Read the matching instructions
Set separate customer billing and shipping addresses in Pixie CRM. Follow live clicks to copy the customer address, copy billing to shipping, save and verify both sets of fields.
Matching written guide · Download MP4 · English captions
Fictional training customer and address details are used. No invoice or delivery is sent. Enter different billing and shipping details whenever your customer's requirements differ. Available actions depend on your permissions.
Watch this tutorial on YouTube ↗ · Related Pixie CRM tutorials ↗
Video chapters
- 0:00 — Open Billing & Shipping
- 0:17 — Copy the customer address to billing
- 0:33 — Complete the shipping address
- 0:49 — Save and confirm both addresses
- 1:05 — Continue managing the customer record
- 1:22 — Continue with related Pixie CRM tutorials
Read the video transcript
Open the customer's record in Pixie CRM, then choose Billing and Shipping. These fields are separate from the main customer address. Our example continues with Maplebridge Design, the fictional training customer created in the related tutorial.
Choose Same as Customer Info to copy the customer's main address into Billing Address. Check the street, city, state or county, postal code and country. Edit any field that needs a different billing address before saving.
Choose Copy Billing Address when the shipping address should match. If delivery goes to a different location, enter that address instead. Check both sets of details carefully rather than assuming that billing and shipping always match.
Choose Save, then reopen Billing and Shipping after the page reloads. Check that both sets of address fields were retained. The customer record now holds the separate billing and shipping information for workflows that use those fields.
Use the customer record and contact tutorials for the next steps. The matching written guide is linked in this video's description. The details shown here are fictional training data, and no invoice or delivery is sent during this walkthrough.
Follow the written instructions
Open the matching written guide ↗ · Browse all Pixie CRM video guides