
Pixie CRM guided video tutorial
Create a customer record in Pixie CRM
Recorded live · 2:24 · English captions
Create a customer record in Pixie CRM: live walkthrough
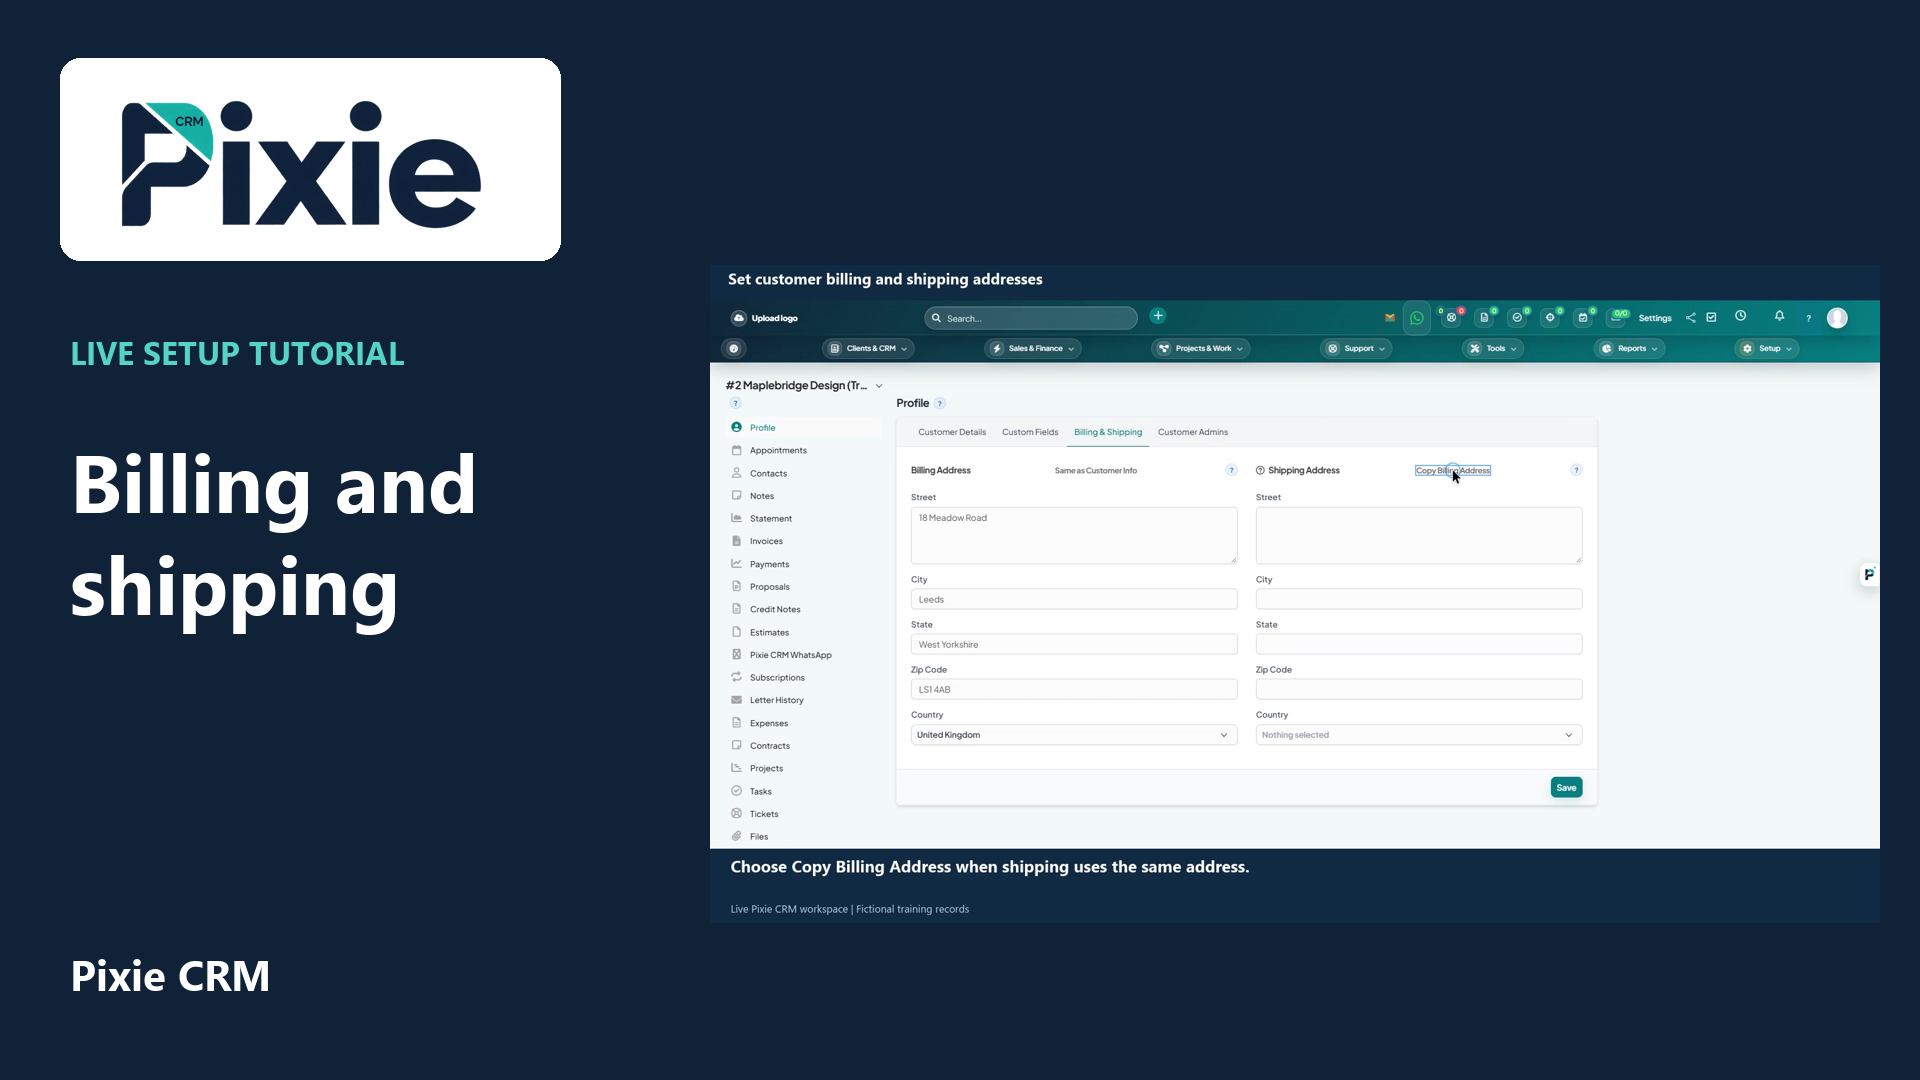 Set customer billing and shipping addresses
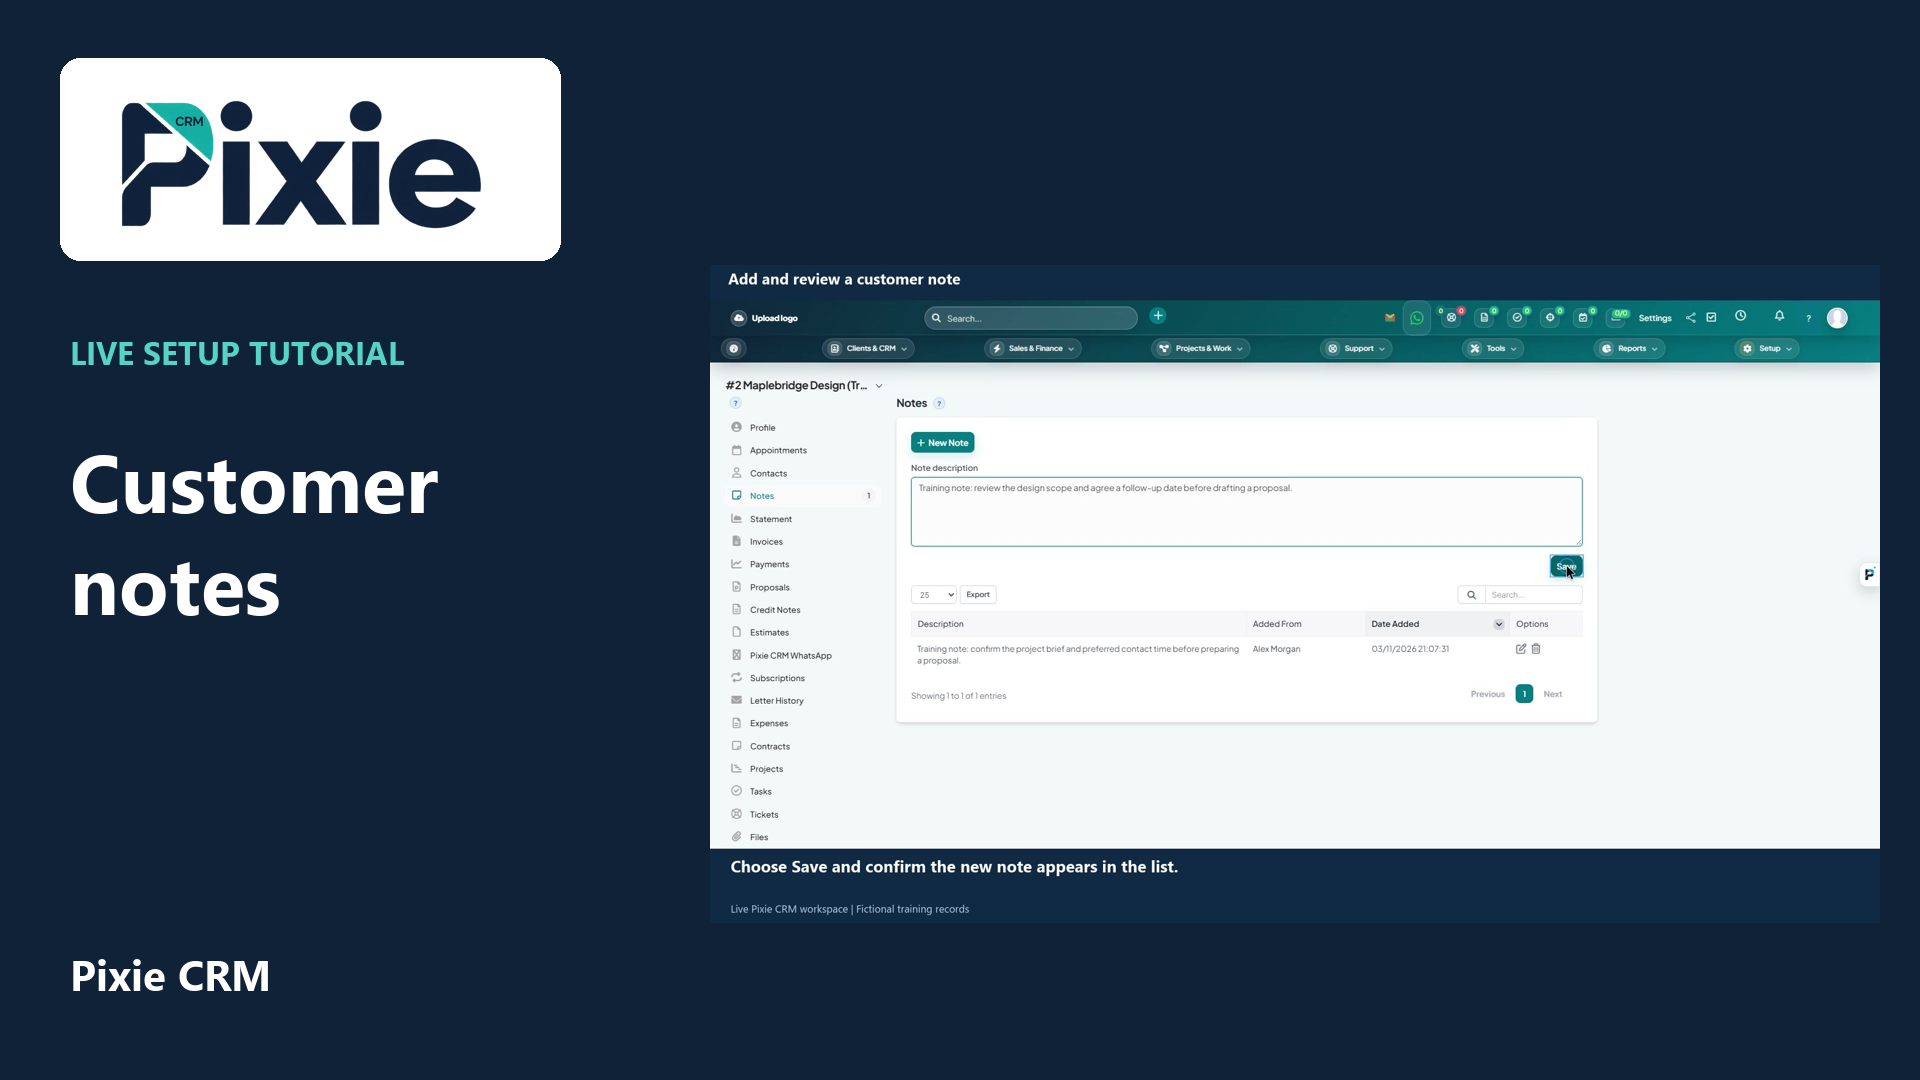 Add and review customer notes
More videos in this category · Read the matching instructions
Create a Pixie CRM customer record with live clicks. Enter the company, phone, language and address, save the record and confirm the saved customer details.
Matching written guide · Download MP4 · English captions
Actual application footage with fictional training data. Currency is left on System Default, English is selected and no balance, VAT record, contact invitation or financial document is created in this demonstration. Available fields and actions depend on your permissions.
Watch this tutorial on YouTube ↗ · Related Pixie CRM tutorials ↗
Video chapters
- 0:00 — Open a new customer record
- 0:16 — Enter the customer company and phone
- 0:36 — Review currency and language
- 0:54 — Complete the customer address
- 1:27 — Save the customer and confirm the result
- 1:45 — Continue with contacts and billing details
- 2:03 — Continue with related Pixie CRM tutorials
Read the video transcript
Open Customers in Pixie CRM, then choose New Customer. A customer record holds the organisation's details. Individual people and their access are managed as contacts, which we cover in the related contact tutorial.
Enter the customer company and phone number. Company is required on this form. Our example is Maplebridge Design, a fictional training organisation, with a reserved example phone number. Leave opening balances and VAT blank when they do not apply to your example.
Review Currency and Default Language. System Default uses the workspace defaults. We will leave the currency on System Default and choose English for this customer's language. Select the correct choices for your own customer and organisation.
Enter the customer address, city, state or county, and postal code. Then choose the country. We are using fictional training details. Billing and shipping addresses have a separate tab, so they can be completed independently when the customer needs different document or delivery addresses.
Choose Save to create the customer record without adding a contact in this step. Wait for the customer page to load, then check the saved company, phone, language and address. The customer record is now ready for contacts and your next authorised workflow.
Continue with the contact and billing address tutorials to build out the record. Creating a customer alone does not demonstrate a customer login or send a contact invitation. The matching written guide and related tutorials are linked in this video's description.
Follow the written instructions
Open the matching written guide ↗ · Browse all Pixie CRM video guides