
Pixie CRM guided video tutorial
Create and verify a lead status
Recorded live · 1:26 · English captions
Create and verify a lead status: live walkthrough
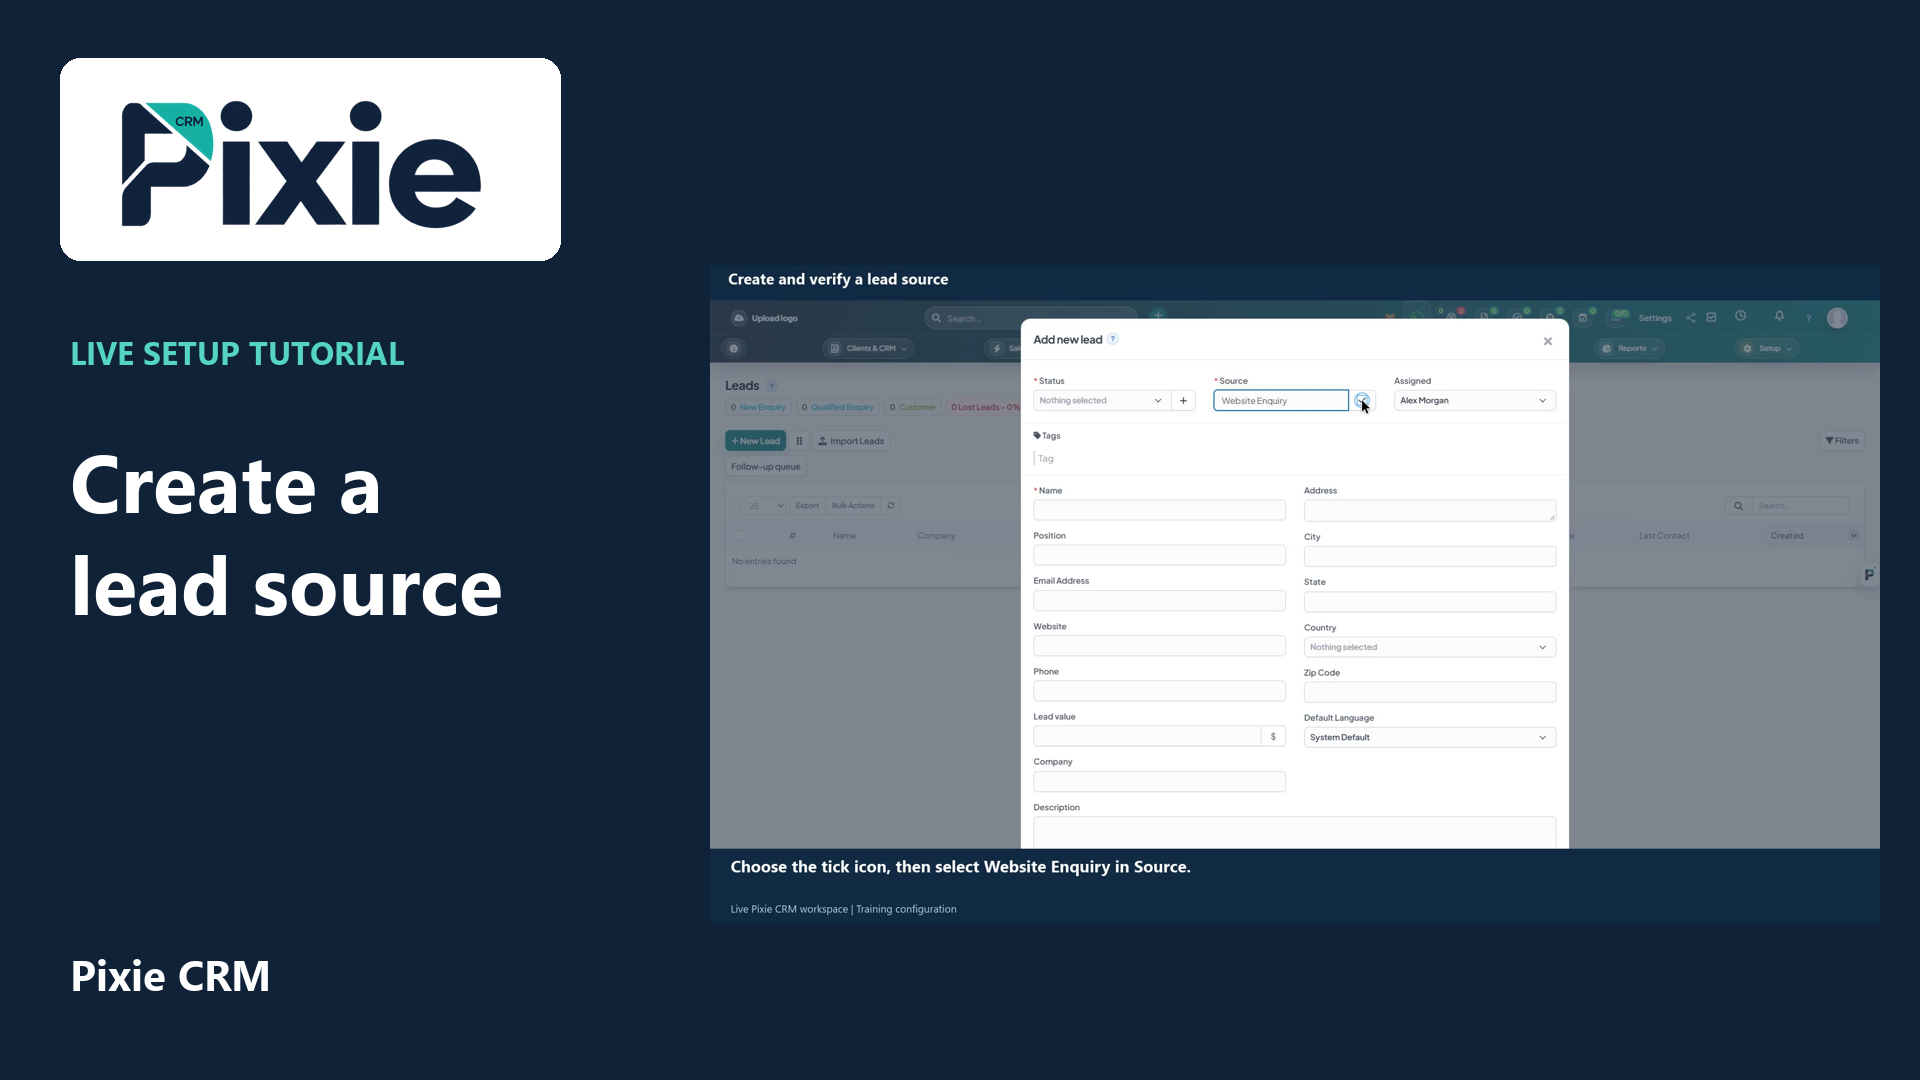 Create and verify a lead source
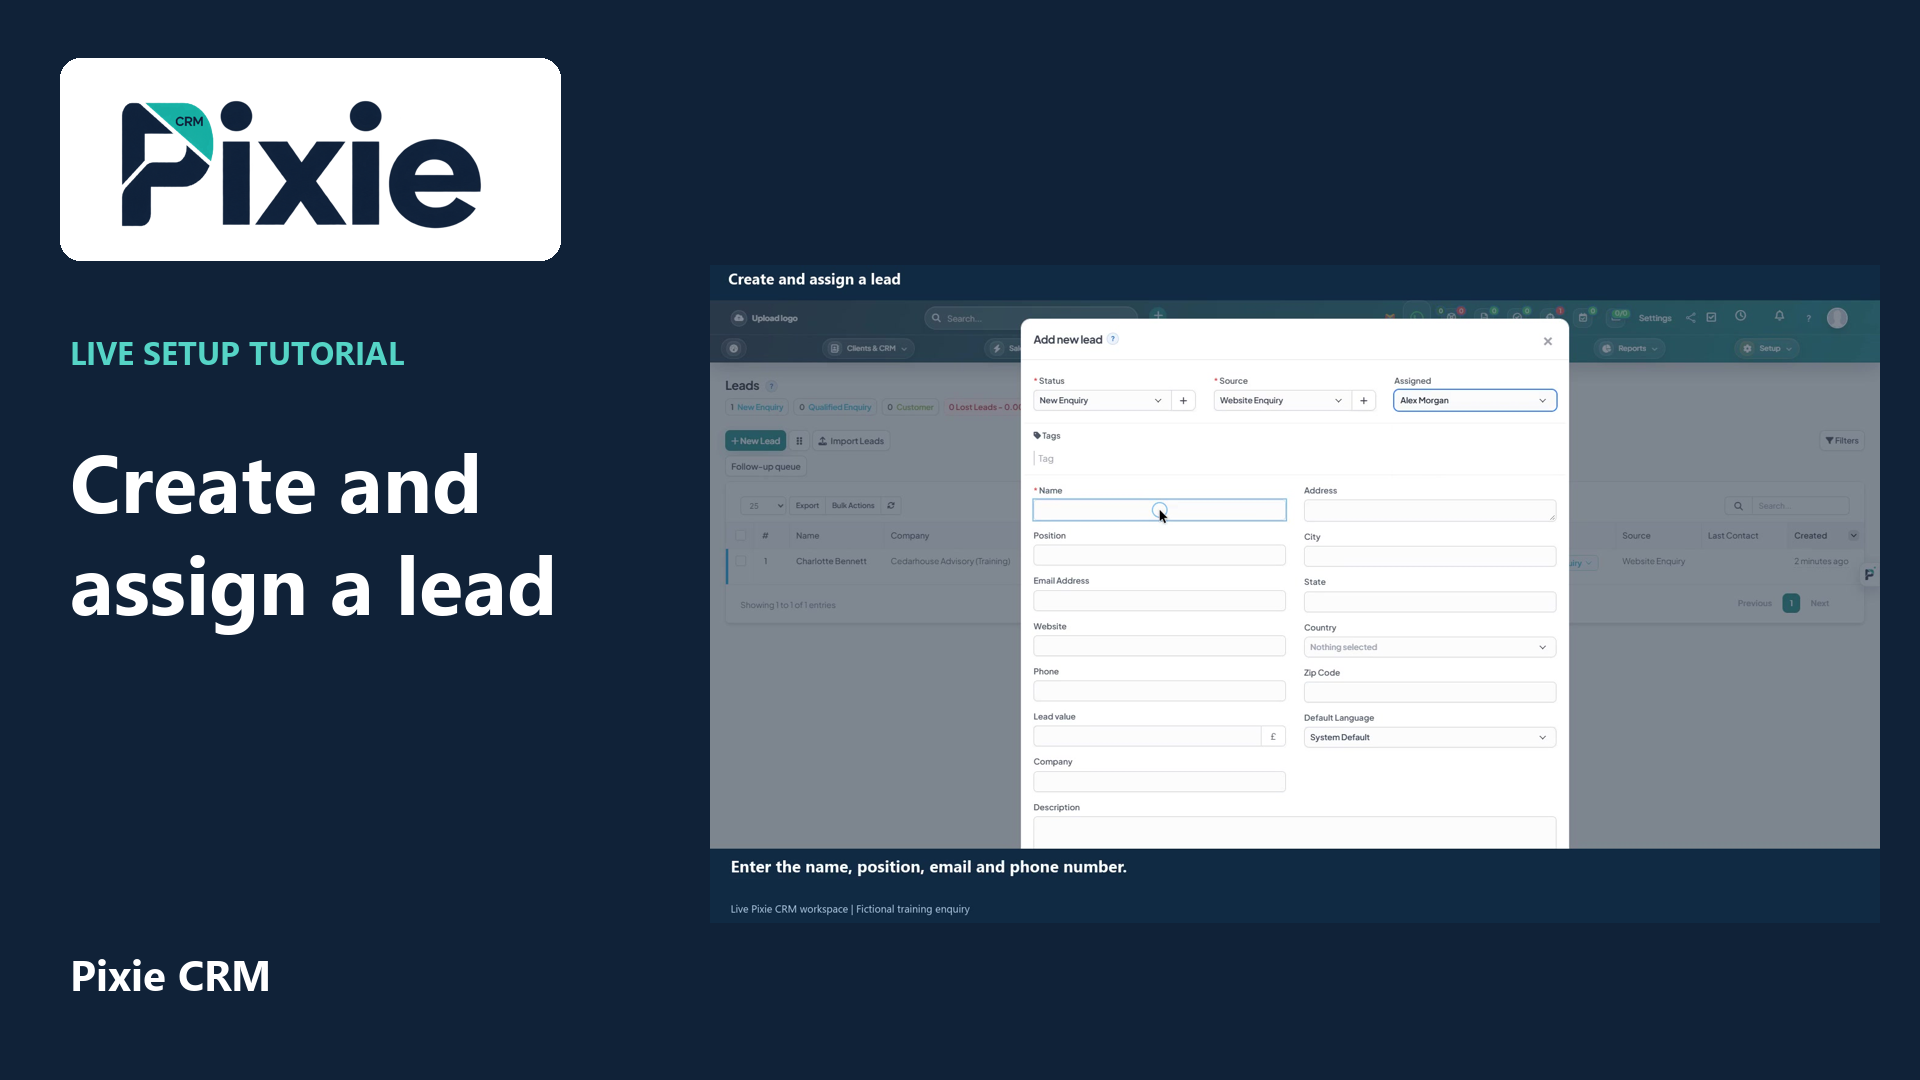 Create and assign a lead
More videos in this category · Read the matching instructions
Create a lead status from the Pixie CRM New Lead form. Add the status name, save it with the tick icon and reopen the form to confirm the saved option is available.
Matching written guide · Download MP4 · English captions
Genuine training-workspace footage. This video configures a lead status and does not create, qualify or contact a real person or company. Choose stages appropriate to your own sales process and permissions.
Watch this tutorial on YouTube ↗ · Related Pixie CRM tutorials ↗
Video chapters
- 0:00 — Open the lead form
- 0:15 — Add a lead status
- 0:32 — Save the new status
- 0:48 — Reopen and verify the saved status
- 1:05 — Continue with related Pixie CRM tutorials
Read the video transcript
Open Leads in Pixie CRM, then choose New Lead. The Status field identifies the lead's stage in your process. This example demonstrates adding a status without creating or contacting a lead.
Choose the plus sign beside Status. Enter a clear name that your team understands. We will use Qualified Enquiry for this training workspace. Avoid creating duplicate statuses with slightly different names.
Choose the tick icon beside the new status name to save it. Open the Status list and select Qualified Enquiry. The new option is now available in the lead form; the rest of the lead remains unsaved in this demonstration.
Close the empty lead form, reopen New Lead and select the saved status again. This confirms that Qualified Enquiry remains available for future leads. Continue with lead sources and the dedicated create a lead tutorial for the next steps.
Follow the written instructions
Open the matching written guide ↗ · Browse all Pixie CRM video guides