
Pixie CRM guided video tutorial
Create and verify a ticket priority
Recorded live · 1:22 · English captions
Create and verify a ticket priority: live walkthrough
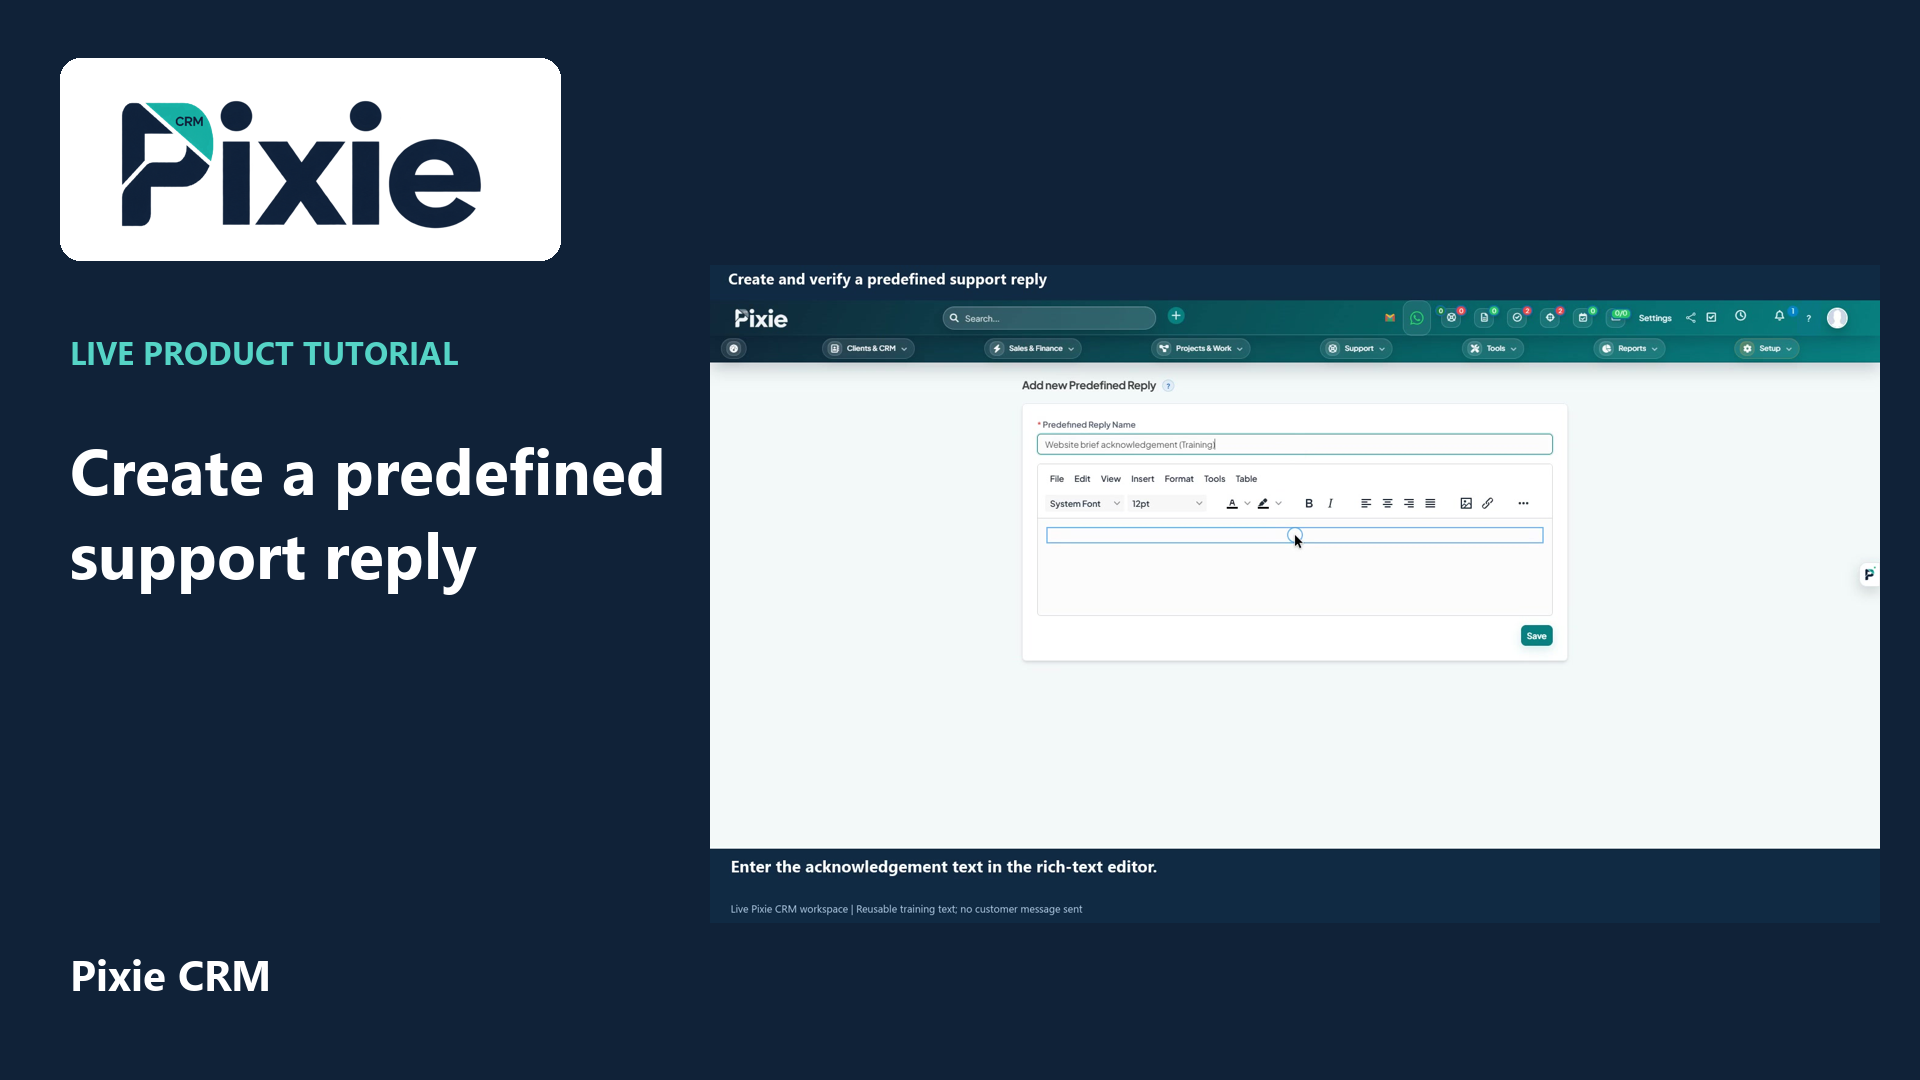 Create and verify a predefined support reply
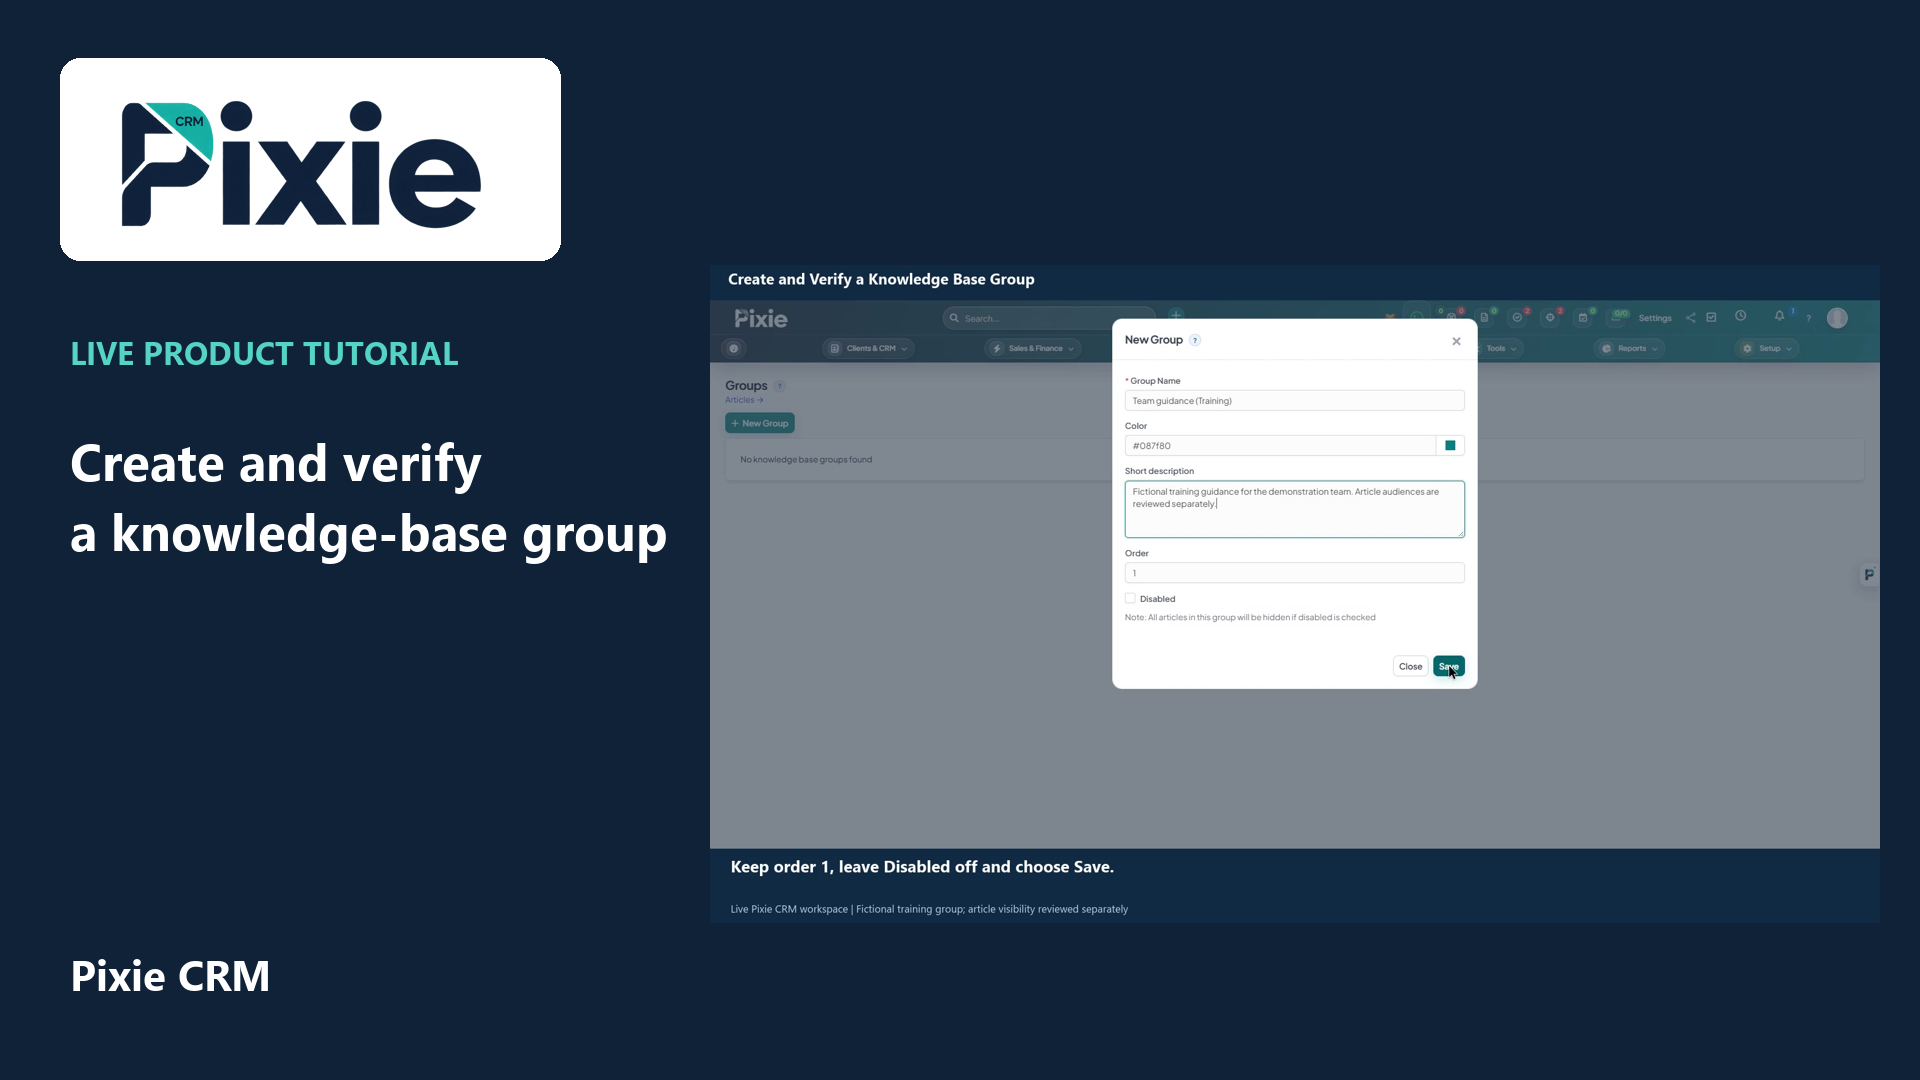 Create and verify a knowledge base group
More videos in this category · Read the matching instructions
Create a Pixie CRM ticket priority with live clicks. Enter its label, save the new option and reopen the Edit form to verify that the name is retained.
Matching written guide · Download MP4 · English captions
The priority label is a fictional training example in the disposable workspace. No ticket is created or changed, no customer message is sent and no billing or response-time commitment is created.
Watch this tutorial on YouTube ↗ · Related Pixie CRM tutorials ↗
Video chapters
- 0:00 — Open a new ticket priority
- 0:15 — Enter a clear priority label
- 0:30 — Save and review the new option
- 0:47 — Reopen and verify the retained label
- 1:01 — Continue with related Pixie CRM tutorials
Read the video transcript
Create a ticket priority in Pixie CRM. Open Ticket Priority from Setup and Support, then choose New Priority. Priorities give your team a consistent label for the urgency of a support request.
Enter Urgent review, marked as Training. Use an extra priority only when it has a distinct meaning in your support process. The existing Low, Medium and High options are preserved in this example.
Choose Save, then confirm Urgent review in the priority list alongside the existing options. This adds a selectable priority label. It does not reprioritise an existing ticket or create an automatic response-time commitment.
Use the saved priority name to reopen its Edit form. The training label is retained. Agree the meaning of your priorities with the support team before applying them consistently to real tickets.
Follow the written instructions
Open the matching written guide ↗ · Browse all Pixie CRM video guides