
Pixie CRM guided video tutorial
Create and verify a support department
Recorded live · 1:25 · English captions
Create and verify a support department: live walkthrough
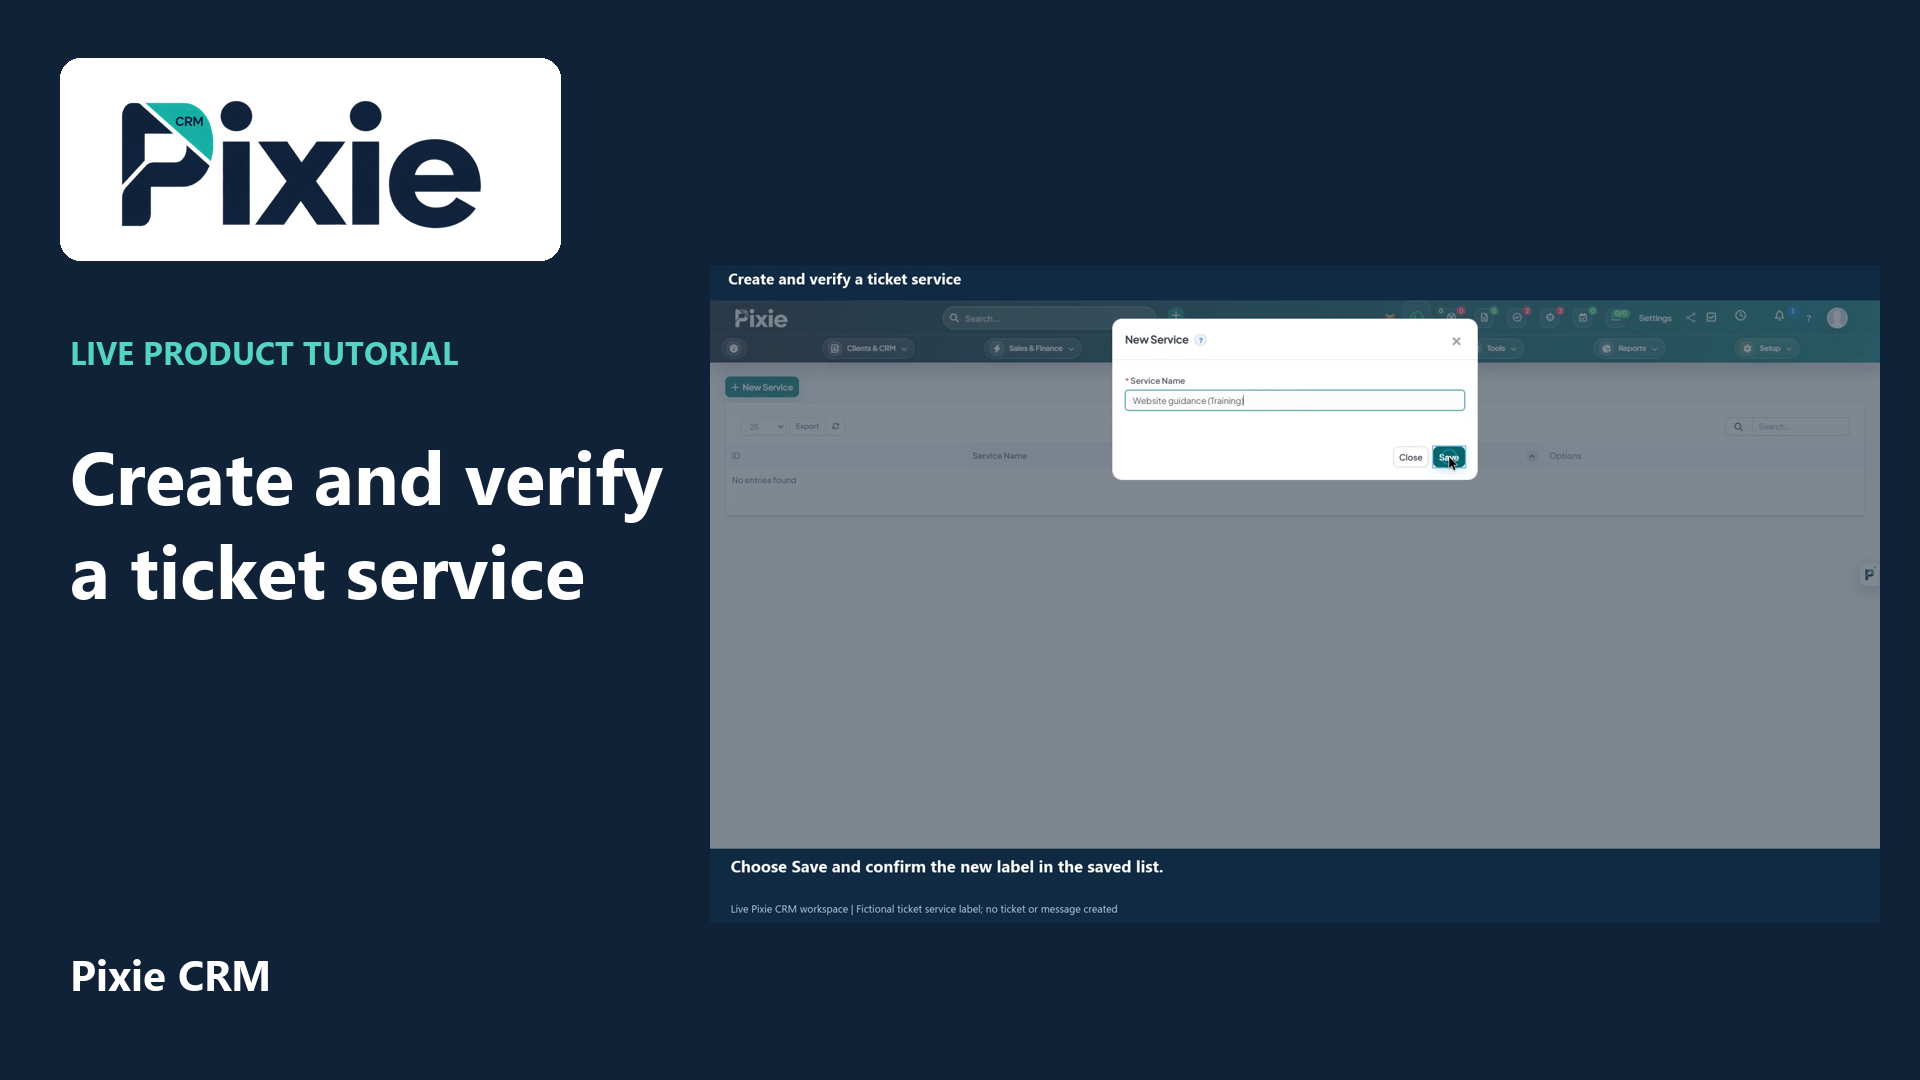 Create and verify a ticket service
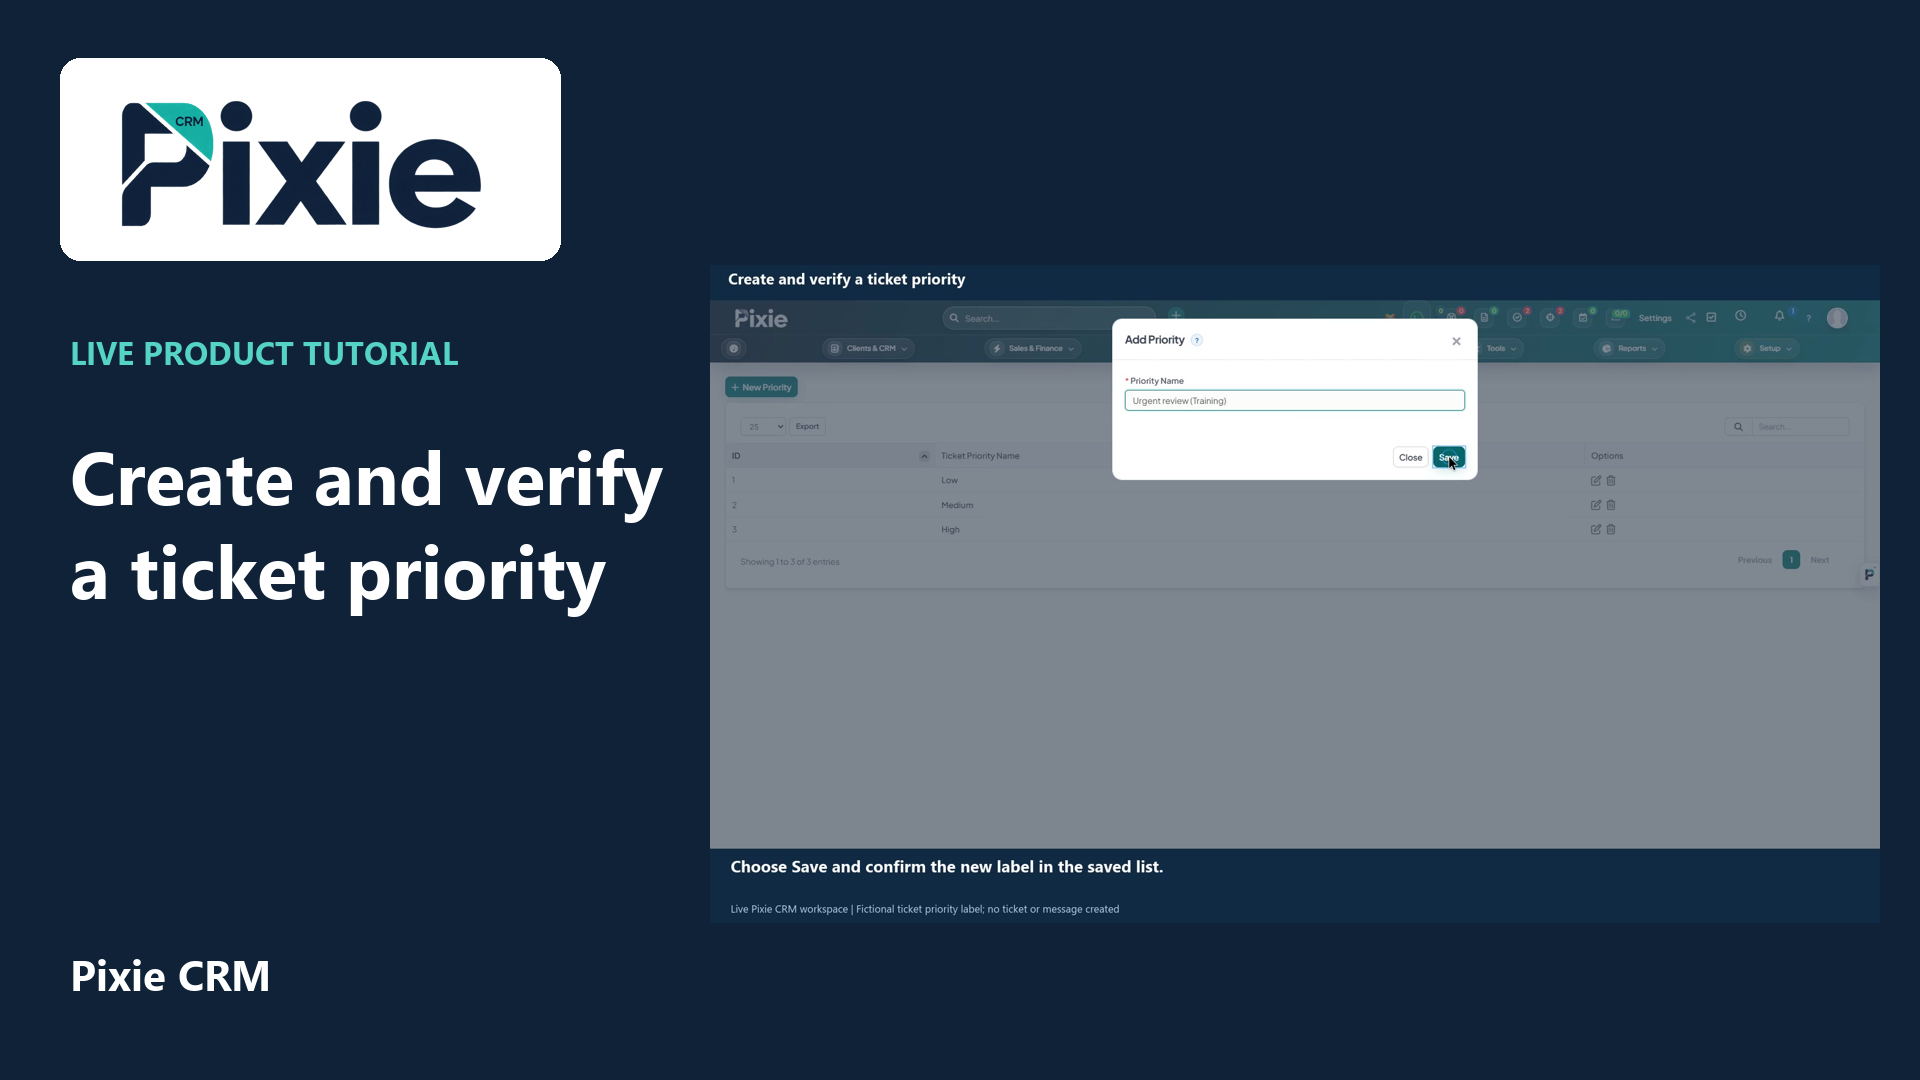 Create and verify a ticket priority
More videos in this category · Read the matching instructions
Create a Pixie CRM support department with live clicks. Set its name and client visibility, save it and reopen the department to verify the retained settings.
Matching written guide · Download MP4 · English captions
The department is a fictional training record in the disposable workspace. Hide from client is selected. No staff access is granted or changed, no mailbox connection is configured or tested, and no ticket, message or email is sent.
Watch this tutorial on YouTube ↗ · Related Pixie CRM tutorials ↗
Video chapters
- 0:00 — Open support departments
- 0:15 — Name the department and review client visibility
- 0:31 — Save the department without connecting a mailbox
- 0:47 — Reopen and verify the saved department
- 1:05 — Continue with related Pixie CRM tutorials
Read the video transcript
Create a support department in Pixie CRM. From Setup, open Support, then Departments and choose New Department. Departments organise the teams or queues that handle support requests.
Enter Client support, marked as Training. Select Hide from client for this example. Review that choice against your real support process, because it controls whether clients can select this department when submitting a request.
Leave the department email and mailbox connection details empty in this setup tutorial. A real mailbox connection requires its own private configuration with your provider. Choose Save to store the department record.
Use the department's Edit control to verify its saved name and client visibility. Hide from client is retained, and the mailbox fields remain empty. The department is ready for further support setup; this tutorial creates no ticket and sends no message.
Follow the written instructions
Open the matching written guide ↗ · Browse all Pixie CRM video guides