
Pixie CRM guided video tutorial
Create and verify an expense category
Recorded live · 1:28 · English captions
Create and verify an expense category: live walkthrough
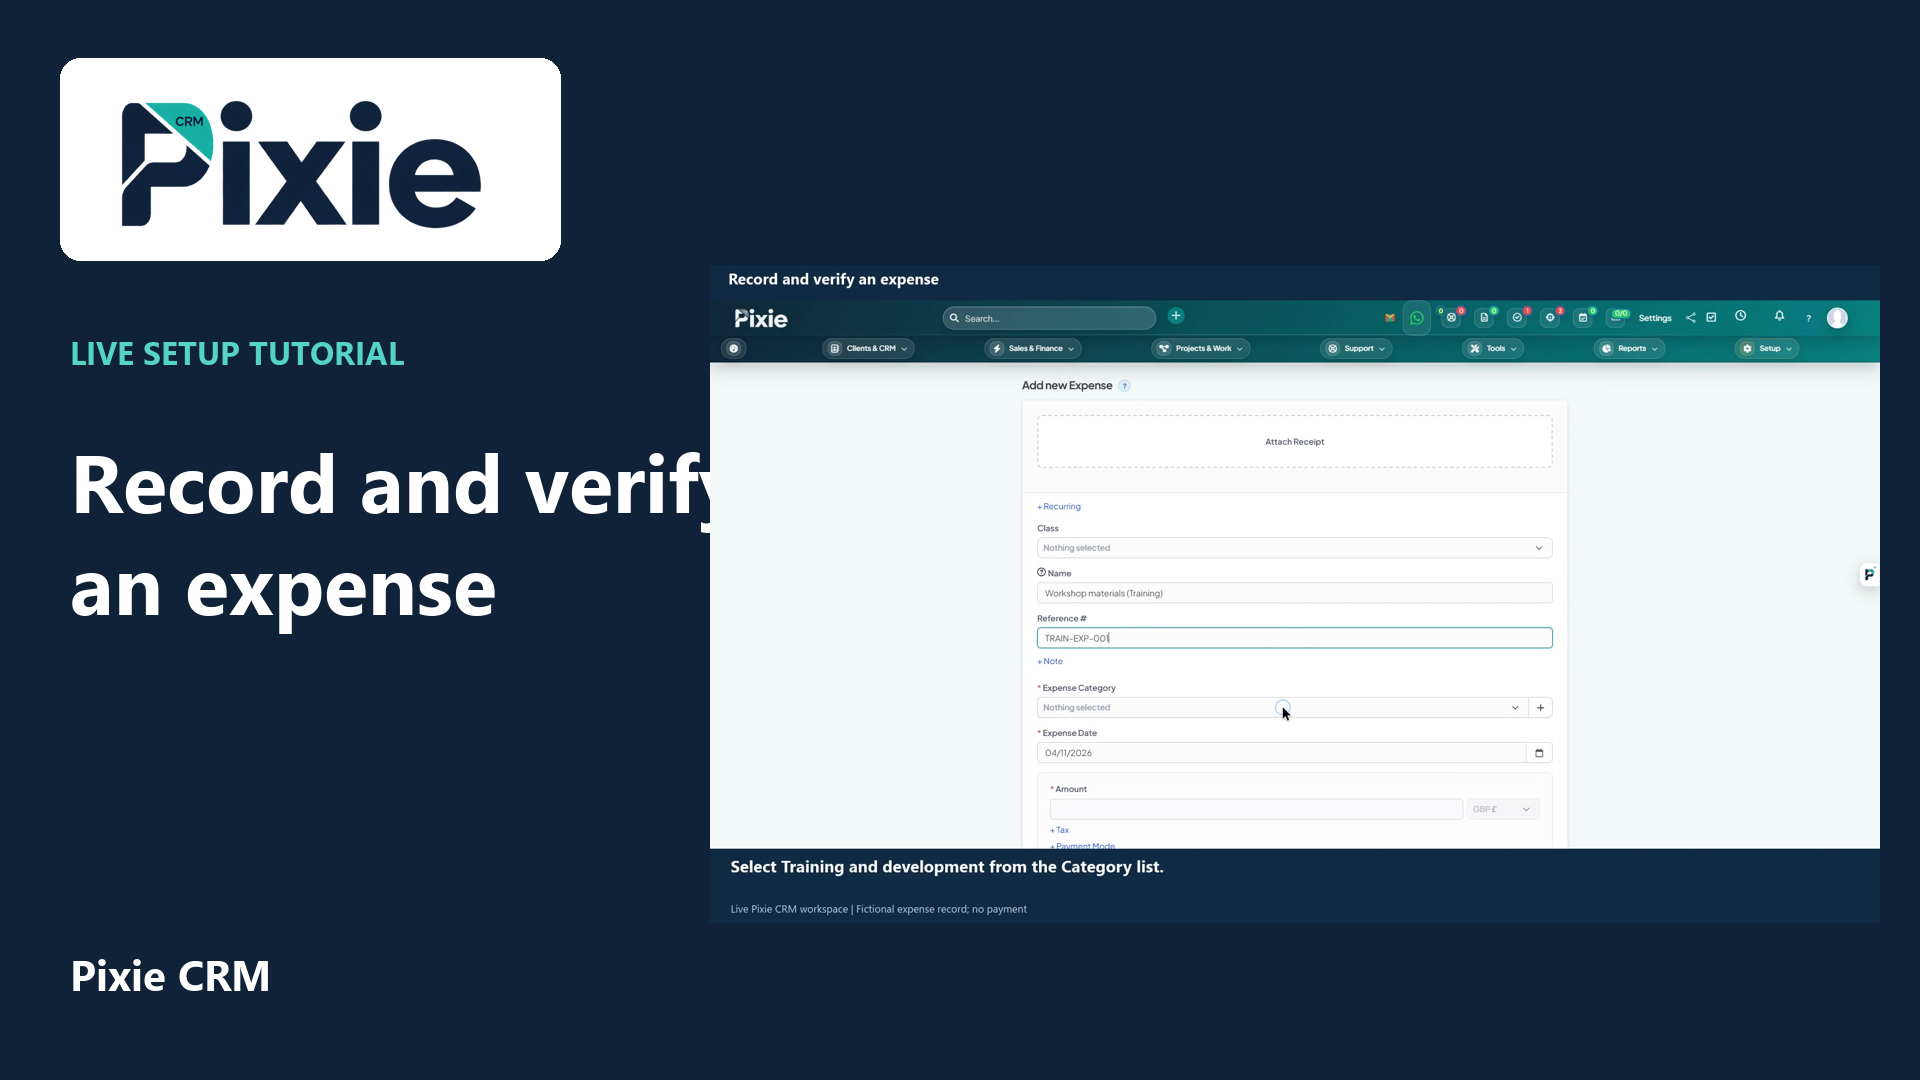 Record and verify an expense
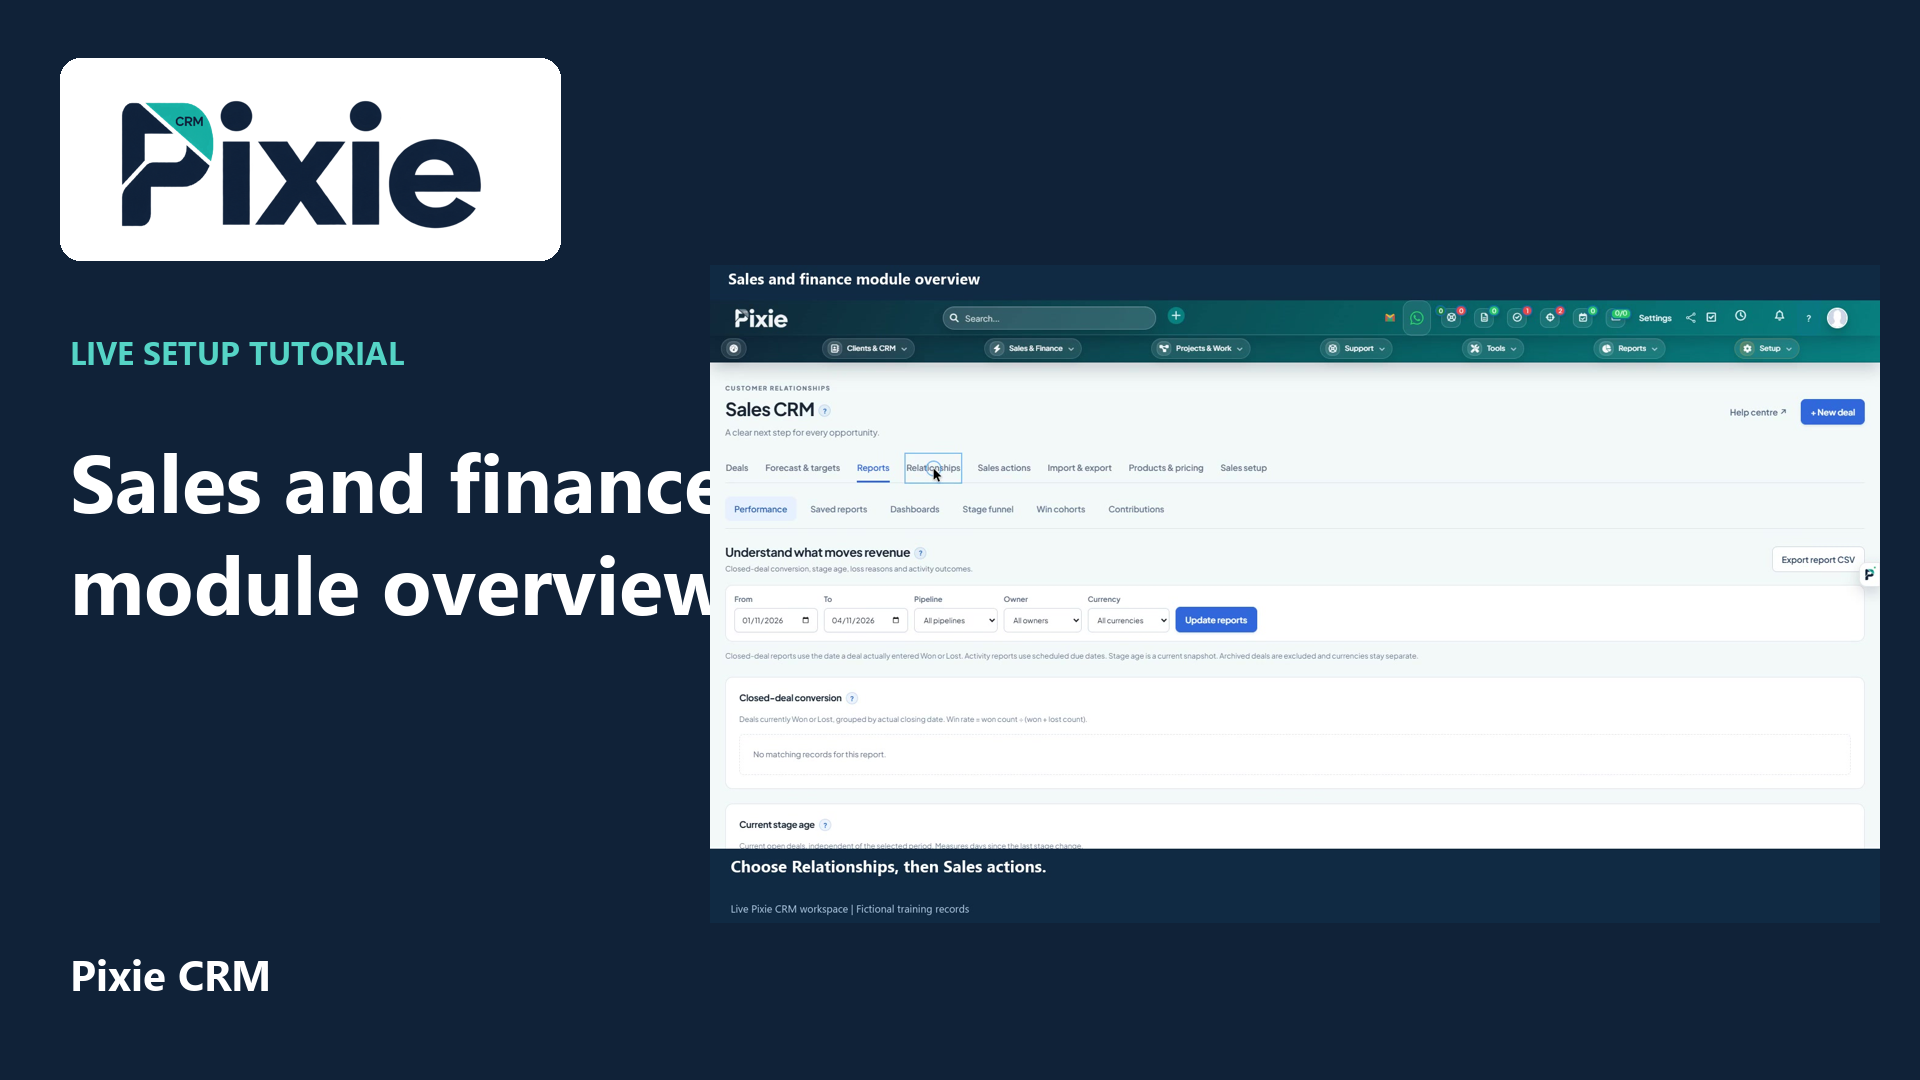 Sales and finance module overview
More videos in this category · Read the matching instructions
Create an expense category in Pixie CRM. Use the plus button beside Category, enter its name and description, save and reopen the form to verify it is available.
Matching written guide · Download MP4 · English captions
The category and workspace are fictional training examples. This workflow saves a classification only; no expense transaction, payment, customer invoice or message is created.
Watch this tutorial on YouTube ↗ · Related Pixie CRM tutorials ↗
Video chapters
- 0:00 — Open the expense category creator
- 0:15 — Describe the expense category
- 0:34 — Save the new category
- 0:48 — Verify the category is retained
- 1:08 — Continue with related Pixie CRM tutorials
Read the video transcript
Create an expense category from the Pixie CRM expense form. Open Expenses and choose Record Expense. The plus button beside Category lets you add a category without leaving the form.
Enter Training and development, Training, as the category name. Add a short description explaining what belongs here. Consistent categories make it easier to organise expenses and interpret reports later.
Choose Save in the category window. Pixie adds the category and makes it available in the expense form. This saves a classification only; no expense record or payment has been created.
Return to Expenses and open Record Expense again. Search the Category list and select the new training category. Its presence confirms it was retained and is ready to use when recording an expense.
Follow the written instructions
Open the matching written guide ↗ · Browse all Pixie CRM video guides