
Configure expense categories
Pixie CRM guidance. Follow the route for your workspace, check your role and enabled modules, and verify the result before moving on.
Follow this guide to create consistent categories for entry, filtering and reporting.
Learn with Pixie CRM
Watch this workflow
Follow real application screens at your own pace, with English captions and a matching written guide.
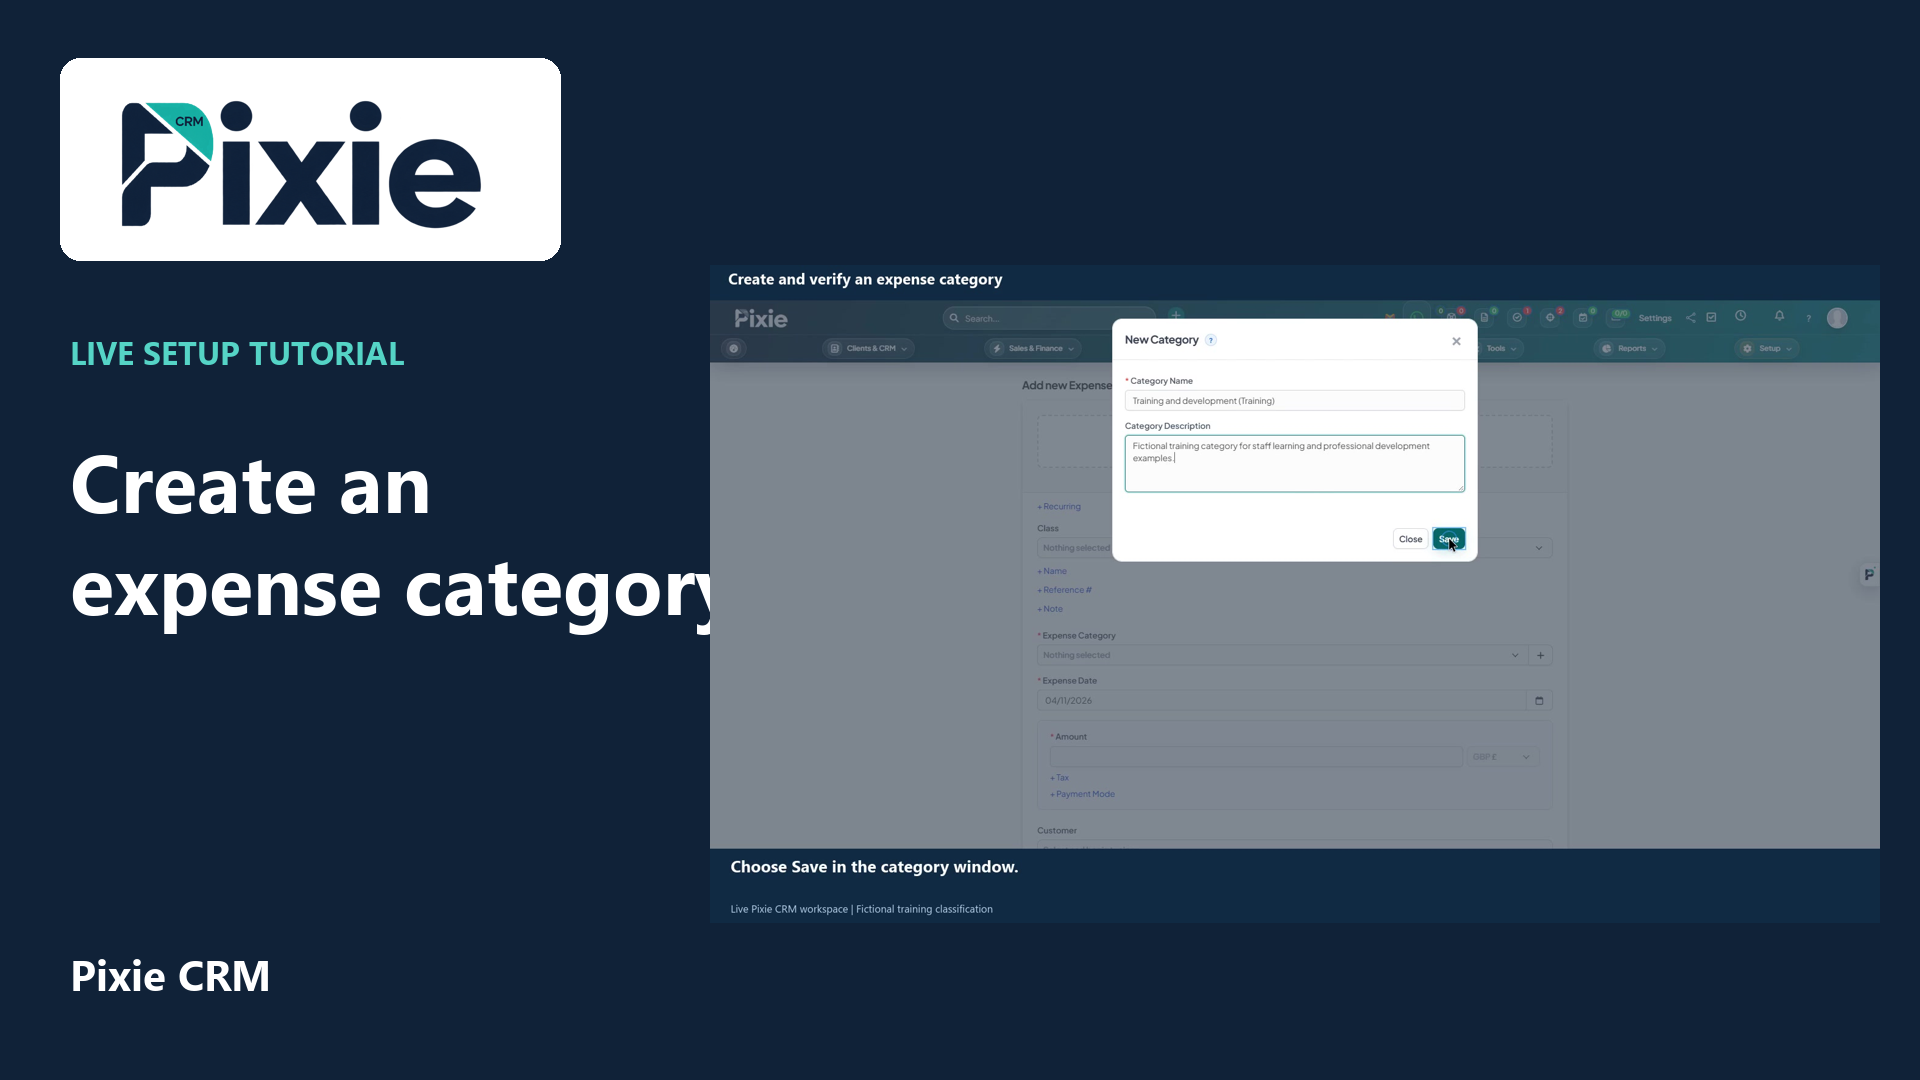
Create and verify an expense category
Create an expense category in Pixie CRM. Use the plus button beside Category, enter its name and description, save and reopen the form to verify it is available.
Recorded in a demonstration workspace; available options depend on your plan and permissions.
Visit the Pixie CRM YouTube channel
What this guide helps you do
Create consistent categories for entry, filtering and reporting. Pixie CRM keeps the result connected to the relevant customer, staff member and operational history where the feature supports those relationships. That connection is important for search, reporting, client portal visibility and future automation.
Follow these steps
- Go to Setup → Finance → Expense Categories using an administrator or appropriately permitted account.
- Check the current value and understand which users, records or automated processes it affects.
- Enter or select the new configuration values. Keep labels concise and use the approved business terminology.
- Where credentials, email, webhooks or cron are involved, begin with a test or sandbox configuration.
- Save the change and confirm that Pixie CRM reports success.
- Test the affected workflow with a non-critical record and with a restricted user where permissions are relevant.
- Document the operational change and use the available reset or rollback option if the result is not correct.
Settings to check
Checks before you finish
- Attach evidence where required.
- Mark billable only when the customer should be charged.
- Check currency and tax before saving.
- Check whether the result should be visible to a customer contact or only to staff.
- Confirm the final status, activity entry, generated document or notification before leaving the record.