
Pixie CRM guided video tutorial
Create and verify a customer custom field
Recorded live · 2:21 · English captions
Create and verify a customer custom field: live walkthrough
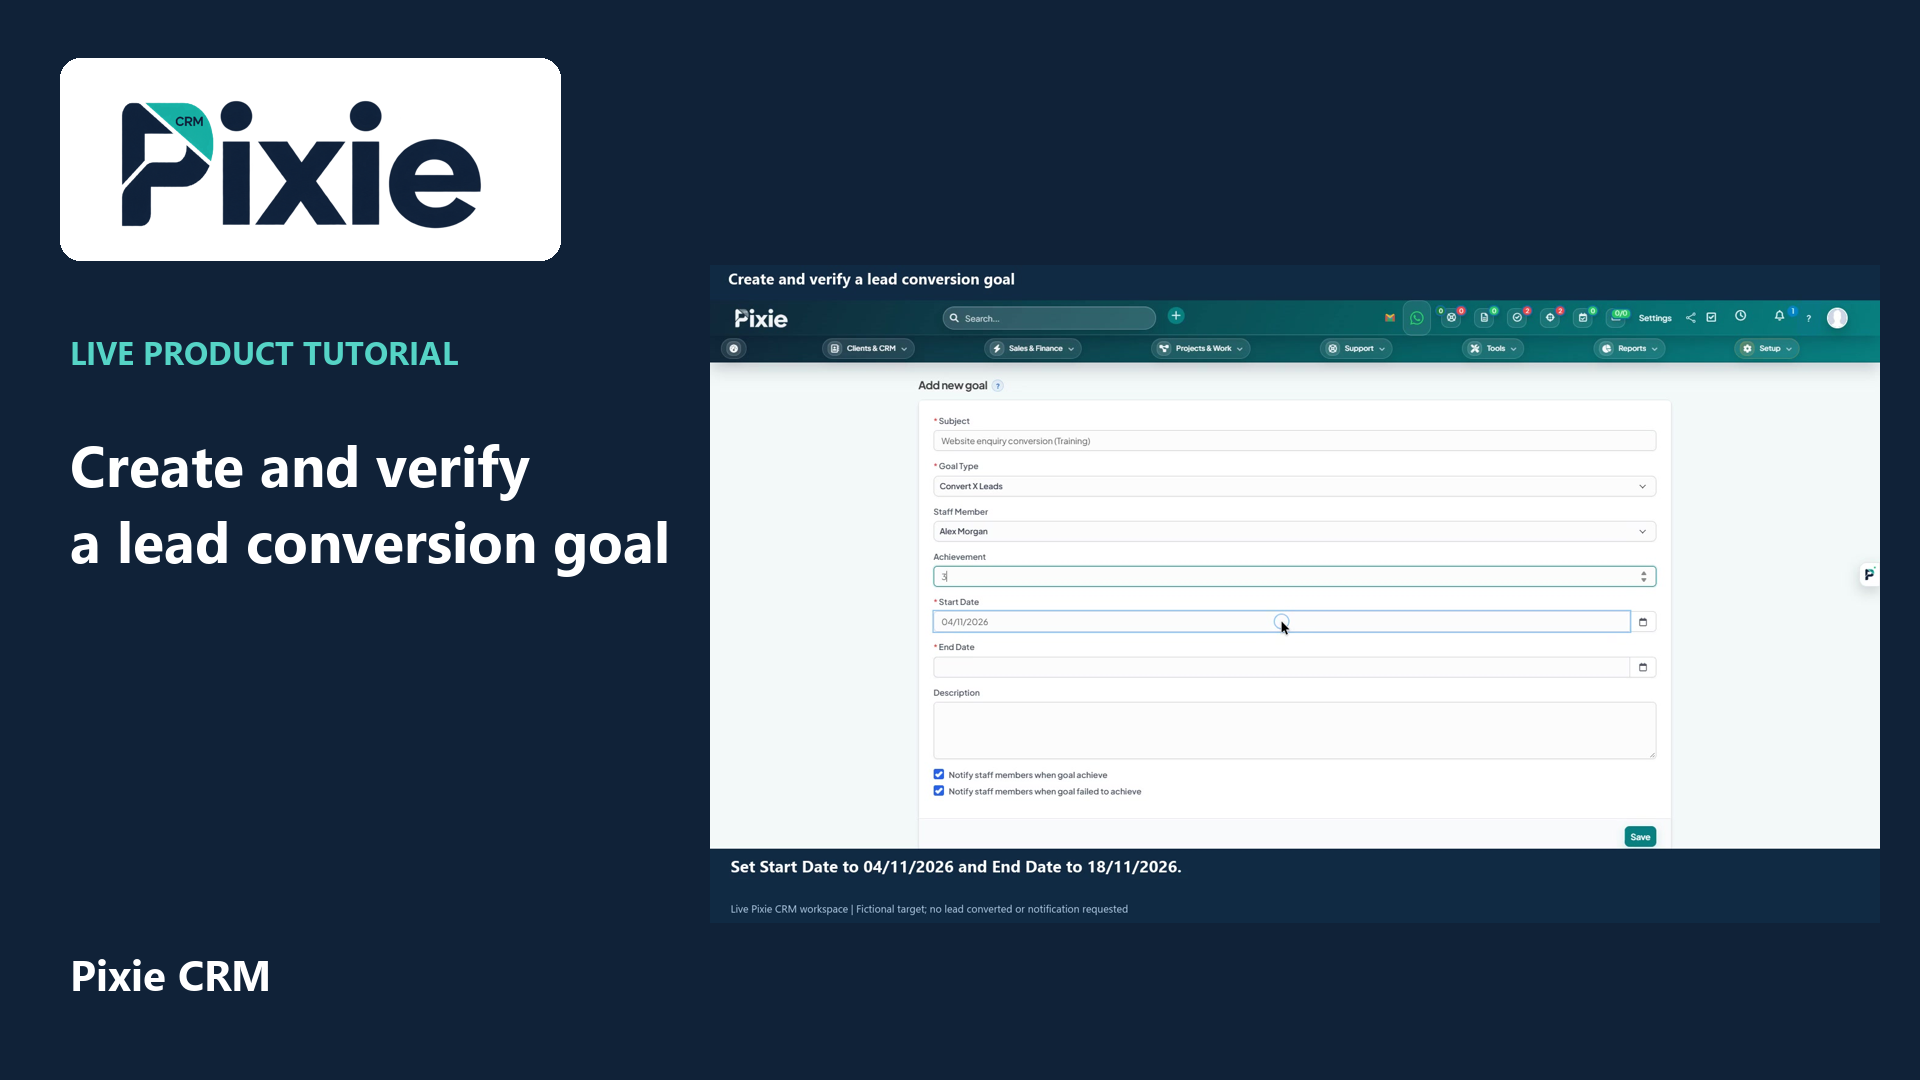 Create and verify a lead conversion goal
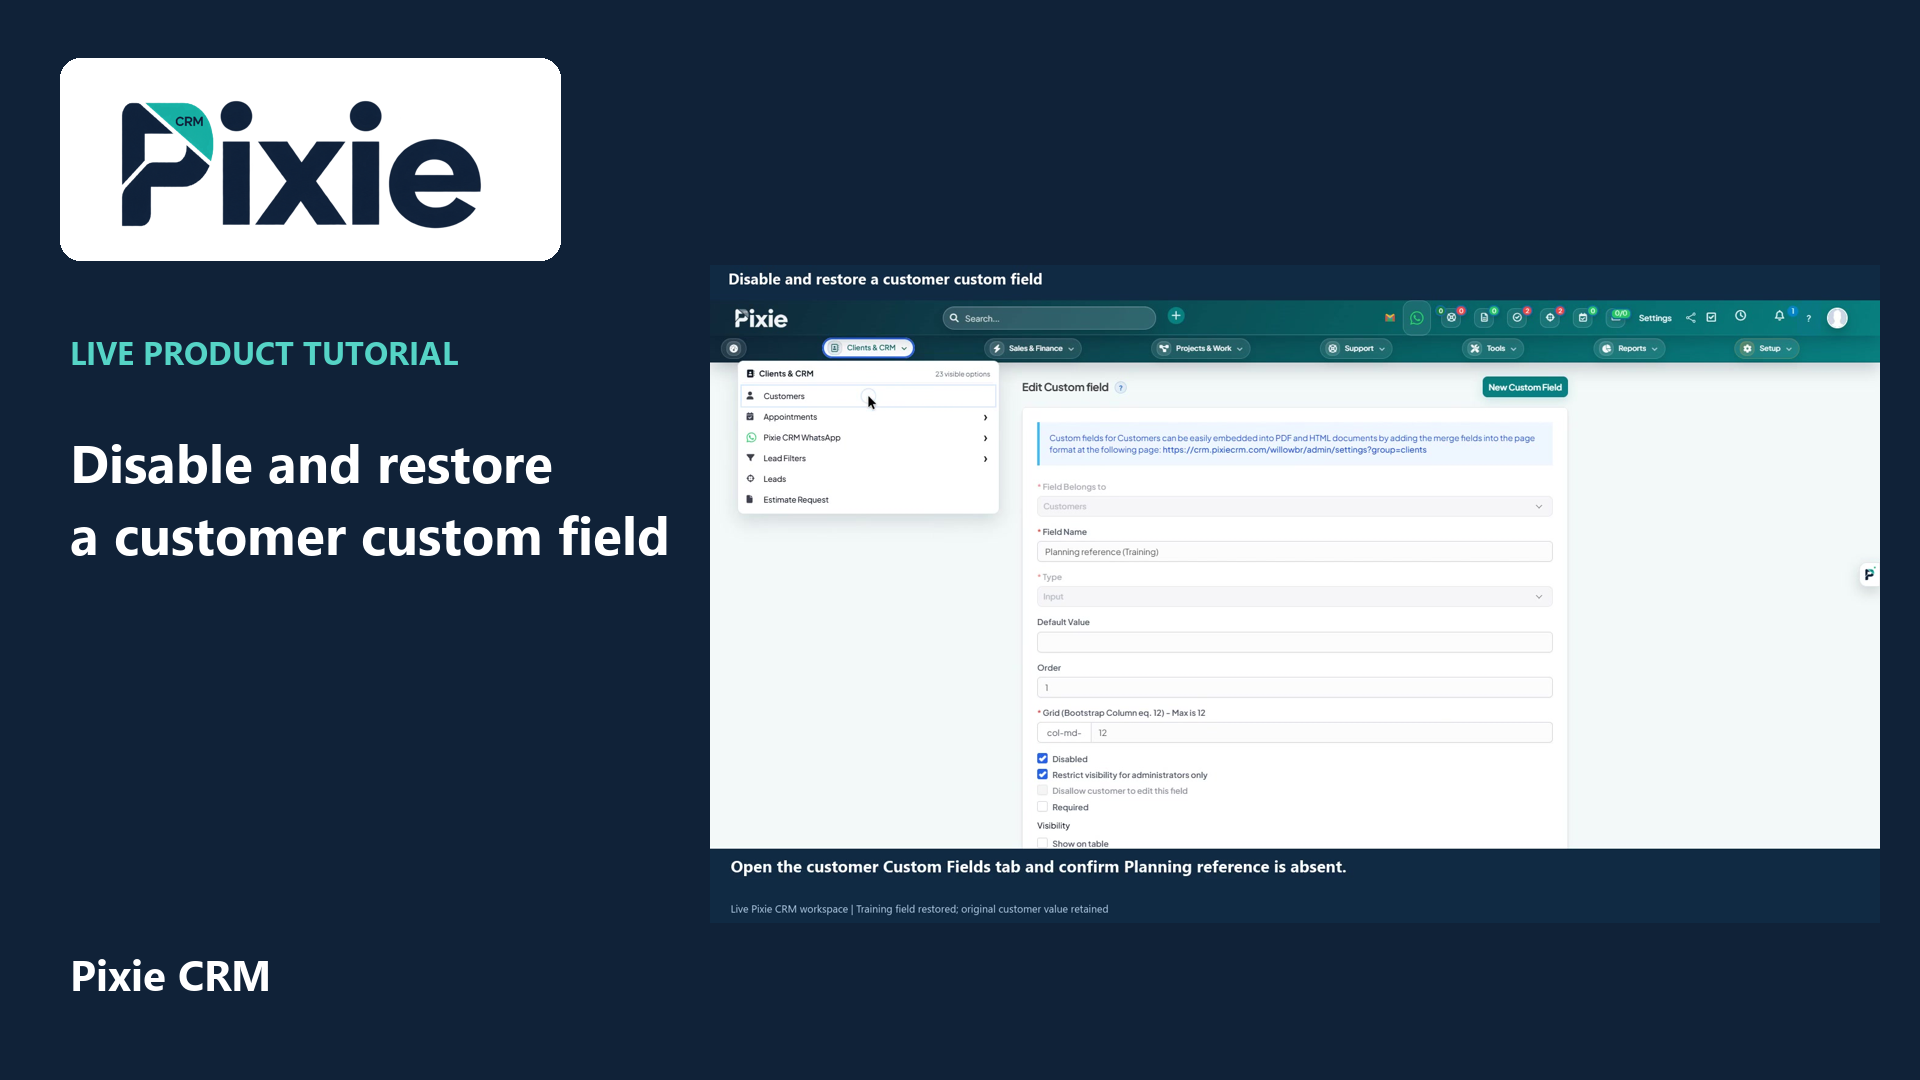 Disable and restore a customer custom field
More videos in this category · Read the matching instructions
Create a Pixie CRM customer custom field with live clicks. Set its record type, name, input type, display order and administrator-only visibility, then reopen the field to verify the saved definition.
Matching written guide · Download MP4 · English captions
The field is a training example in the disposable workspace. It is optional, restricted to administrators and hidden from the client portal. This tutorial does not enter a customer value, grant new account access or send a message.
Watch this tutorial on YouTube ↗ · Related Pixie CRM tutorials ↗
Video chapters
- 0:00 — Open a new custom field
- 0:17 — Choose Customers and name the field
- 0:36 — Set an input field and display order
- 0:54 — Review visibility and validation
- 1:14 — Save and reopen the custom field
- 1:32 — Verify the retained audience settings
- 2:00 — Continue with related Pixie CRM tutorials
Read the video transcript
Create a customer custom field in Pixie CRM. From Setup, open Custom Fields and choose New Custom Field. Custom fields add structured information to supported record types, with their own field type and visibility settings.
Set Field Belongs to Customers. Enter Planning reference, marked as Training. Choose a name that clearly describes the information your team needs. The field belongs to customer records in this workspace, rather than leads, staff or invoice items.
Choose Input as the field type and set the order to one. Keep the default grid width of twelve. This creates a single text input for a planning reference. Leave the default value empty so a new customer record is not filled with an assumed reference.
Restrict visibility to administrators for this example. Leave Required off and keep client portal visibility off. This makes the training field optional and limits its audience. Review these choices against your own process before capturing real customer information.
Choose Save, then return to Custom Fields and open the saved field name. Verify that it belongs to Customers, uses the Input type and retains the intended order and grid width. This tutorial creates the field definition without entering a customer value.
Confirm that the administrator-only restriction is retained, Required remains off and the field is enabled. Client portal visibility remains off. The custom field is now available for the intended staff workflow, with no customer value or external communication created in this tutorial.
Follow the written instructions
Open the matching written guide ↗ · Browse all Pixie CRM video guides