
Pixie CRM guided video tutorial
Assign a task to a project milestone
Recorded live · 1:28 · English captions
Assign a task to a project milestone: live walkthrough
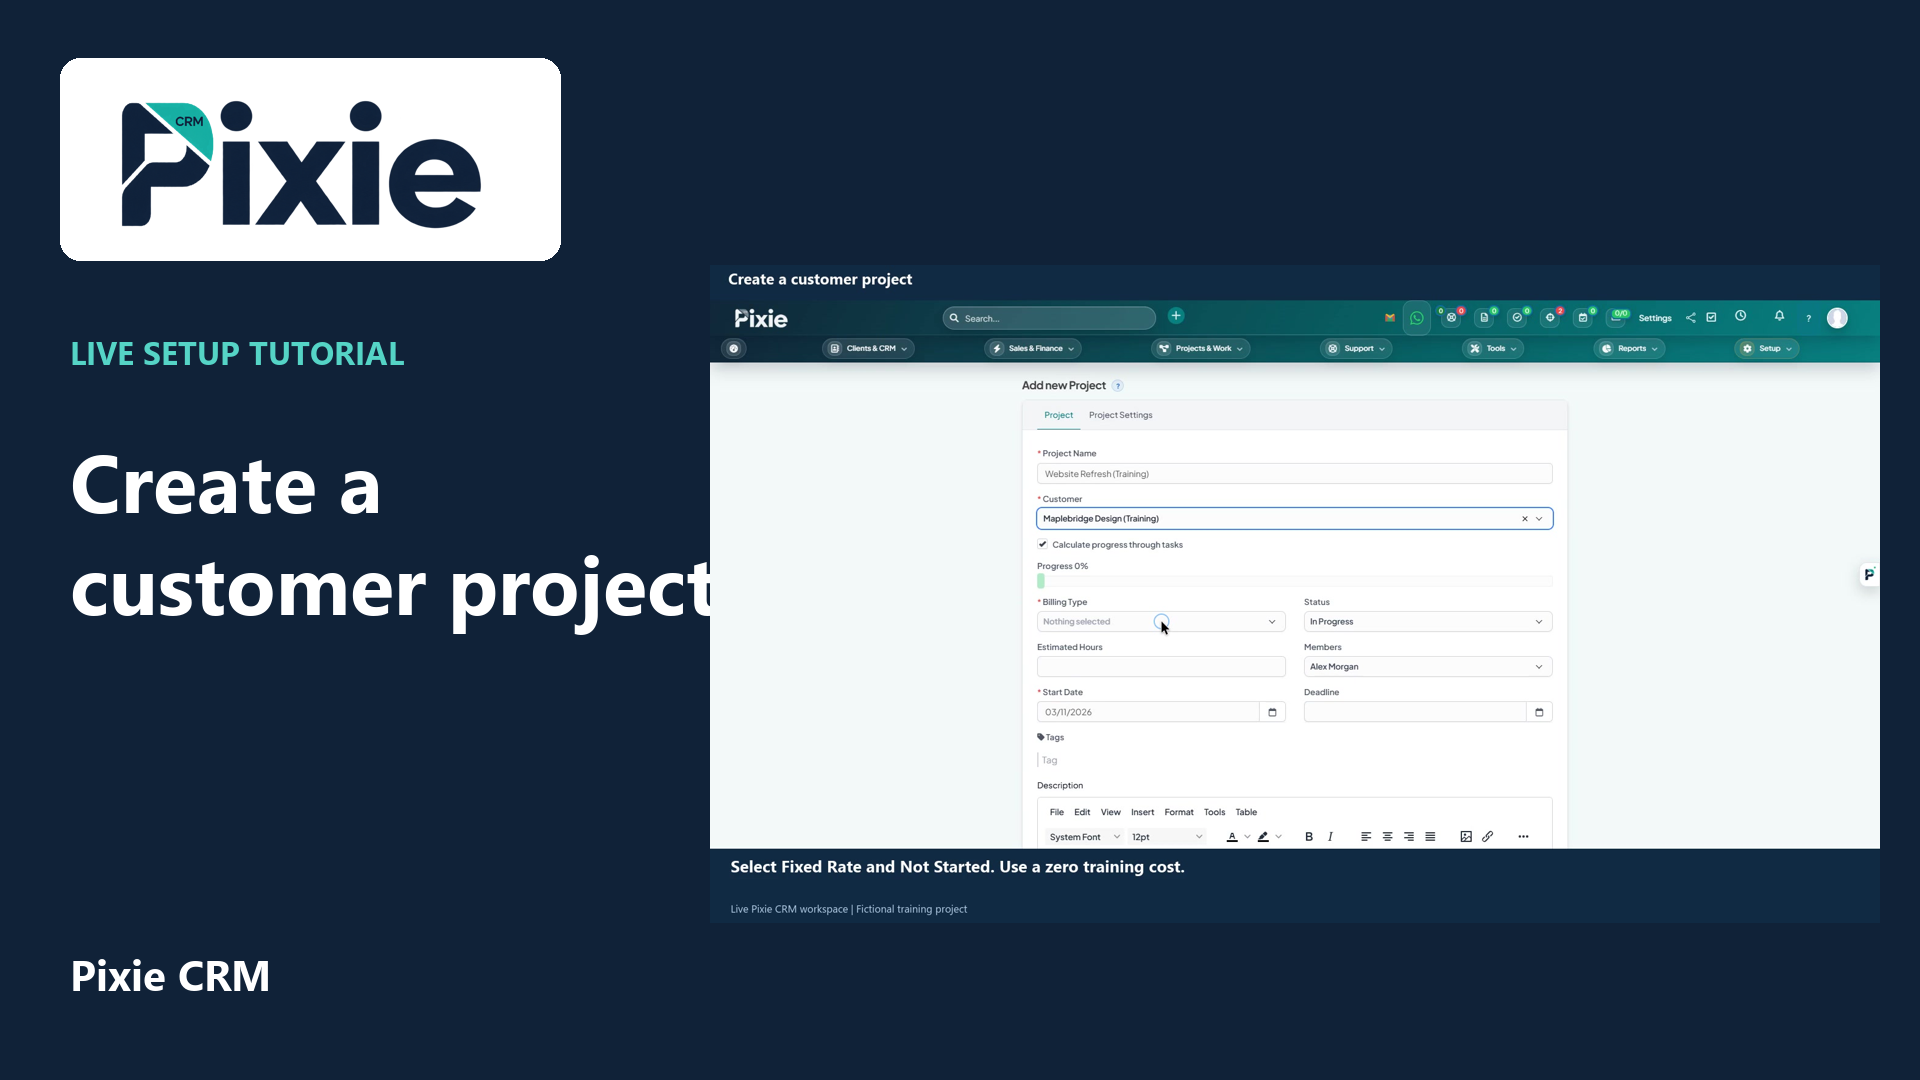 Create a customer project
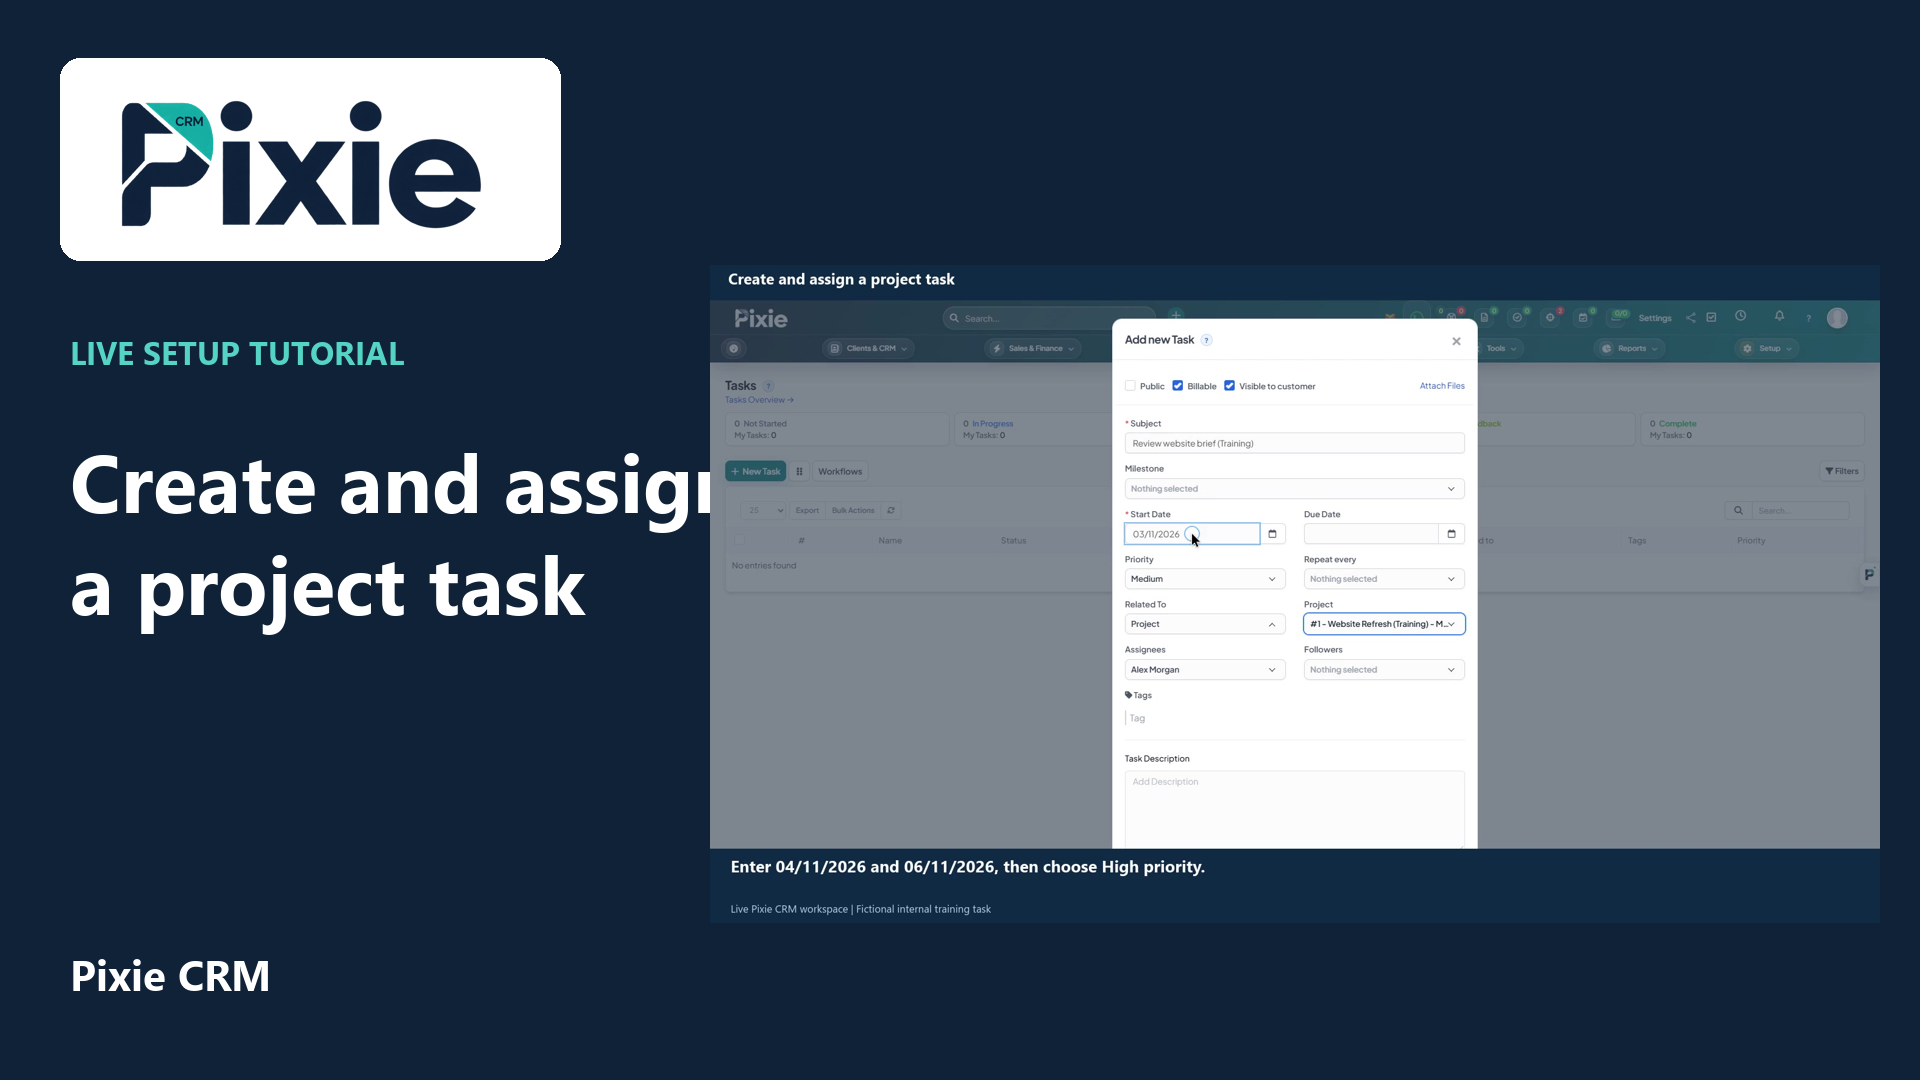 Create and assign a project task
More videos in this category · Read the matching instructions
Organise a project task into a milestone in Pixie CRM. Follow the live drag-and-drop workflow, then reopen the board to confirm the assignment was saved.
Matching written guide · Download MP4 · English captions
All customer, project, task and milestone records are fictional training examples in a disposable workspace. No real work completion, customer approval or notification is represented.
Watch this tutorial on YouTube ↗ · Related Pixie CRM tutorials ↗
Video chapters
- 0:00 — Open the project milestone board
- 0:14 — Identify the task and destination
- 0:30 — Drag the task into its milestone
- 0:46 — Reopen the board and verify the saved result
- 1:08 — Continue with related Pixie CRM tutorials
Read the video transcript
Open the Website Refresh training project and choose Milestones. The board groups project tasks by delivery stage, with an Uncategorized column for tasks that have not yet been assigned to a milestone.
Find Review website brief in Uncategorized. Beside it is the Discovery and brief review milestone, with its own date range. Check the task and the destination before moving anything, particularly when a project has several stages.
Drag the task card into Discovery and brief review, then release it. The task now appears beneath that milestone. This organises the existing task; it does not create a duplicate or mark the work as completed.
Choose Overview, then reopen Milestones to check the saved result. Review website brief remains under Discovery and brief review, while its status is still Not Started. Use the dedicated task guides to update progress when the actual work takes place.
Follow the written instructions
Open the matching written guide ↗ · Browse all Pixie CRM video guides