
Pixie CRM guided video tutorial
Set your company name in Pixie CRM
Recorded live · 1:31 · English captions
Company name: step-by-step walkthrough
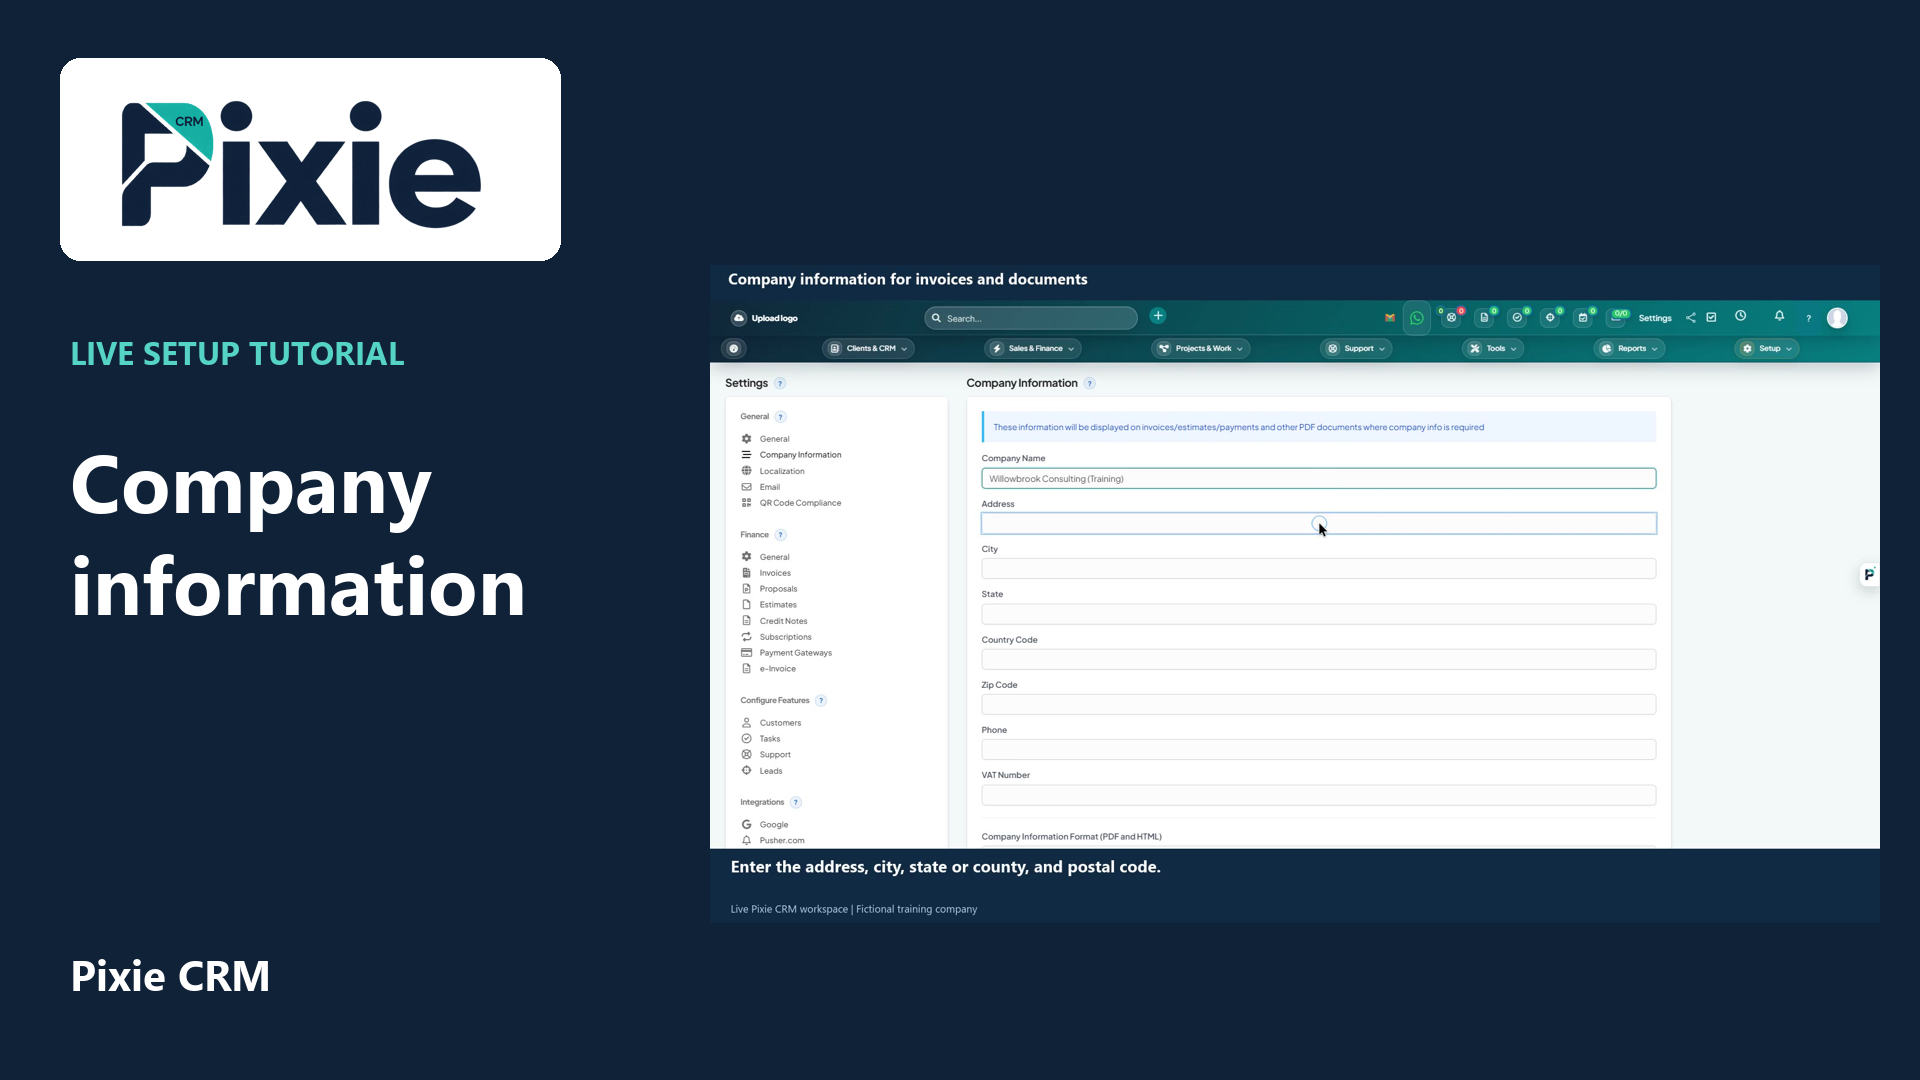 Set company information for invoices and documents
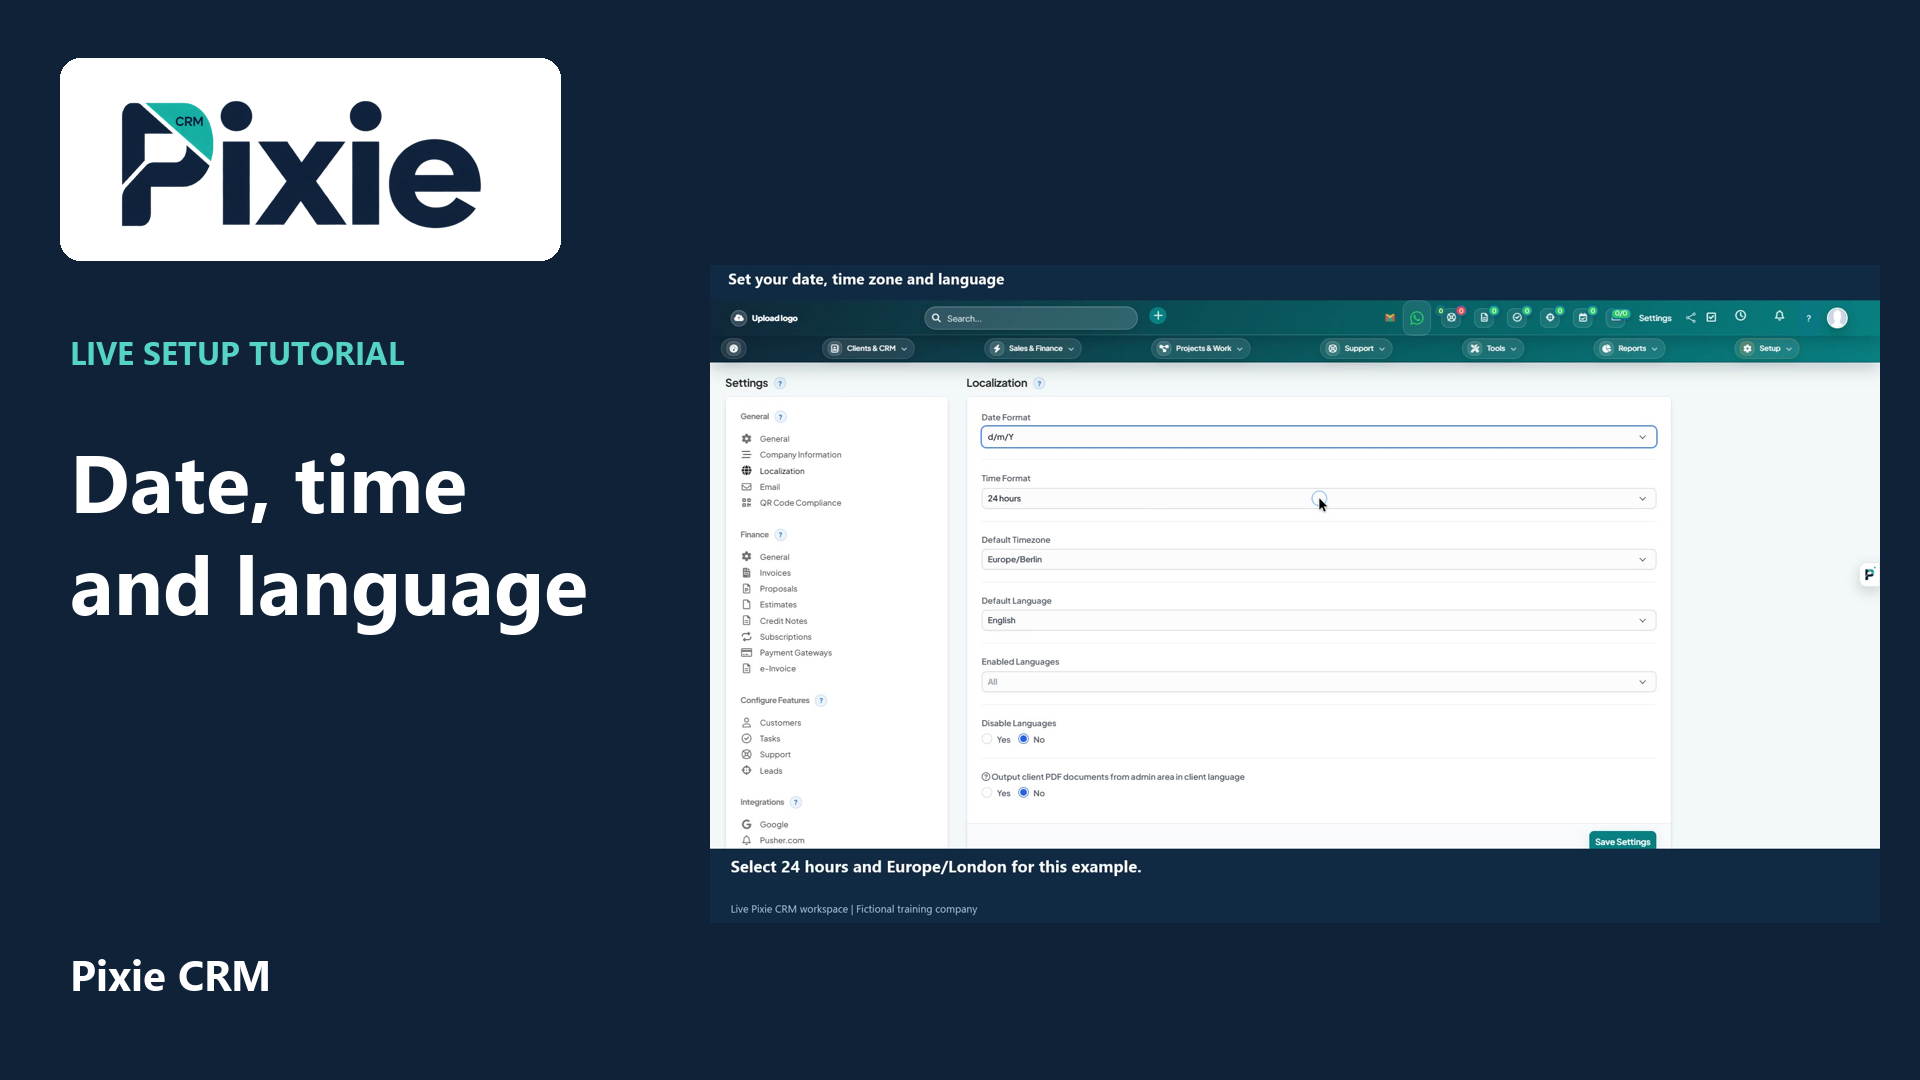 Set your date format, time zone and language
More videos in this category · Read the matching instructions
Learn how to set your company name in Pixie CRM. Follow the live dashboard and General settings, enter the name, choose Save Settings and verify the saved result.
Matching written guide · Download MP4 · English captions
Genuine live workspace footage with fictional training records. This guide covers the Company Name field in General settings. Company Information, logos and localisation are covered separately. Available settings depend on your permissions.
Watch this tutorial on YouTube ↗ · Related Pixie CRM tutorials ↗
Video chapters
- 0:00 — Open General settings
- 0:17 — Enter your company name
- 0:33 — Save and verify the result
- 0:50 — Continue with company setup
- 1:10 — Continue with related Pixie CRM tutorials
Read the video transcript
Start on the Pixie CRM dashboard. Use Settings in the top bar to open your organisation's configuration. This guide shows how to set the company name for your own workspace. You need access to the relevant settings.
In General, find Company Name. Enter the name your organisation wants to display. We are using Willowbrook Consulting, a fictional training business. Review the spelling carefully before you save.
Choose Save Settings. Wait for the page to finish saving, then check that Company Name still shows your saved value. This confirmation is important. If the form reports an error, correct the highlighted field before continuing.
Next, complete Company Information and Localization using the related setup guides. Use the dedicated logo tutorial for visual branding. The matching written guide and related Pixie CRM videos are linked in this video's description.
Follow the written instructions
Open the matching written guide ↗ · Browse all Pixie CRM video guides