
Pixie CRM guided video tutorial
Set your date format, time zone and language
Recorded live · 2:12 · English captions
Set your date format, time zone and language: live walkthrough
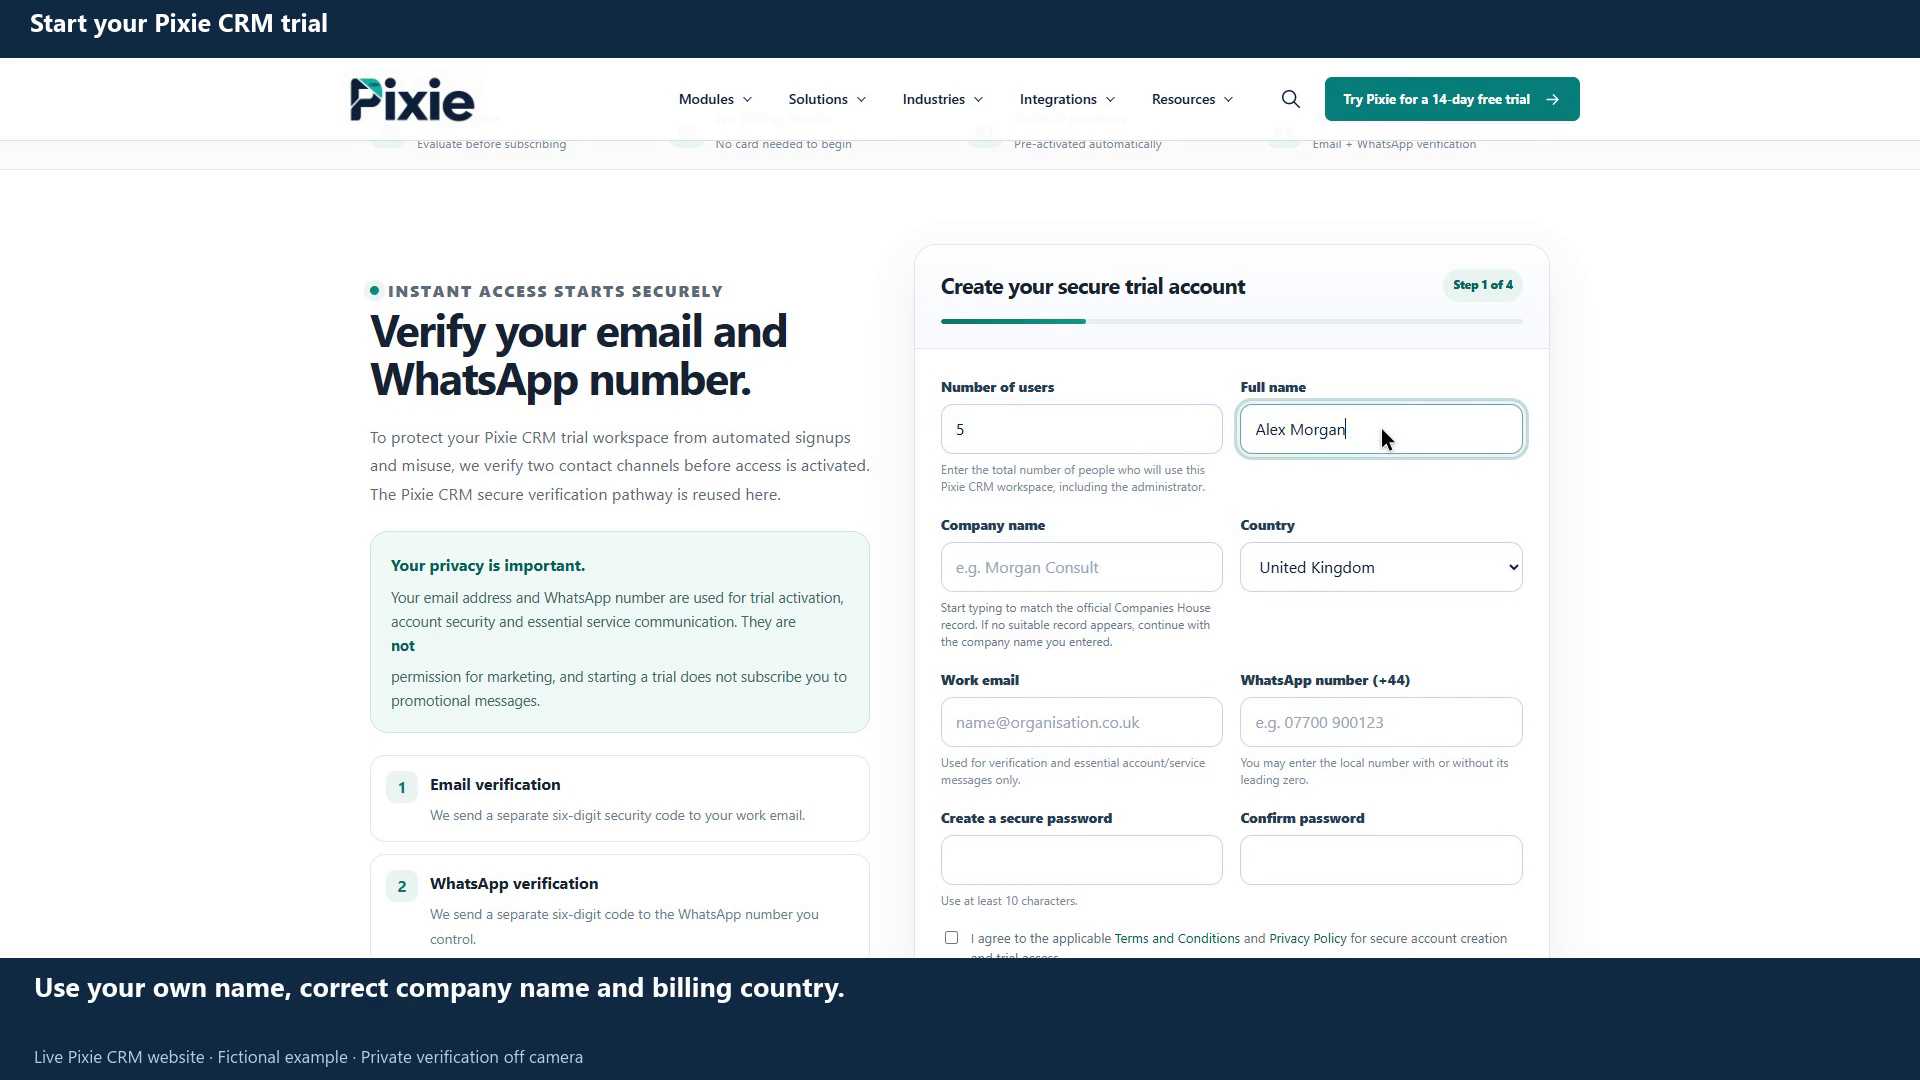 Start your Pixie CRM trial
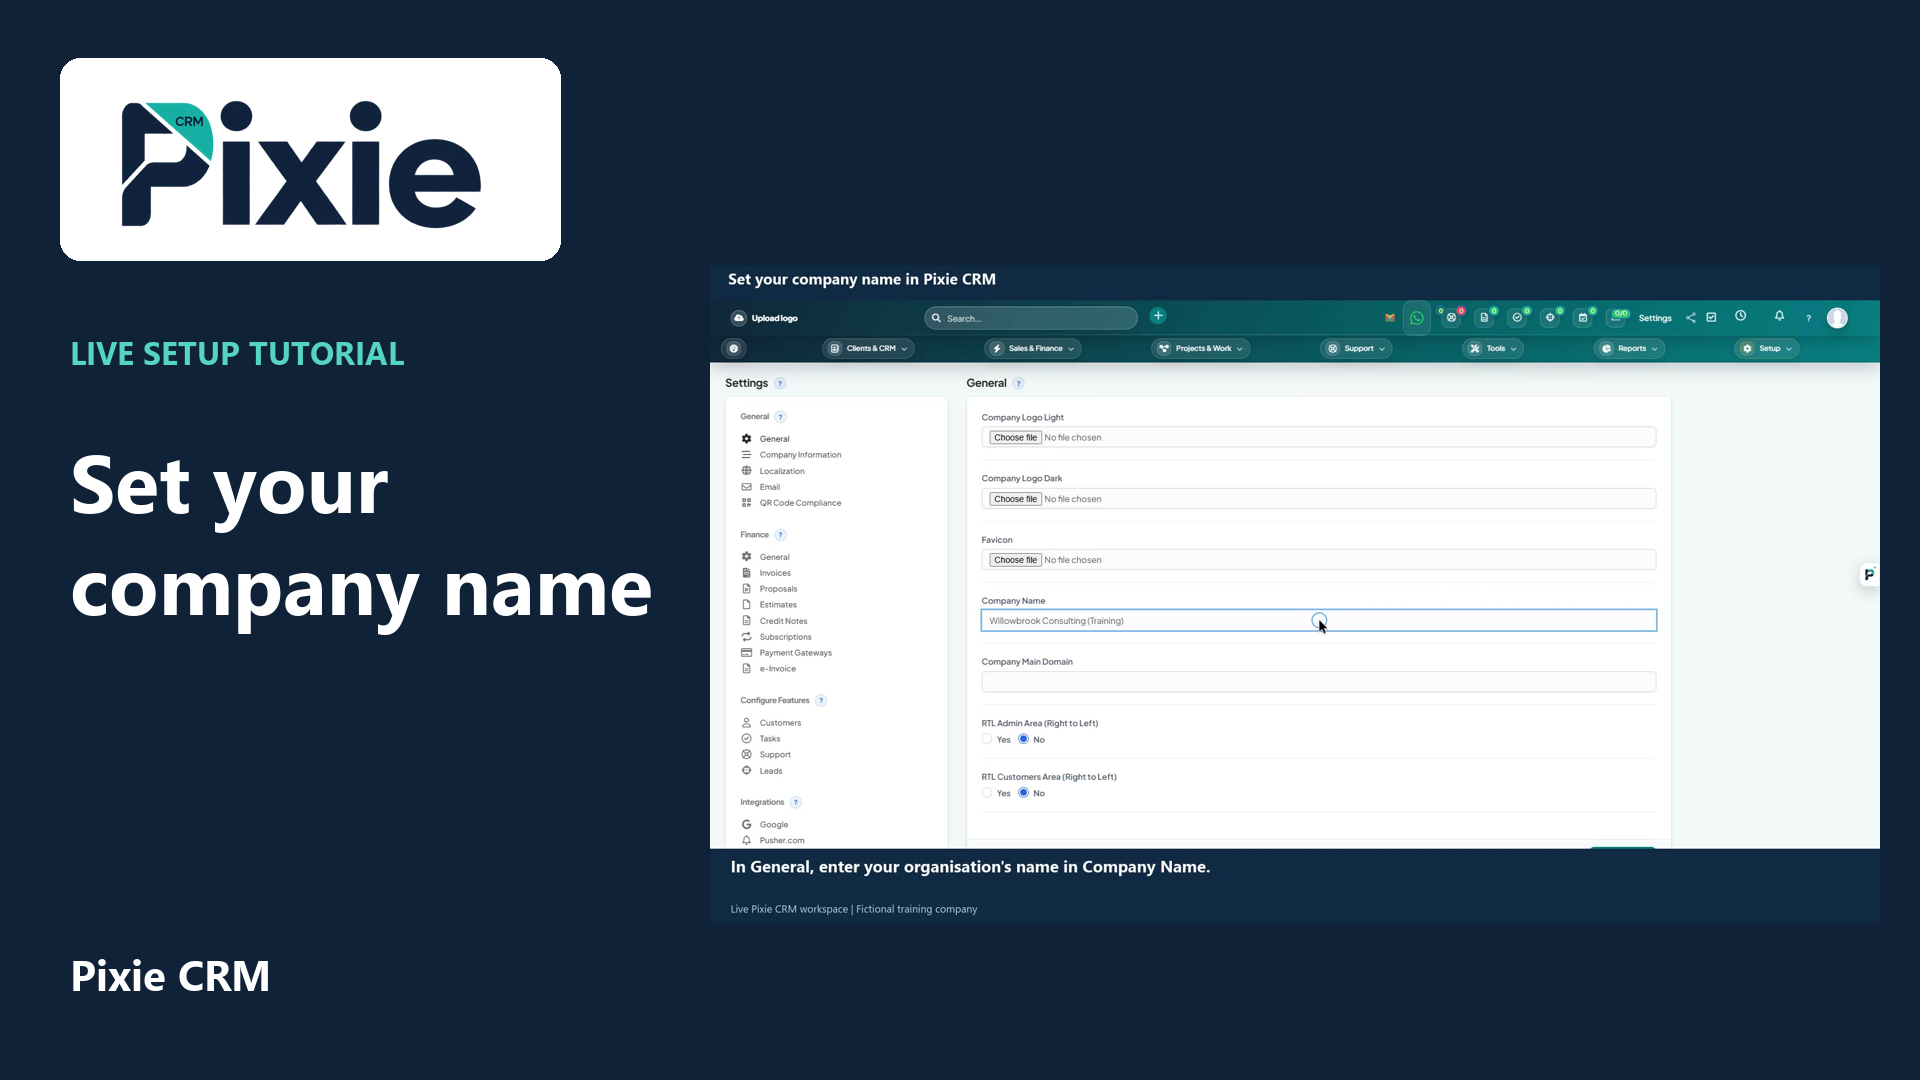 Set your company name in Pixie CRM
More videos in this category · Read the matching instructions
Configure Pixie CRM localisation settings with live clicks. Choose the date format, time display, default time zone and language, then save and confirm the result.
Matching written guide · Download MP4 · English captions
Genuine screen recording in a fictional training workspace. Choose defaults appropriate to your own organisation. Language availability and menu access depend on the workspace configuration and your permissions.
Watch this tutorial on YouTube ↗ · Related Pixie CRM tutorials ↗
Video chapters
- 0:00 — Open Localisation settings
- 0:18 — Choose a date format
- 0:33 — Choose time display and time zone
- 0:50 — Review the language settings
- 1:09 — Save and verify the settings
- 1:27 — Continue your workspace setup
- 1:51 — Continue with related Pixie CRM tutorials
Read the video transcript
Open Settings from your Pixie CRM dashboard, then choose Localisation. Here you can choose your workspace date format, time display, default time zone and language settings. This example uses the dedicated training workspace.
Open Date Format and select the format your team uses. We will choose day, month and year with slashes. Check the displayed example rather than assuming that the order of numbers is the same in every workspace.
Choose the time display, then set the default time zone for your organisation. Our example uses twenty four hours and Europe slash London. Select the correct time zone for your own team before continuing.
Review Default Language and the available language options. Our training workspace uses English. The enabled languages and language switch settings control which choices are available. Leave these controls unchanged unless you intend to change your team's language options.
Choose Save Settings and wait for the page to reload. Confirm the saved date format, time display, time zone and default language. These organisation defaults are separate from any personal preferences your account or other enabled modules may provide.
Use the company information, personal profile and team access tutorials for the next setup steps. The matching written guide is linked in this video's description. Only authorised administrators should change organisation settings.
Follow the written instructions
Open the matching written guide ↗ · Browse all Pixie CRM video guides