
Pixie CRM guided video tutorial
Create and verify a knowledge base group
Recorded live · 1:37 · English captions
Create and verify a knowledge base group: live walkthrough
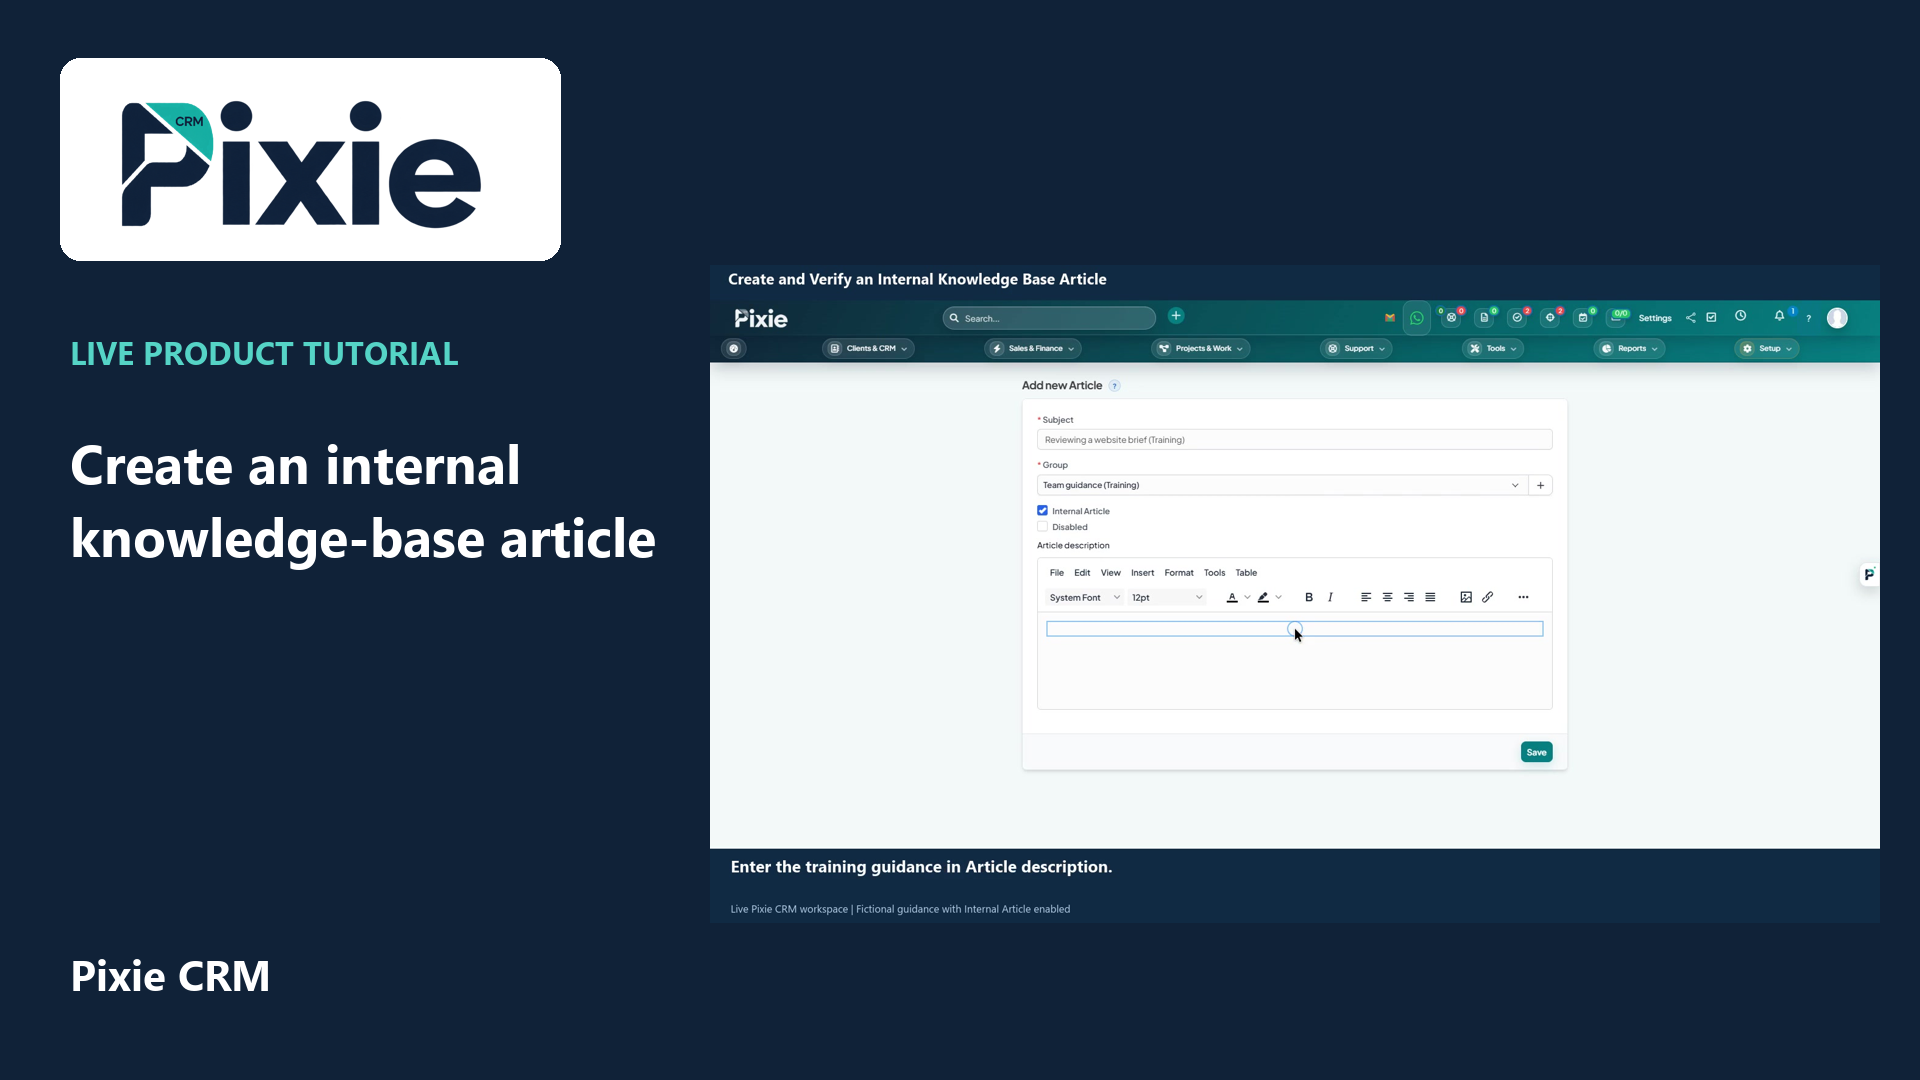 Create and verify an internal knowledge base article
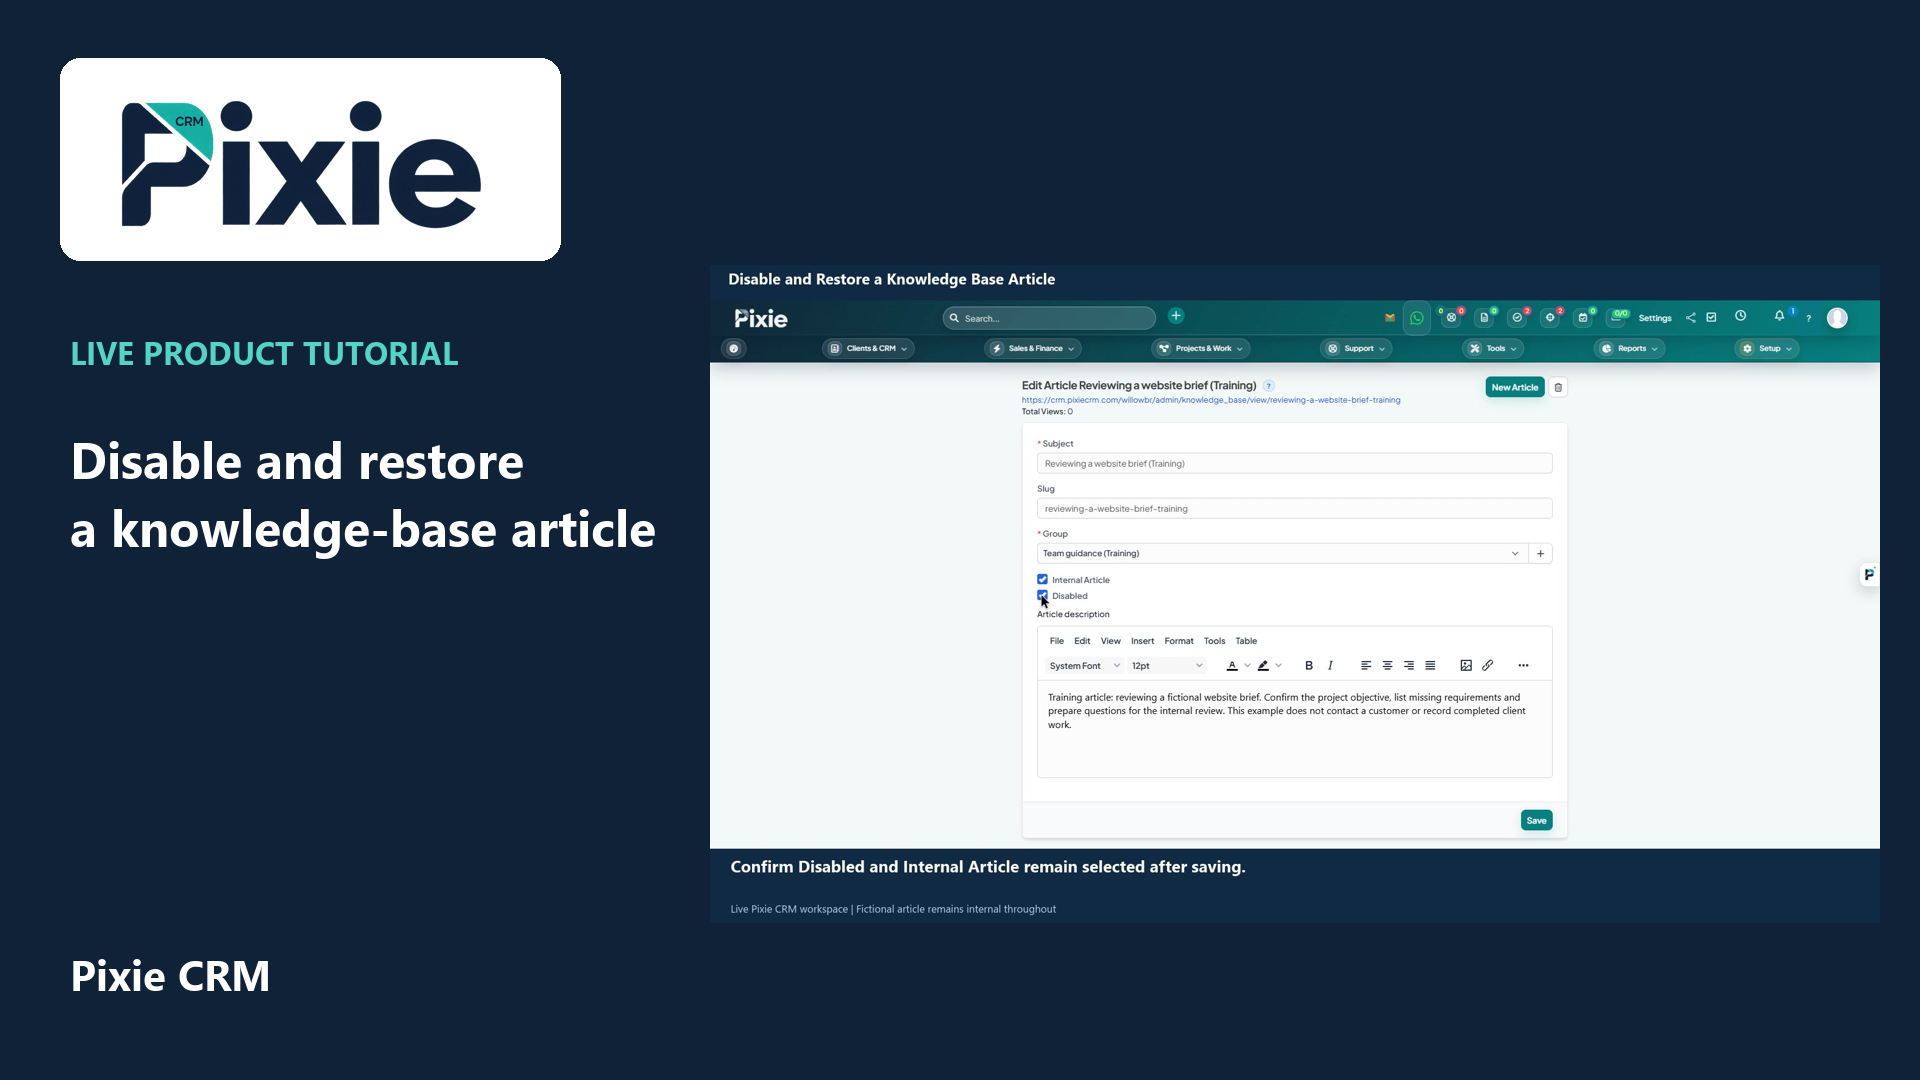 Disable and restore a knowledge base article
More videos in this category · Read the matching instructions
Create a Pixie CRM knowledge-base group with live clicks. Set its name, colour, description and order, save it and reopen the group to verify the retained settings.
Matching written guide · Download MP4 · English captions
The group is a fictional training example in the disposable workspace. The empty group is enabled, but this video creates or publishes no article. Individual article audience and visibility controls are covered separately.
Watch this tutorial on YouTube ↗ · Related Pixie CRM tutorials ↗
Video chapters
- 0:00 — Open knowledge-base groups
- 0:16 — Name and describe the group
- 0:40 — Review order and visibility, then save
- 1:00 — Reopen and verify the saved group
- 1:17 — Continue with related Pixie CRM tutorials
Read the video transcript
Create a knowledge-base group in Pixie CRM. From Tools, open Knowledge Base, choose Groups and click New Group. Groups organise related articles so that guidance is easier to maintain and find.
Enter Team guidance, marked as Training. Set a colour and add a short description of the guidance this group will contain. Use a clear name that helps people distinguish this topic from other article groups.
Review the display order and Disabled option. Leave Disabled off for this prepared group, then choose Save. Disabling a group hides its articles, so check that option carefully when managing real guidance. Creating this empty group does not publish an article.
Use the group's Edit icon to verify the saved details. The name, colour, description and order are retained, and Disabled remains off. Continue with the article tutorial to create guidance with the intended audience and visibility.
Follow the written instructions
Open the matching written guide ↗ · Browse all Pixie CRM video guides