
Pixie CRM guided video tutorial
Create a customer project
Recorded live · 2:25 · English captions
Create a customer project: live walkthrough
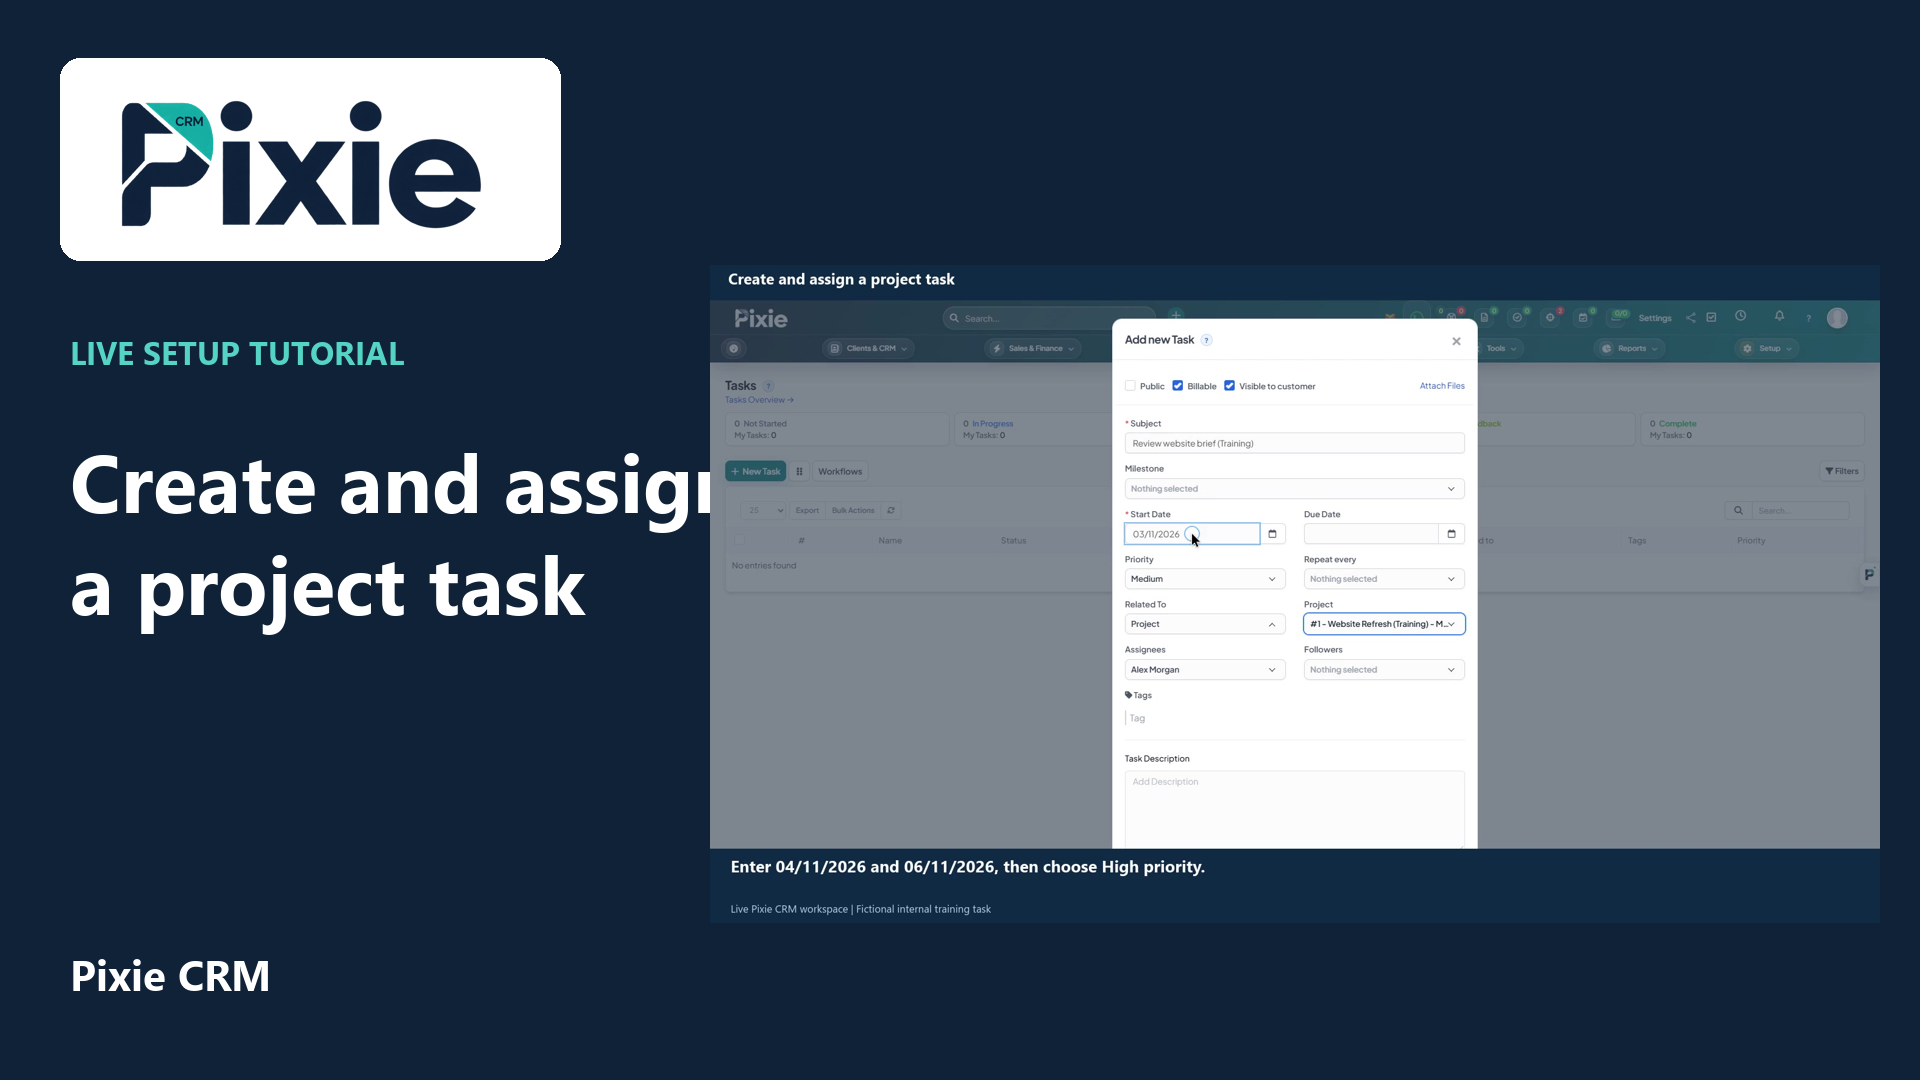 Create and assign a project task
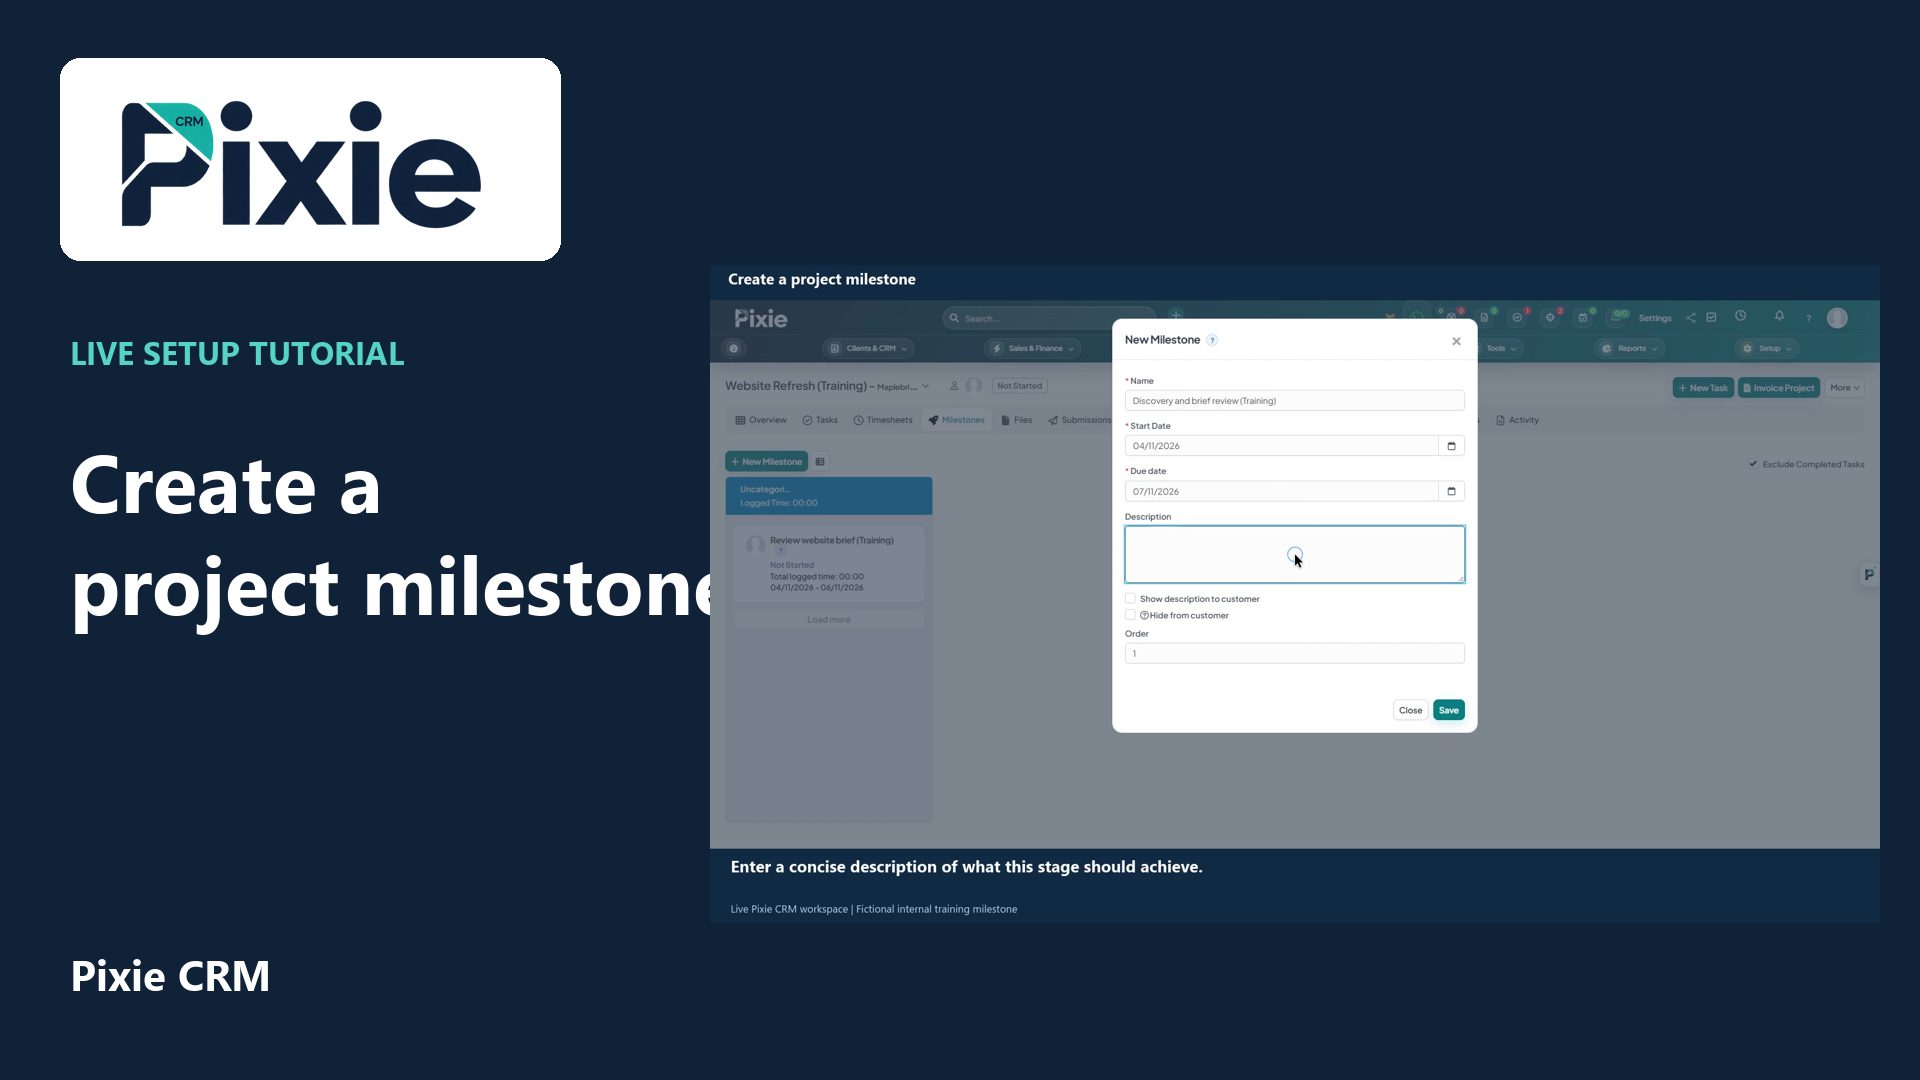 Create a project milestone
More videos in this category · Read the matching instructions
Create a customer project in Pixie CRM with live clicks. Link the customer, choose billing type and status, set dates, review members and notification choices, then save and confirm the project overview.
Matching written guide · Download MP4 · English captions
All project and customer details are fictional training examples. The training project has a zero cost, project-created email remains off and contact notifications are disabled for this example. No invoice, payment, contract or customer message is created.
Watch this tutorial on YouTube ↗ · Related Pixie CRM tutorials ↗
Video chapters
- 0:00 — Open a new project
- 0:15 — Link the customer
- 0:31 — Choose billing type and status
- 0:49 — Set the dates and review members
- 1:06 — Describe the project scope
- 1:25 — Review notification choices
- 1:45 — Save and verify the project
- 2:04 — Continue with related Pixie CRM tutorials
Read the video transcript
Open Projects in Pixie CRM and choose New Project. Enter Website Refresh, marked as a training project. A project connects customer work, dates, members and delivery activity in one record.
Open Customer and begin typing Maplebridge Design. Select the saved training customer from the results. Check this choice carefully because the project will belong to that customer and can appear in its connected records.
Choose Fixed Rate as the billing type and Not Started as the status. Enter zero as the cost for this fictional training project. These project settings do not issue an invoice, request payment or charge the customer.
Enter the start date and deadline using the configured day, month and year format. The example runs from the fourth to the eighteenth of November. Confirm Alex Morgan is included in Members and keep progress calculated through tasks.
Use Description to record a clear outline of the work. This example covers reviewing the website brief, preparing a design proposal and agreeing the delivery steps. Keep the project scope factual and separate from any final contract or approval.
Review the notification choices before saving. Keep Send project created email off, then open Project Settings and choose Do not send notifications for this training example. Review your organisation's intended customer notifications and project access settings before creating a real project.
Choose Save. Confirm that the project overview opens with the correct project name and customer. The saved project is ready for its tasks and milestones. Continue with the dedicated guides for project members, permissions, tasks and progress tracking.
Follow the written instructions
Open the matching written guide ↗ · Browse all Pixie CRM video guides