
Pixie CRM guided video tutorial
Create and assign a task checklist
Recorded live · 1:23 · English captions
Create and assign a task checklist: live walkthrough
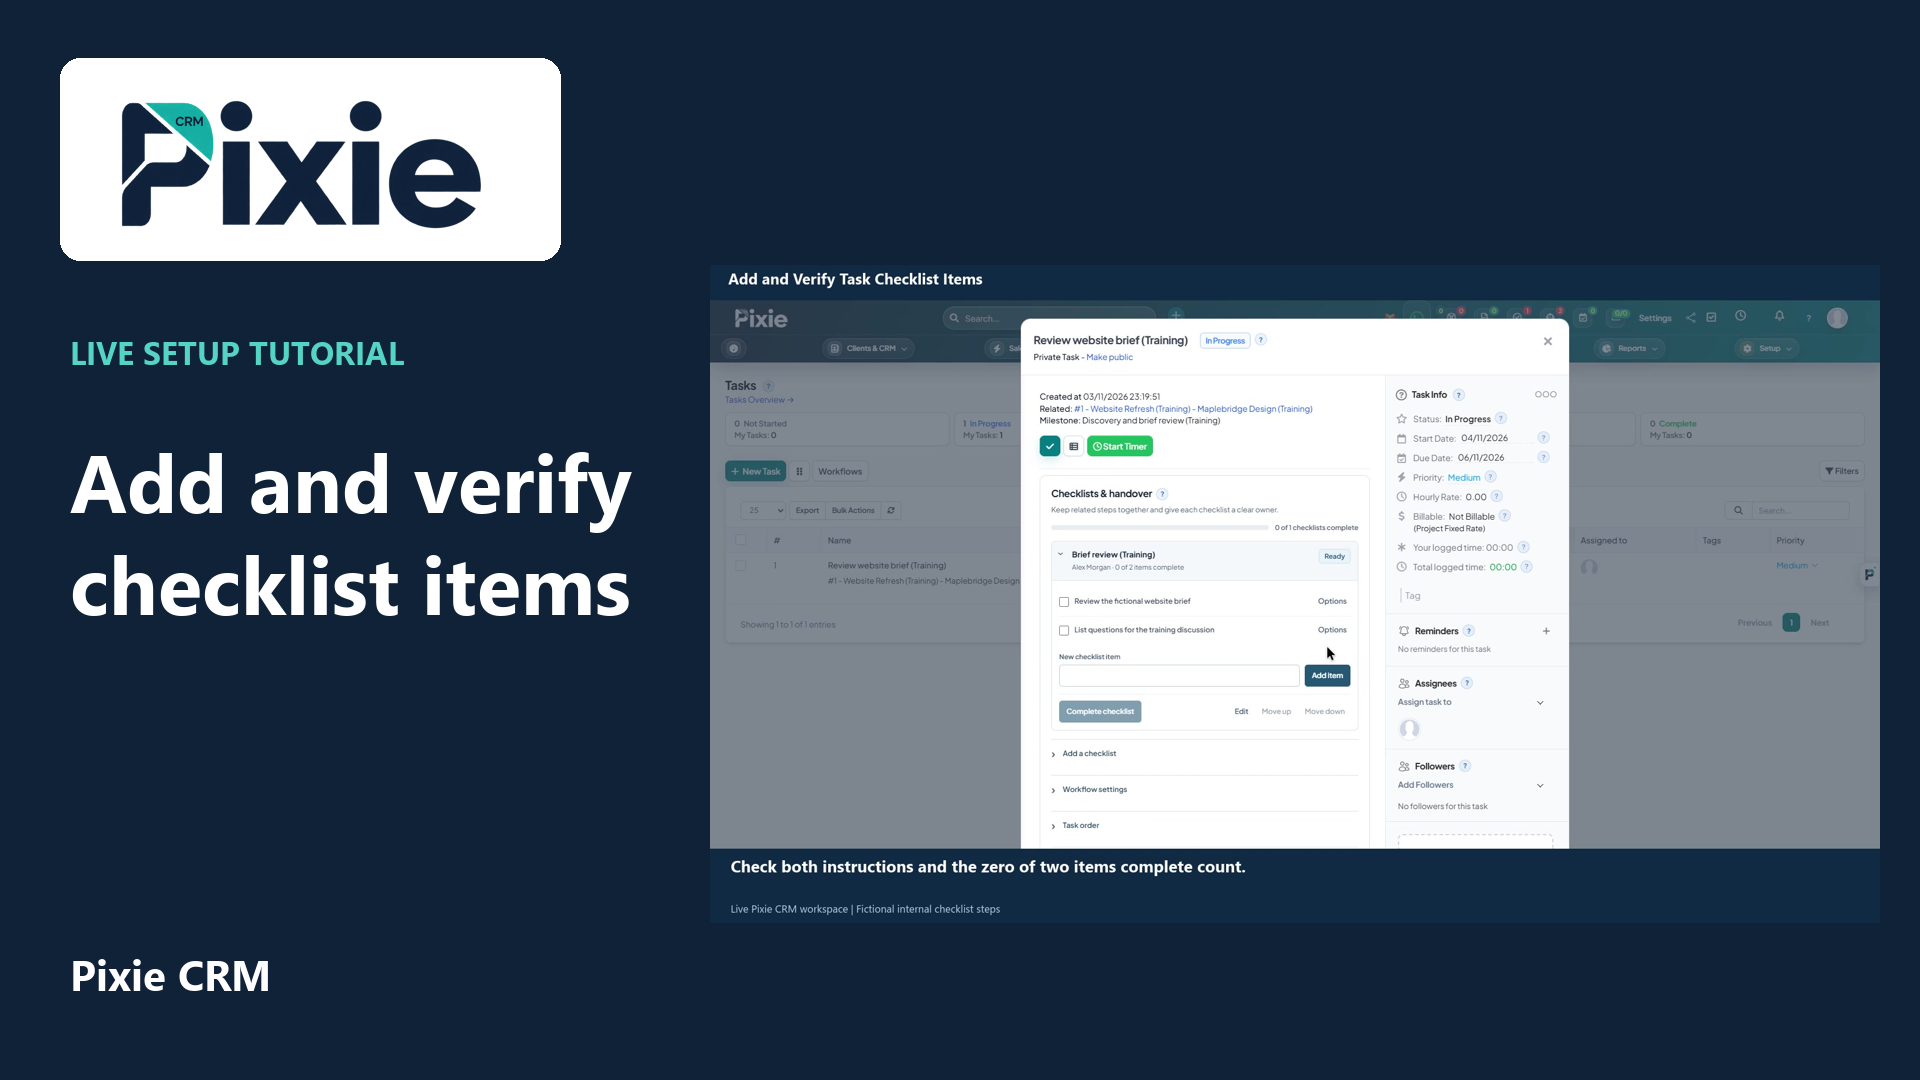 Add and verify task checklist items
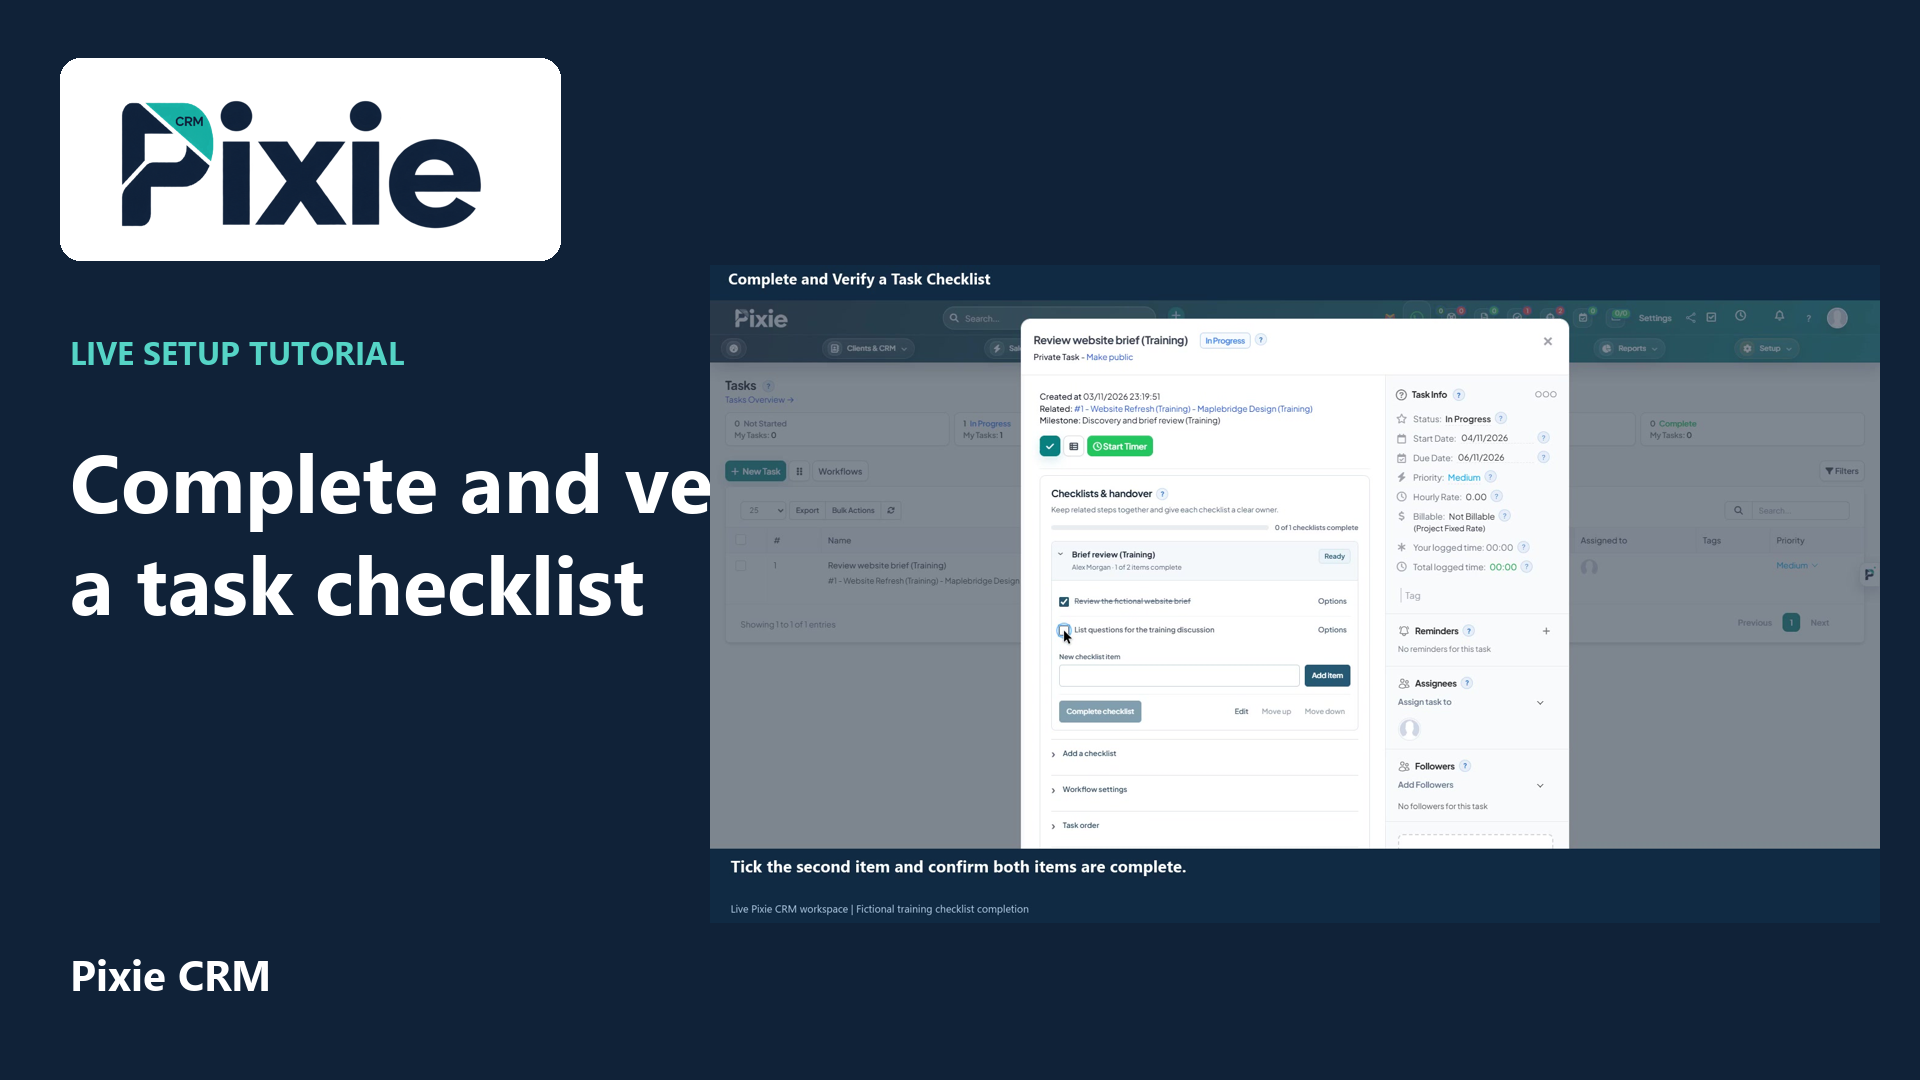 Complete and verify a task checklist
More videos in this category · Read the matching instructions
Create a named task checklist in Pixie CRM with live clicks. Enter the checklist name, choose an existing owner, save and reopen the task to verify the retained checklist.
Matching written guide · Download MP4 · English captions
The task, checklist and workspace are fictional training examples. The owner is an existing task member. No customer access, message, logged time or real task completion is created.
Watch this tutorial on YouTube ↗ · Related Pixie CRM tutorials ↗
Video chapters
- 0:00 — Open Checklists and handover
- 0:15 — Name the checklist
- 0:30 — Choose the checklist owner
- 0:45 — Reopen and verify the checklist
- 1:02 — Continue with related Pixie CRM tutorials
Read the video transcript
Create a named task checklist in Pixie CRM. Open Tasks and choose the internal website brief task. The Checklists and handover panel keeps related steps together and lets you give each checklist an owner.
Enter a short, descriptive checklist name. This example uses Brief review, Training. A clear stage name helps colleagues understand which part of the task the checklist supports.
Choose Alex Morgan in the Owner field, then select Add checklist. The named checklist is saved within this task. Selecting an existing task member keeps the responsibility clear without changing customer access.
Close the task and open the same record again. Confirm that Brief review, Training, remains available with Alex Morgan as its owner. Checklist items and their completion are managed separately; creating the checklist does not complete the task.
Follow the written instructions
Open the matching written guide ↗ · Browse all Pixie CRM video guides