
Pixie CRM guided video tutorial
Create and assign a project task
Recorded live · 2:11 · English captions
Create and assign a project task: live walkthrough
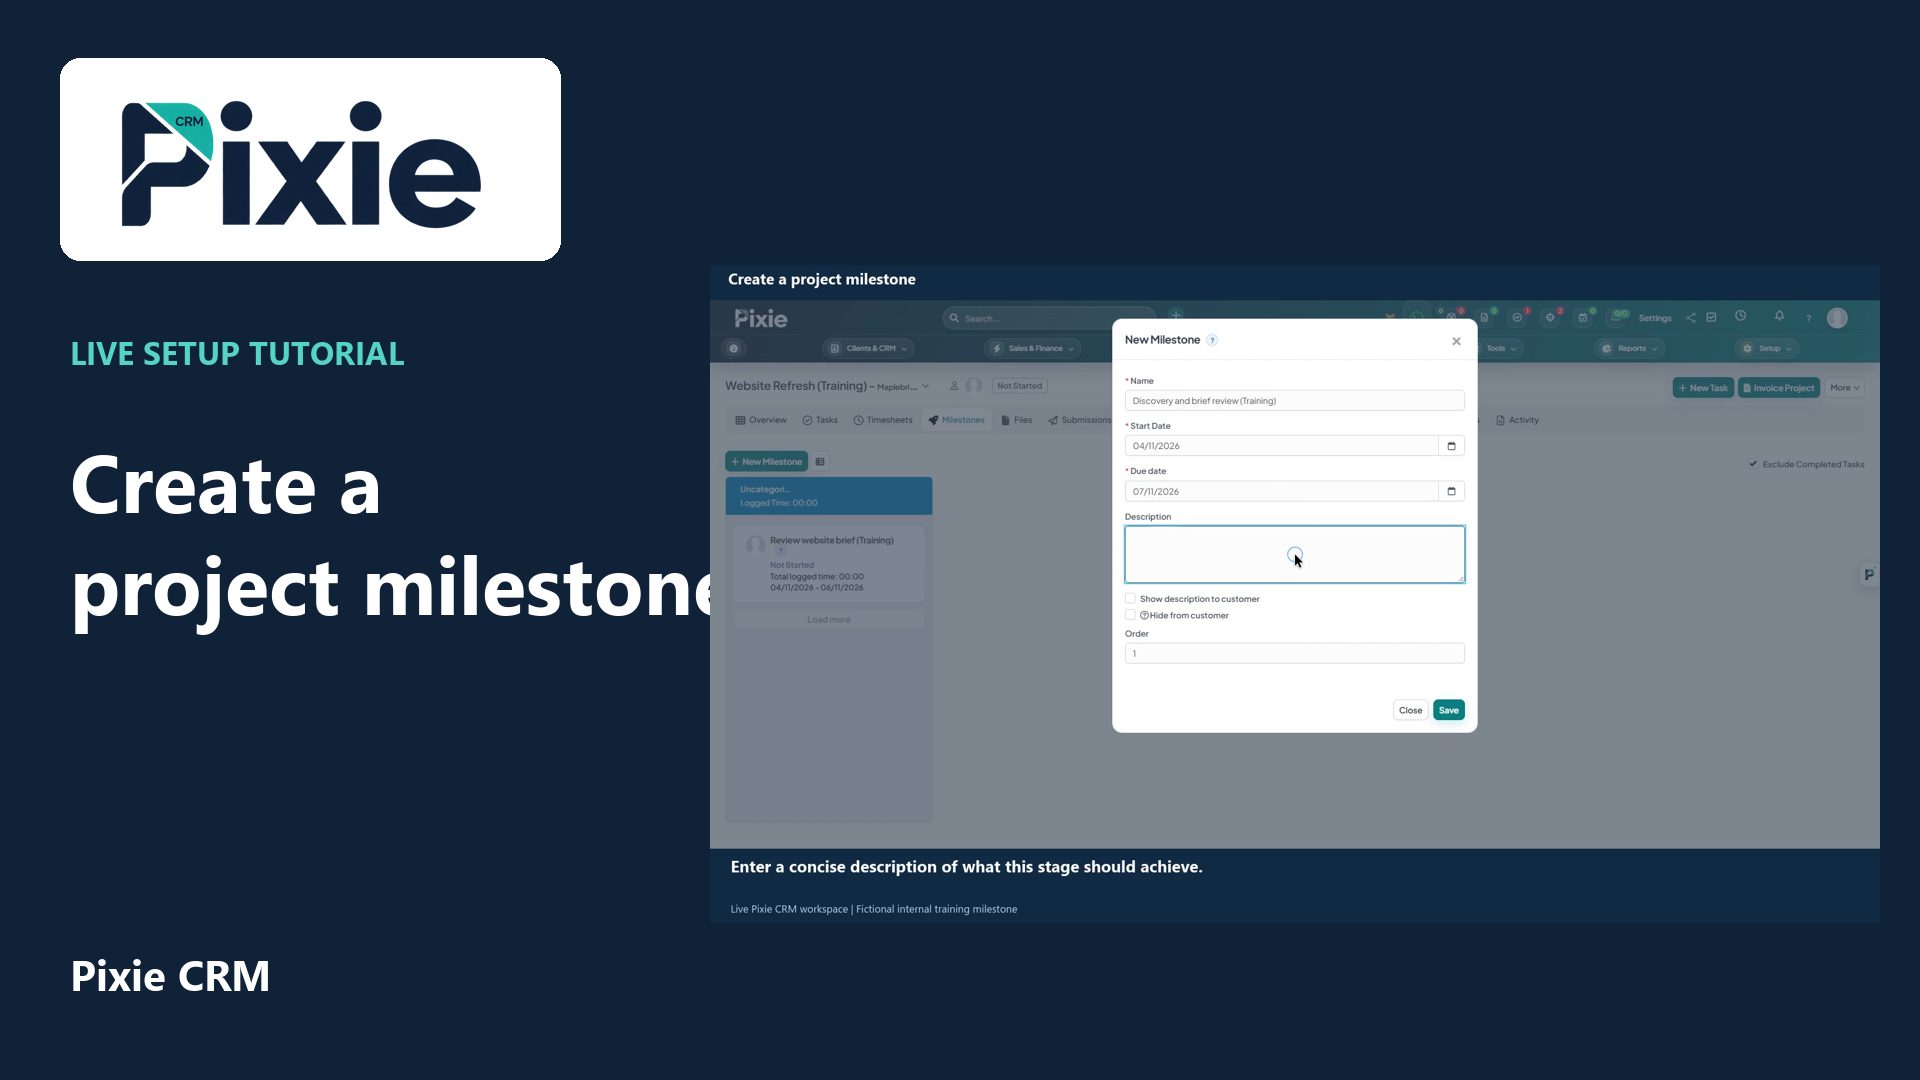 Create a project milestone
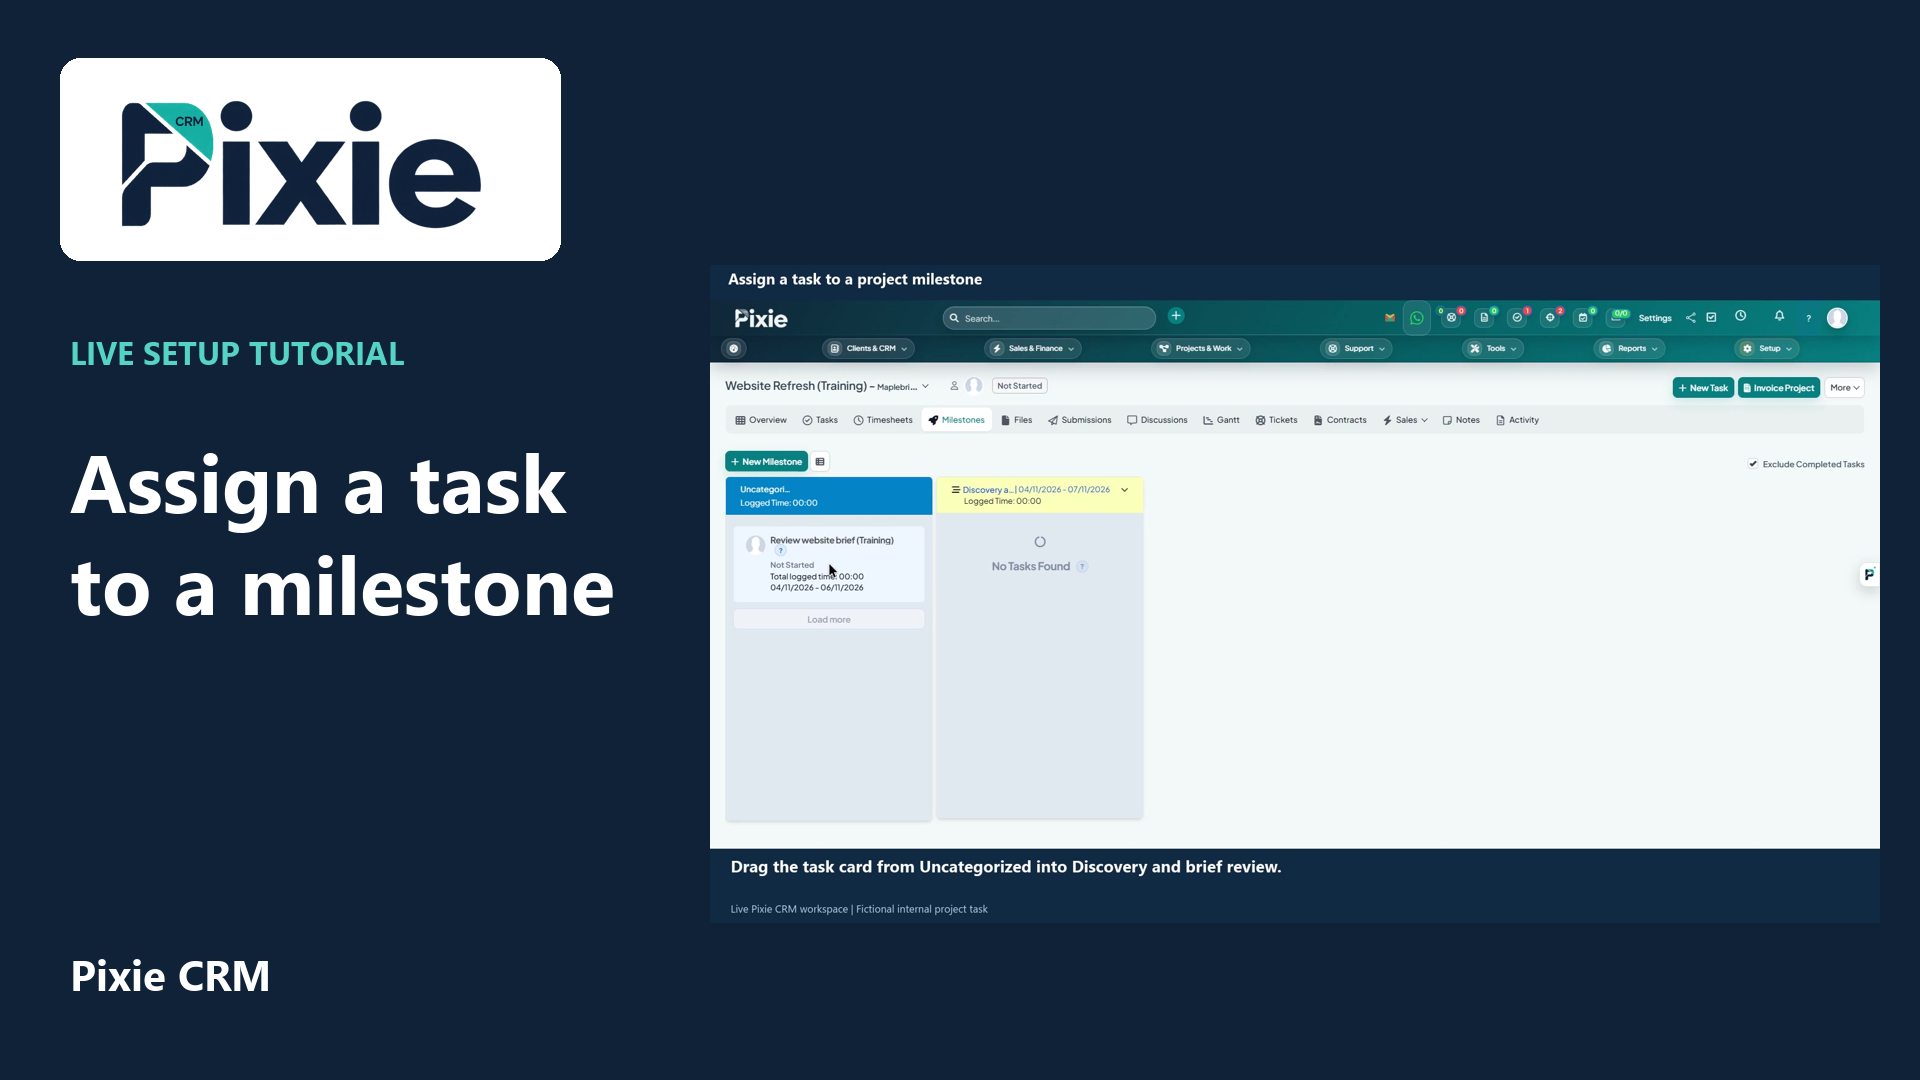 Assign a task to a project milestone
More videos in this category · Read the matching instructions
Create a project task in Pixie CRM with live clicks. Link its project, set the dates and priority, review the assignee, billing and visibility, then save and verify the task.
Matching written guide · Download MP4 · English captions
All records are fictional training examples. Public and customer visibility remain off, and Billable is cleared for this internal demonstration. The tutorial does not contact the customer, log billable time or issue an invoice.
Watch this tutorial on YouTube ↗ · Related Pixie CRM tutorials ↗
Video chapters
- 0:00 — Create a new task
- 0:14 — Link the task to its project
- 0:35 — Set the dates and priority
- 0:53 — Review owner, billing and visibility
- 1:09 — Describe the required work
- 1:31 — Save and verify the task
- 1:50 — Continue with related Pixie CRM tutorials
Read the video transcript
Open Tasks in Pixie CRM and choose New Task. Enter Review website brief, marked as a training task. A clear subject describes the action the owner needs to complete.
Under Related To, choose Project. Search for Website Refresh and select the saved training project for Maplebridge Design. This links the task to the project so its delivery work can be followed in context.
Set the start date to the fourth of November and the due date to the sixth. Choose High priority for this example. Use the configured day, month and year format and select a priority that reflects the real urgency of the work.
Confirm Alex Morgan as the assignee. Keep Public and Visible to customer off, and clear Billable for this internal training task. Check who should see a real task and whether its time should be billable before saving it.
Open Description and enter the steps the owner should follow. This example asks the owner to review the fictional brief, list any missing requirements and prepare questions for the next project discussion. Clear instructions make the expected result easier to check.
Choose Save and confirm the saved task name and linked project. Review the assigned owner, priority and dates in the saved task. The work is now recorded for follow-up. Continue with the dedicated task-management and project-progress guides for the next steps.
Follow the written instructions
Open the matching written guide ↗ · Browse all Pixie CRM video guides