
Pixie CRM guided video tutorial
Create and assign a lead
Recorded live · 2:35 · English captions
Create and assign a lead: live walkthrough
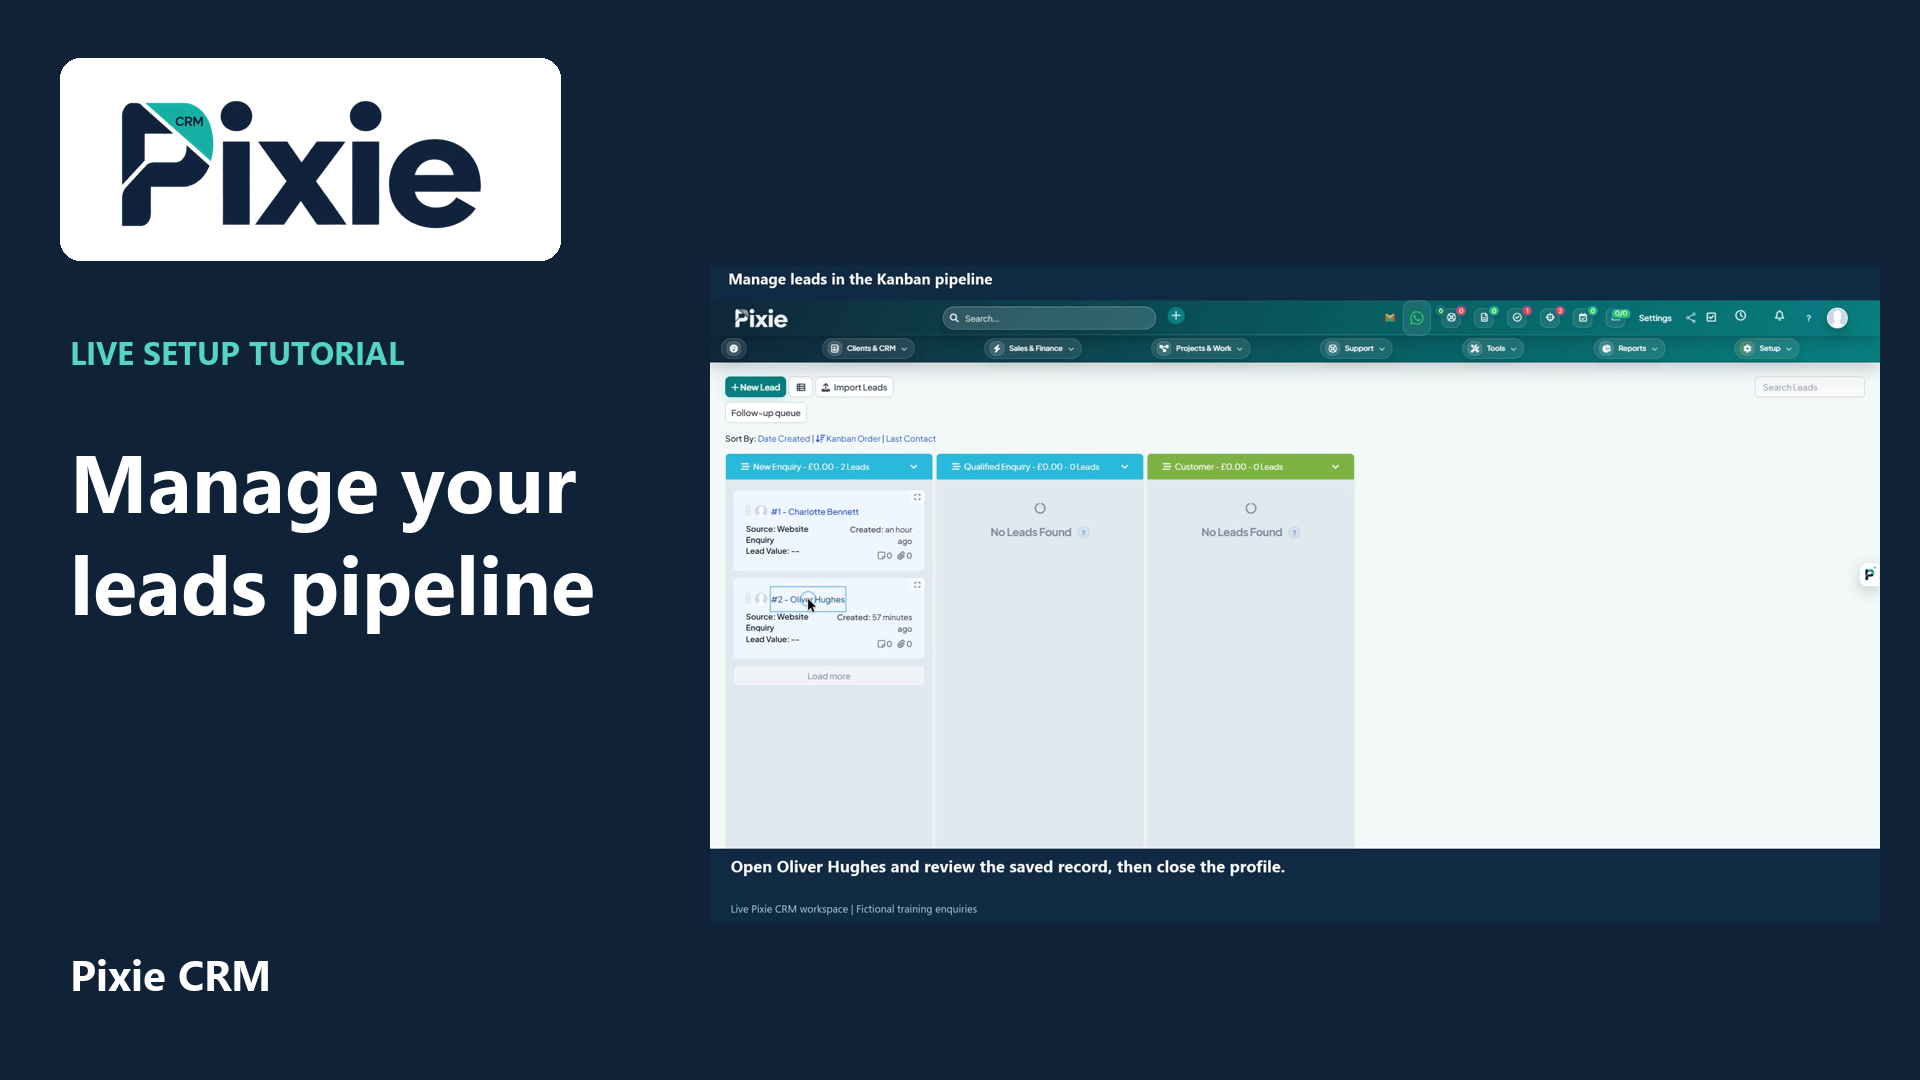 Manage leads in the Kanban pipeline
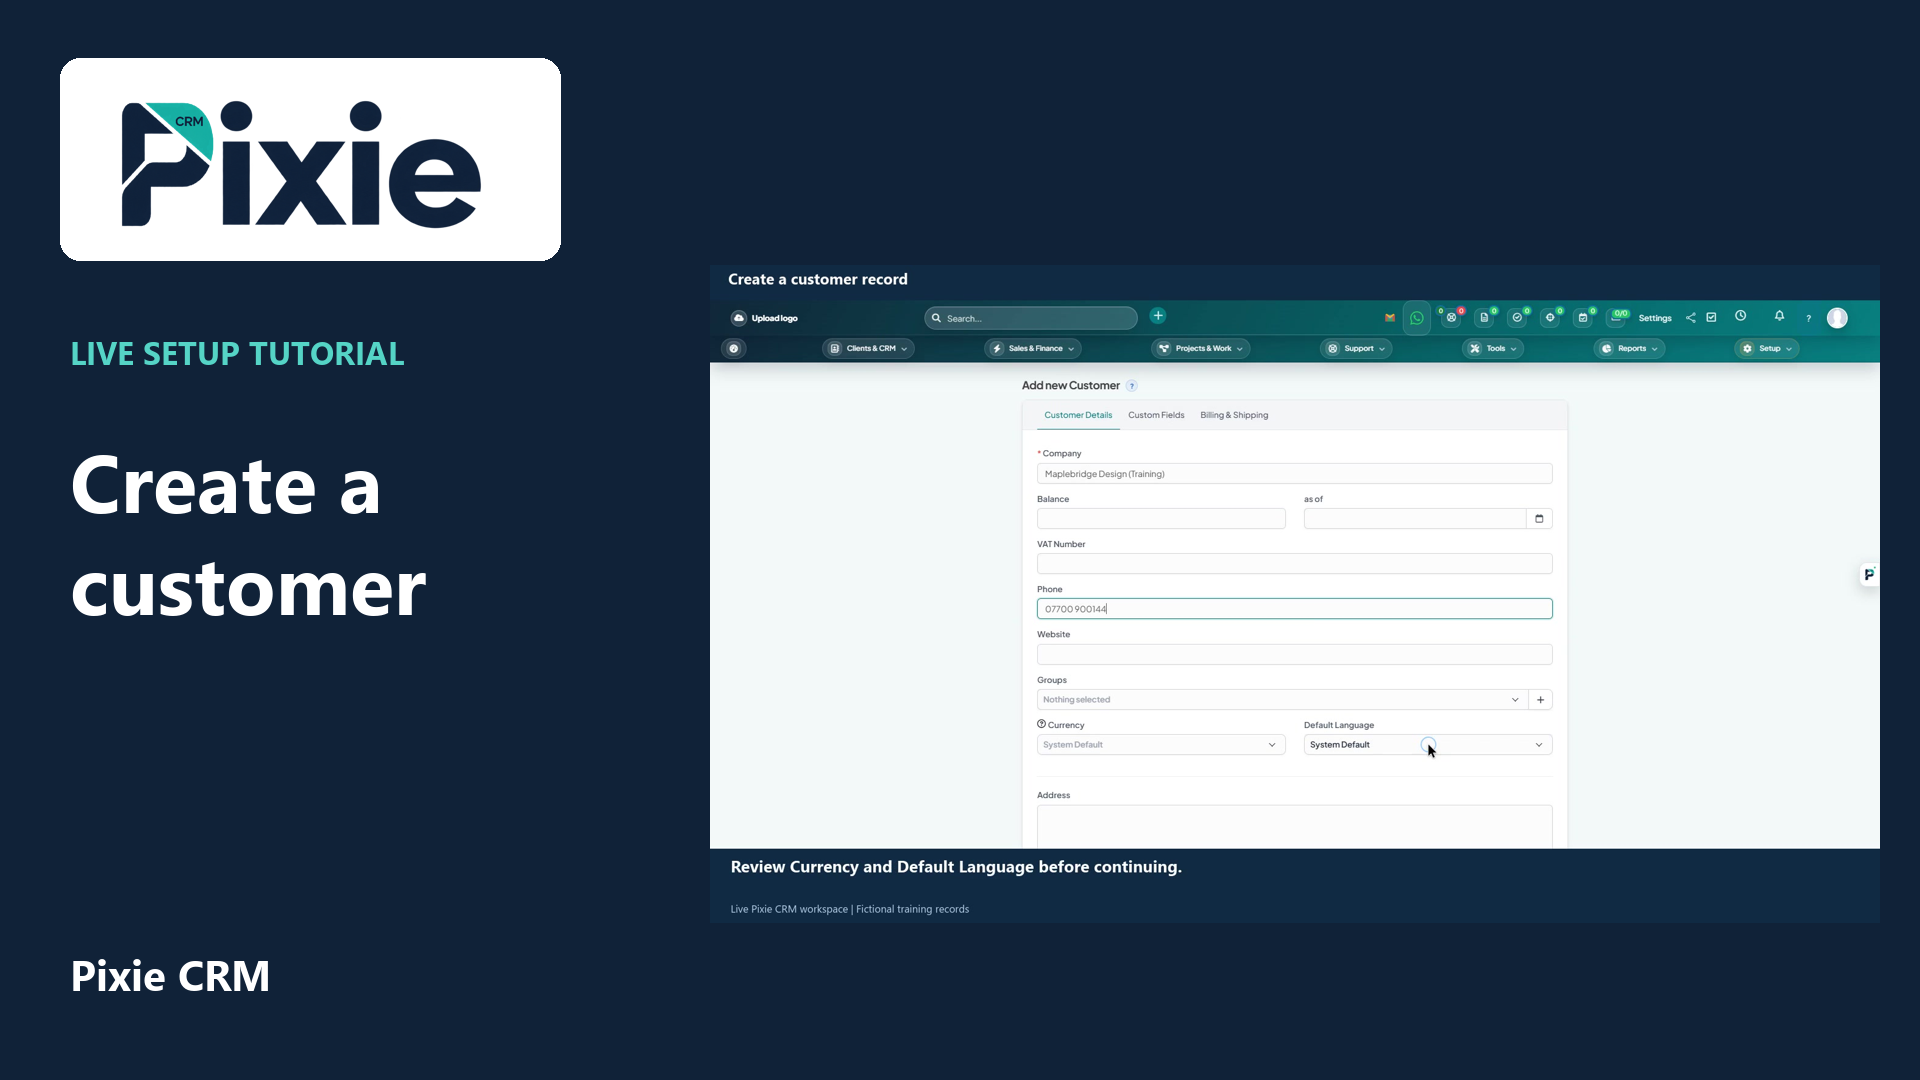 Create a customer record in Pixie CRM
More videos in this category · Read the matching instructions
Create a lead in Pixie CRM with live clicks. Select the status, source and owner, enter the enquiry details, review visibility and contact history, then save and verify the lead in the list.
Matching written guide · Download MP4 · English captions
All people, companies and contact details shown are fictional training examples. Public remains off and Contacted Today is cleared because no contact has been made. This tutorial does not send a message or convert the lead into a customer.
Watch this tutorial on YouTube ↗ · Related Pixie CRM tutorials ↗
Video chapters
- 0:00 — Open a new lead
- 0:18 — Choose status, source and owner
- 0:45 — Enter the enquiry details
- 1:11 — Add company and context
- 1:33 — Review visibility and contact history
- 1:54 — Save and verify the lead
- 2:15 — Continue with related Pixie CRM tutorials
Read the video transcript
Open Leads in Pixie CRM, then choose New Lead. A lead records an enquiry before it becomes a customer. This demonstration creates a fictional enquiry in the training workspace, using the status and source configured in the earlier tutorials.
Choose New Enquiry as the status and Website Enquiry as the source. Confirm Alex Morgan as the assigned owner. Status describes the current stage, source records the enquiry channel and the assigned owner is the team member responsible for this lead.
Enter Oliver Hughes, the position Operations Manager and the demonstration email and phone number. Use accurate details and your organisation's handling rules when creating real enquiries. The contact details shown here are reserved fictional examples.
Add Cedarhouse Advisory, marked as a training company. In Description, record a short factual summary of the enquiry. Clear context helps the owner understand what the prospect needs without having to reconstruct the first conversation.
Review the visibility and contact-history choices before saving. Public remains off. Clear Contacted Today because this fictional enquiry has not been contacted. Do not record a contact event that has not happened. Check the selected status, source and owner once more.
Choose Save and wait for the saved lead profile. Close the profile to return to the list, then confirm Oliver Hughes appears with the selected stage and source. The enquiry is now recorded for the next follow-up workflow. This tutorial does not contact the prospect or convert the lead into a customer.
Follow the written instructions
Open the matching written guide ↗ · Browse all Pixie CRM video guides