
Pixie CRM guided video tutorial
Set company information for invoices and documents
Recorded live · 2:18 · English captions
Company information: live setup walkthrough
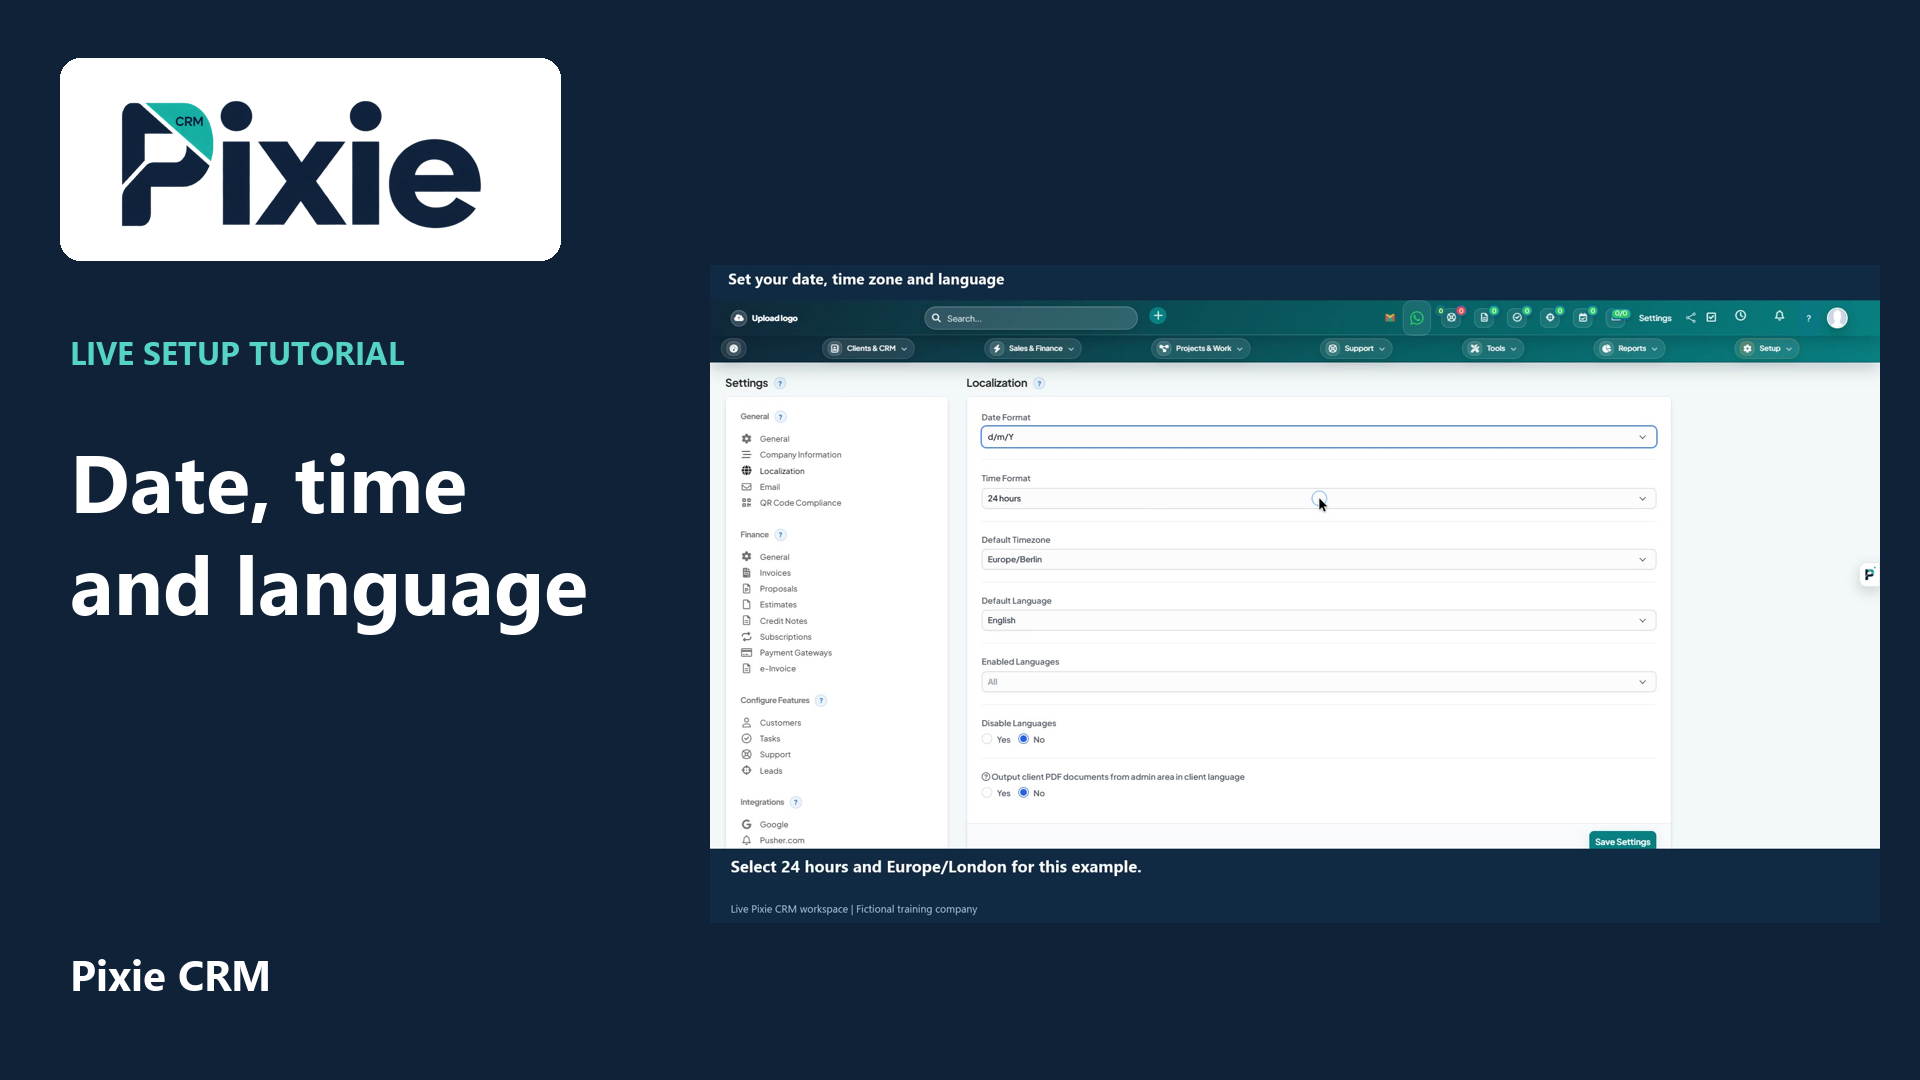 Set your date format, time zone and language
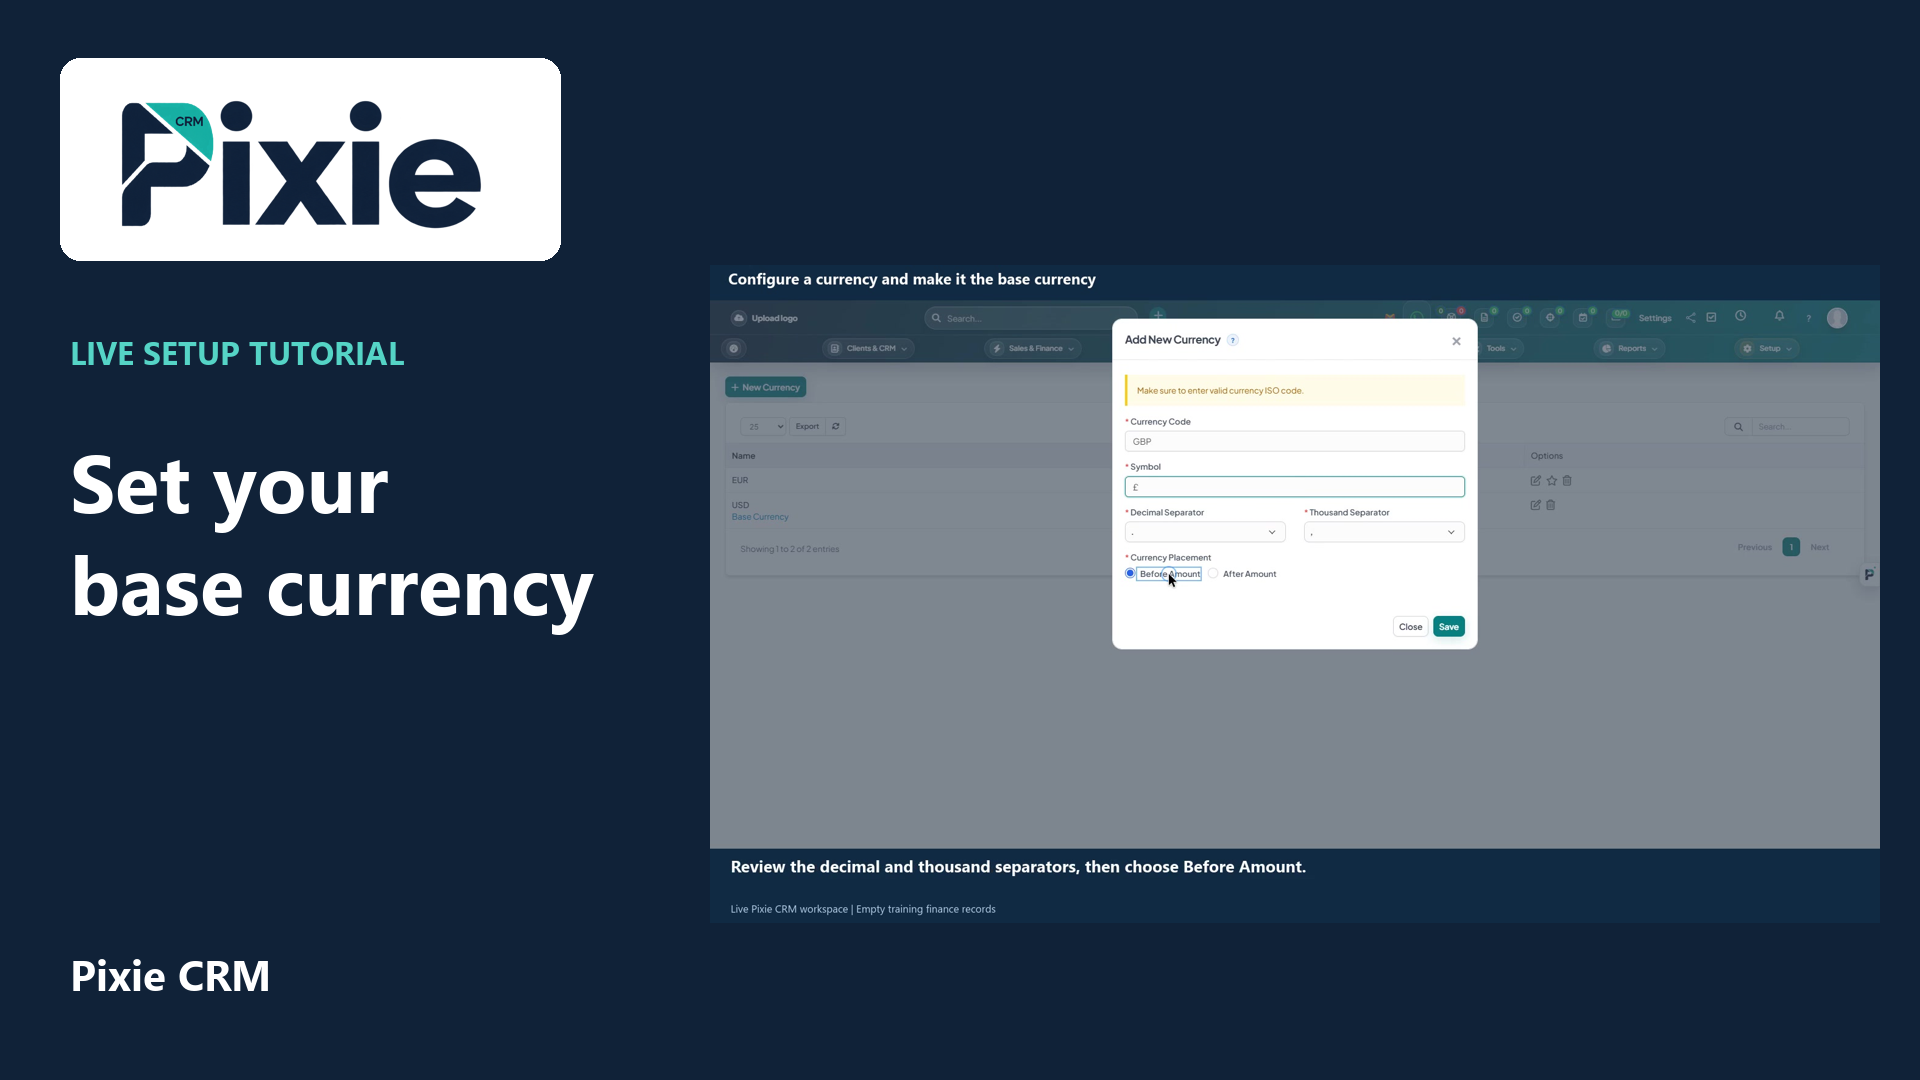 Add GBP and set your base currency
More videos in this category · Read the matching instructions
Set your company name, address, country code, phone and document information in Pixie CRM. Follow the live clicks, save the settings and verify the result.
Matching written guide · Download MP4 · English captions
Genuine live workspace footage with fictional training details. This tutorial covers Company Information for document layouts. VAT is left blank for the training example. Menu access and document behaviour depend on your permissions and enabled modules.
Watch this tutorial on YouTube ↗ · Related Pixie CRM tutorials ↗
Video chapters
- 0:00 — Open Company Information
- 0:16 — Set the document company name
- 0:33 — Complete the address
- 0:57 — Review country, phone and VAT fields
- 1:17 — Save and confirm company details
- 1:32 — Continue document and localisation setup
- 1:57 — Continue with related Pixie CRM tutorials
Read the video transcript
Open Settings from the Pixie CRM dashboard, then choose Company Information. These settings control the organisation details used in document layouts. They are separate from the company name shown in General settings.
Enter the company name you want to use on business documents. Use your organisation's correct details. Our example uses Willowbrook Consulting, a fictional training company, so the records shown here do not represent a real business transaction.
Complete the address, city, state or county, and postal code. Follow each field label on your screen. Check these details carefully, because they can appear in the company information section of generated documents.
Review Country Code and Phone. We are using G B and a reserved example number. Complete VAT Number with the relevant company details when needed; we leave it blank for this training example. Keep the information format unchanged unless you intend to customise the document layout.
Choose Save Settings and wait for the page to reload. Check that the company details are still present. The saved settings are ready to be used by document templates that include these company information fields.
Continue with the localisation, logo and invoice setup tutorials for the next steps. Use the matching written guide linked in this video's description. Available settings and document layouts depend on your permissions and enabled modules.
Follow the written instructions
Open the matching written guide ↗ · Browse all Pixie CRM video guides