
Pixie CRM guided video tutorial
Add and verify an internal lead note
Recorded live · 1:24 · English captions
Add and verify an internal lead note: live walkthrough
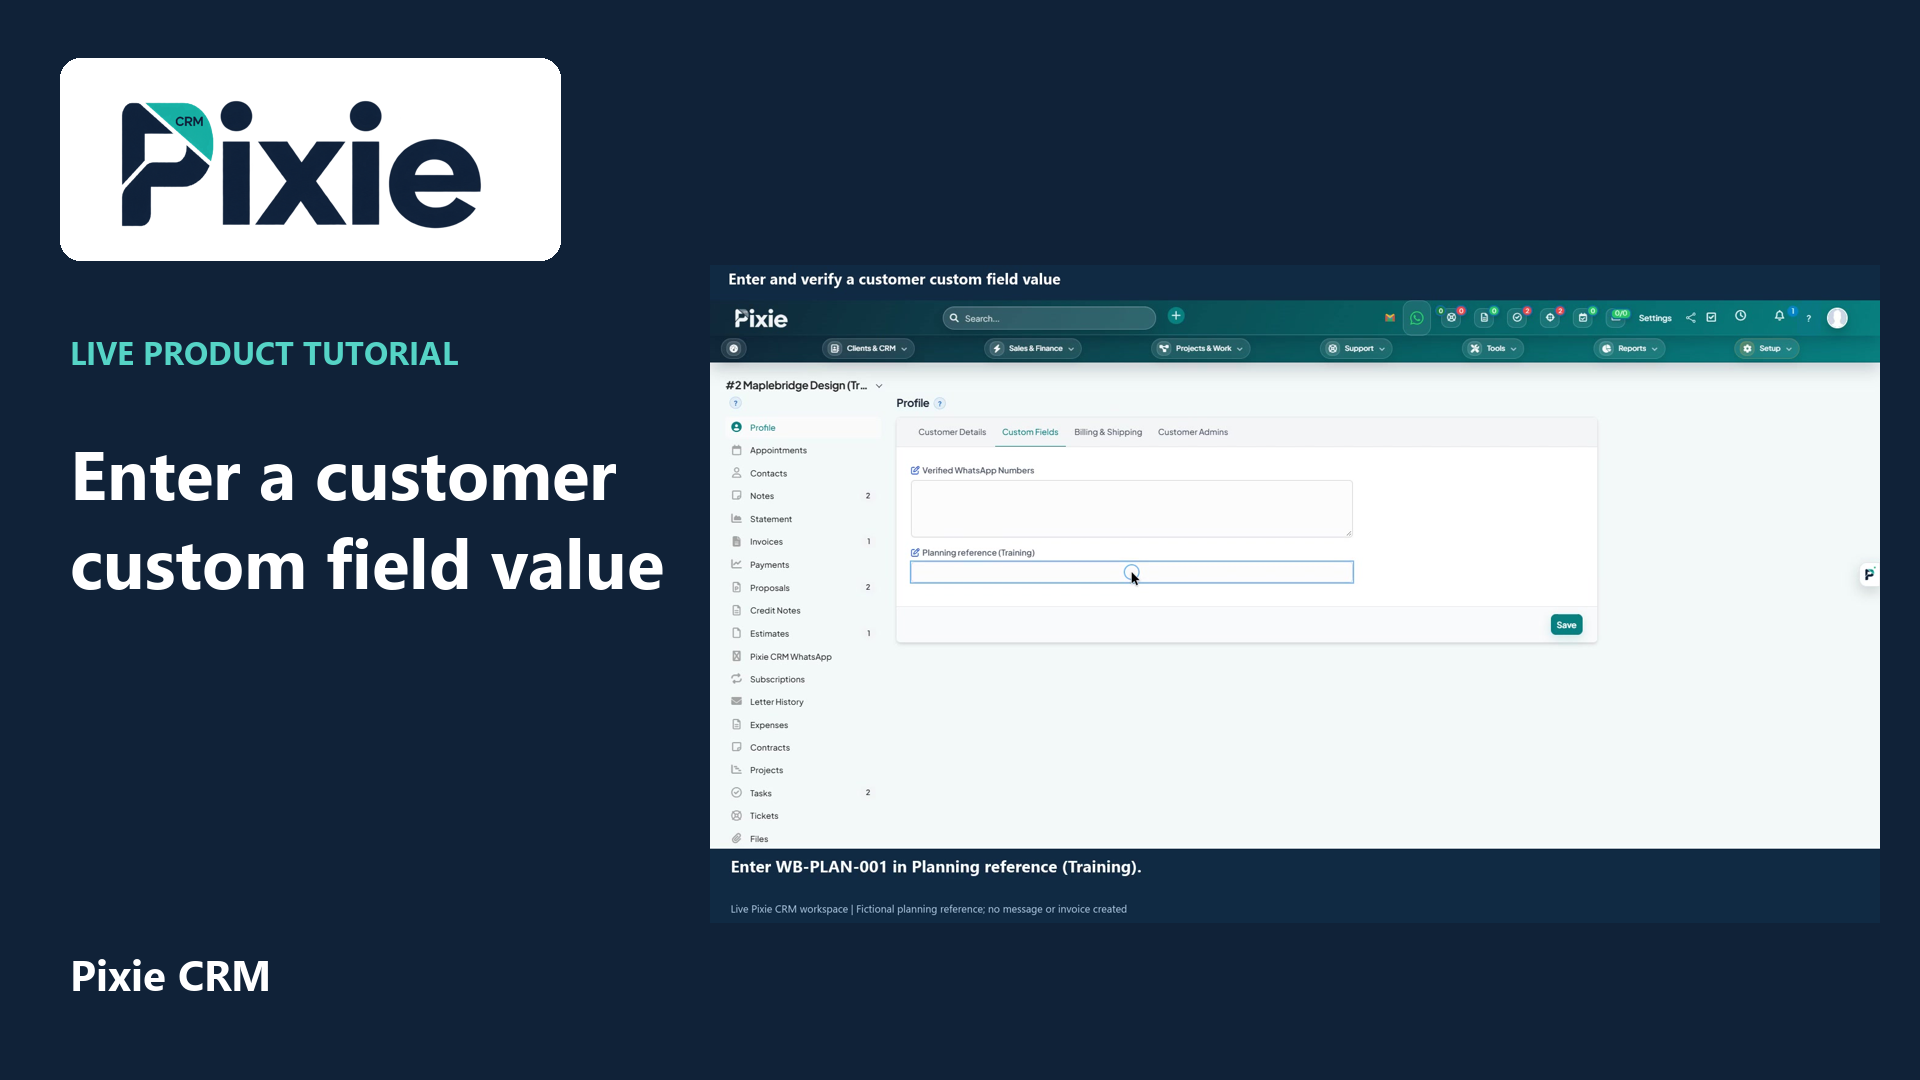 Enter and verify a customer custom field value
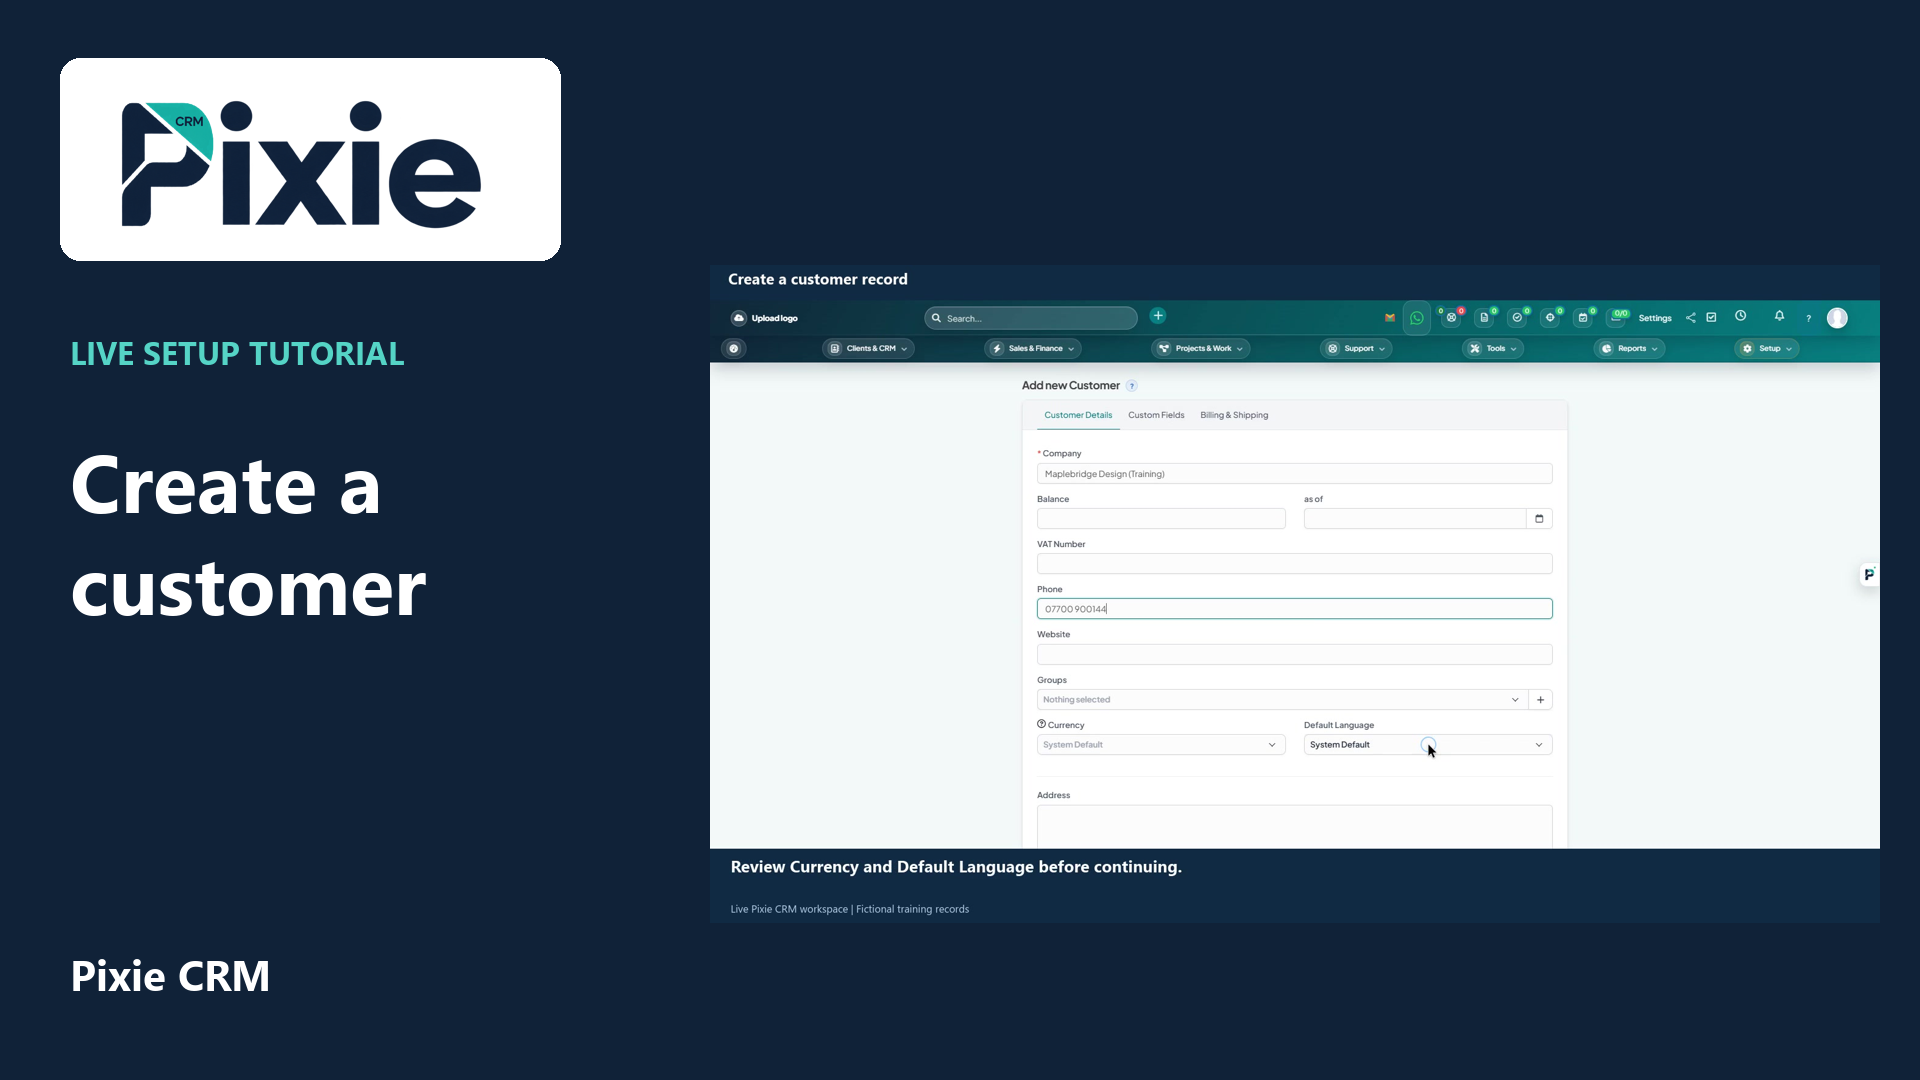 Create a customer record in Pixie CRM
More videos in this category · Read the matching instructions
Add an internal note to a Pixie CRM lead with live clicks. Review the contact indicator, save the note and reopen the lead to verify the retained text.
Matching written guide · Download MP4 · English captions
The prospect and note are fictional training examples. No customer contact, email, call, appointment or reminder is created. The contact indicator is left on I have not contacted this lead.
Watch this tutorial on YouTube ↗ · Related Pixie CRM tutorials ↗
Video chapters
- 0:00 — Open the lead's Notes tab
- 0:17 — Write and save the internal note
- 0:35 — Review the saved note
- 0:50 — Reopen and verify the retained note
- 1:04 — Continue with related Pixie CRM tutorials
Read the video transcript
Add an internal lead note in Pixie CRM. Open Leads, select Oliver Hughes and choose Notes. Confirm the lead's identity before adding context to its record. This example uses a fictional training prospect.
Write a clear note about the next internal review. Keep I have not contacted this lead selected, because this training example has not contacted the prospect. Choose Add Note to save the context to the lead record.
Review the saved note in the Notes history. Check its wording and the recorded author. Internal notes provide context for your team; they do not send an email or record a conversation with the lead.
Close and reopen the same lead, then return to Notes. The saved planning note is retained. Use a separate follow-up or reminder workflow when you need to assign and schedule the next action.
Follow the written instructions
Open the matching written guide ↗ · Browse all Pixie CRM video guides