
Pixie CRM guided video tutorial
Edit and verify a draft invoice
Recorded live · 1:42 · English captions
Edit and verify a draft invoice: live walkthrough
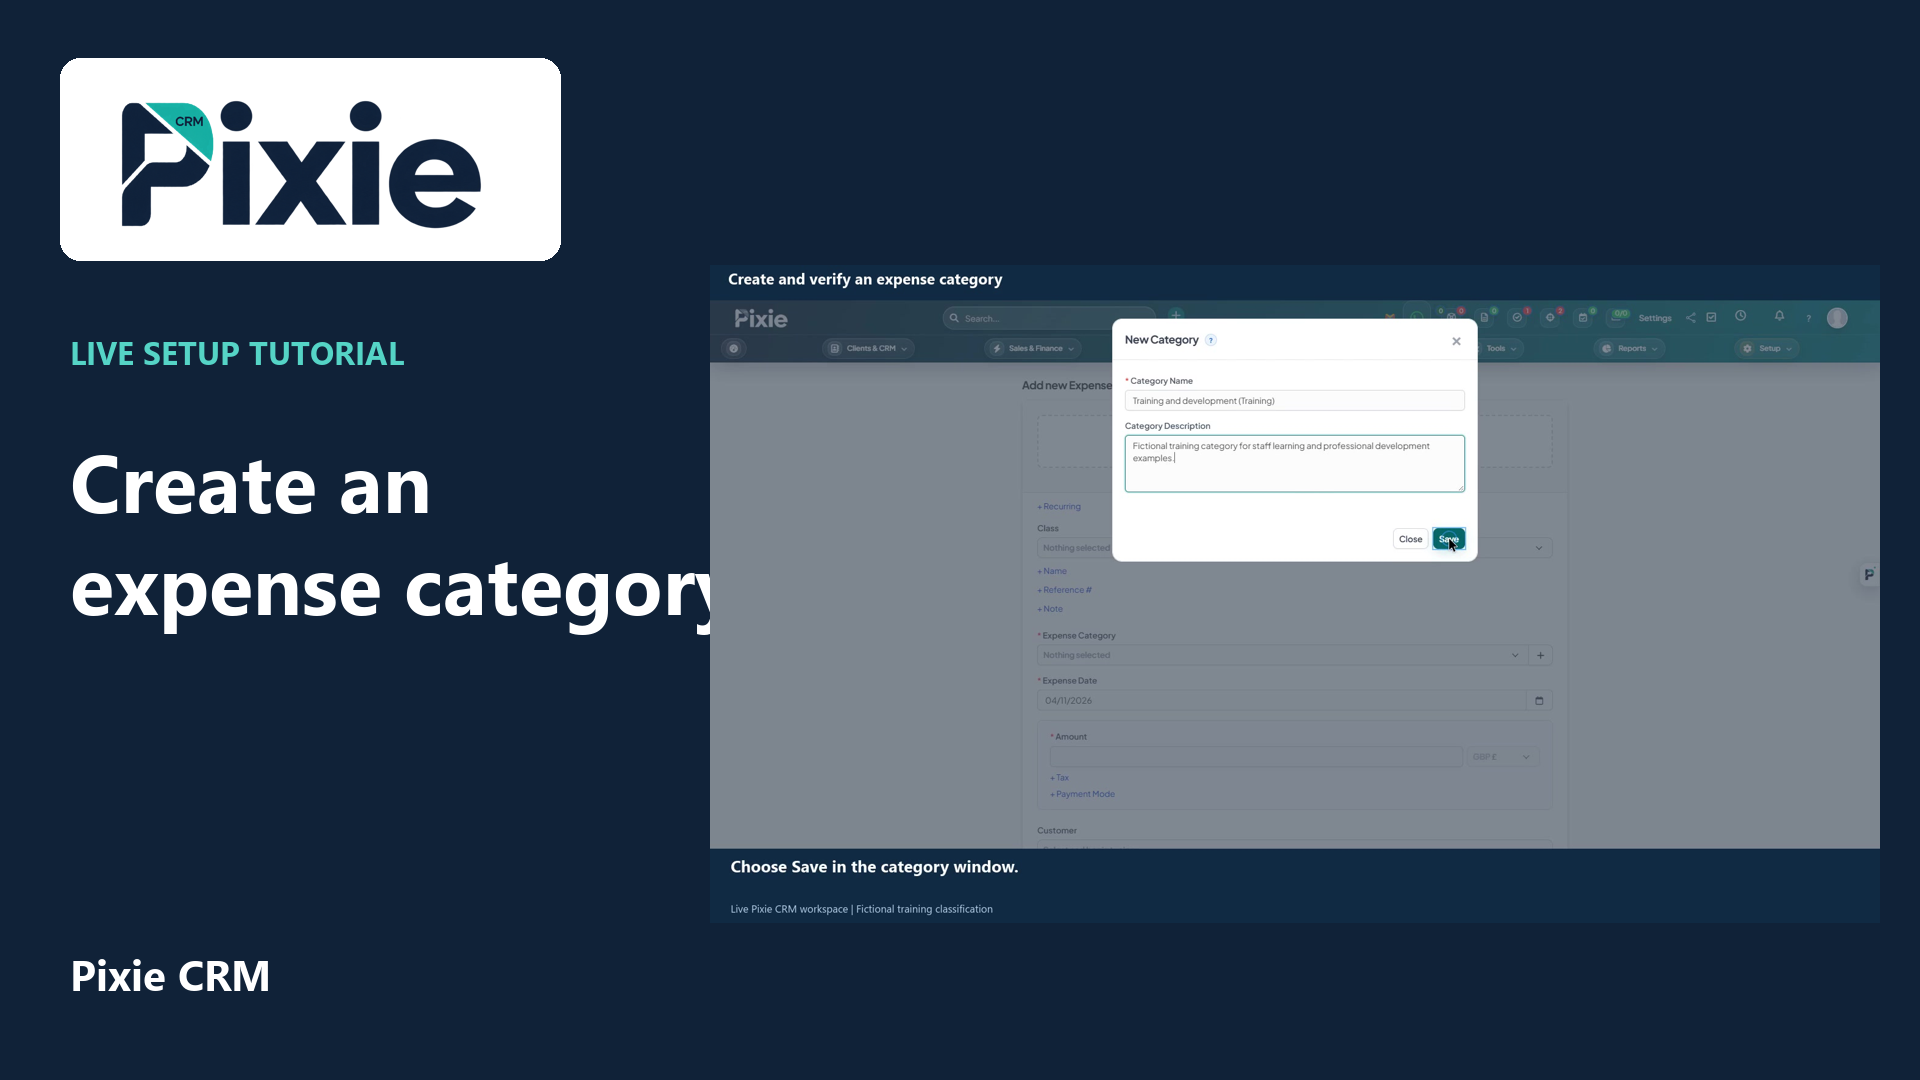 Create and verify an expense category
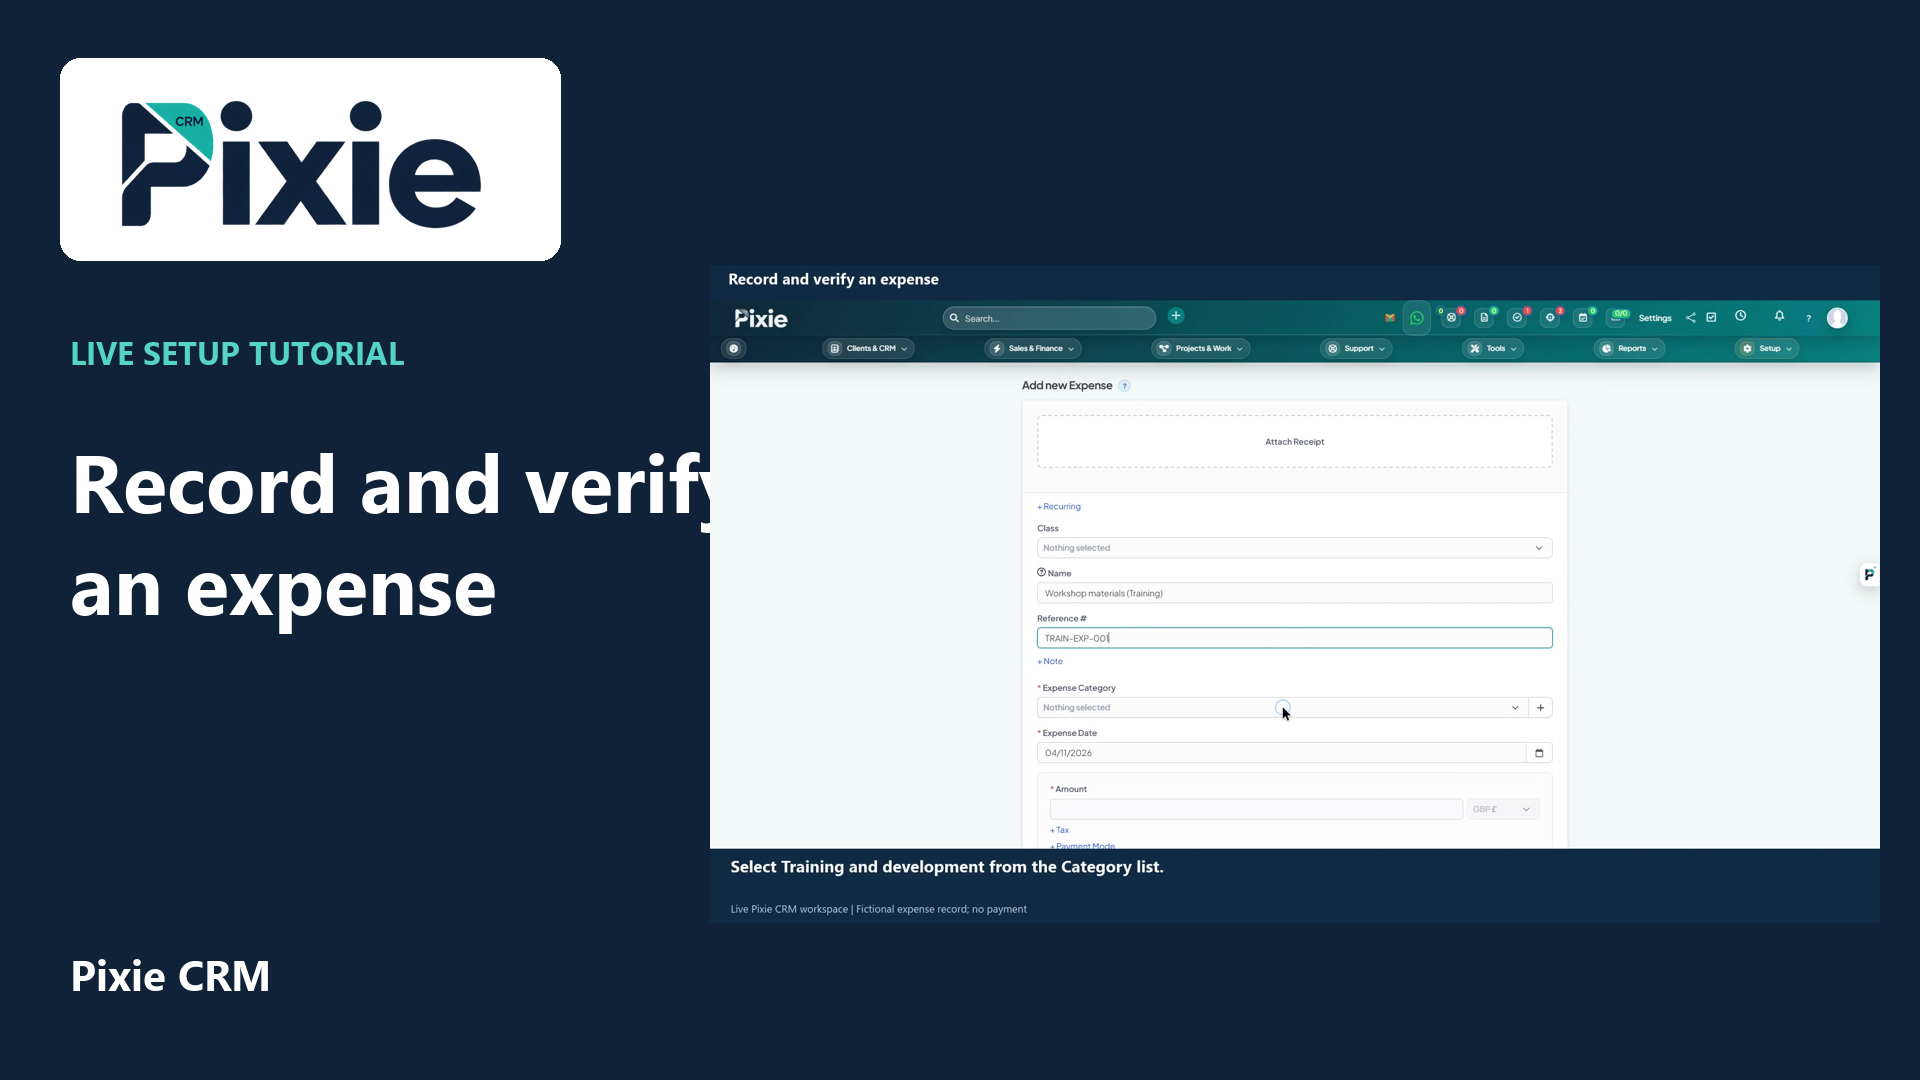 Record and verify an expense
More videos in this category · Read the matching instructions
Edit a draft invoice in Pixie CRM. Follow live clicks to revise the due date and client note, save the same draft and reopen it to verify the stored changes.
Matching written guide · Download MP4 · English captions
The invoice and customer are fictional training records in a disposable workspace. The document remains an unsent draft. No invoice is issued, email sent, payment requested or money moved. Client notes and internal admin notes have different audiences.
Watch this tutorial on YouTube ↗ · Related Pixie CRM tutorials ↗
Video chapters
- 0:00 — Open the existing draft invoice
- 0:16 — Change the draft due date
- 0:29 — Update the client-facing note
- 0:47 — Save the changes to the draft
- 1:03 — Reopen and verify the saved changes
- 1:22 — Continue with related Pixie CRM tutorials
Read the video transcript
Open Invoices and select the existing training draft. Check the customer and Draft status, then choose the Edit Invoice icon. Editing the saved draft keeps the work in the same document rather than creating a second invoice.
Change the due date to the eighteenth of December. Use the date format configured for your workspace. Move out of the field to close the calendar, then check the value before saving.
Update the client-facing note to identify the revised training draft. The service line and three hundred pound total are unchanged. Client notes and internal admin notes have different audiences, so put the right information in the right field.
Choose Save. Review the returned invoice and confirm it is still marked Draft. The revised due date and note are stored on the same training document. Saving these edits does not send the invoice or request a payment.
Reopen Edit Invoice to verify the stored fields. The new due date and revised client note are retained, while the invoice remains a draft. Complete your internal review before using the separate sending workflow for a real customer invoice.
Follow the written instructions
Open the matching written guide ↗ · Browse all Pixie CRM video guides