
Pixie CRM guided video tutorial
Create and verify an accounting vendor
Recorded live · 2:30 · English captions
Create and verify an accounting vendor: live walkthrough
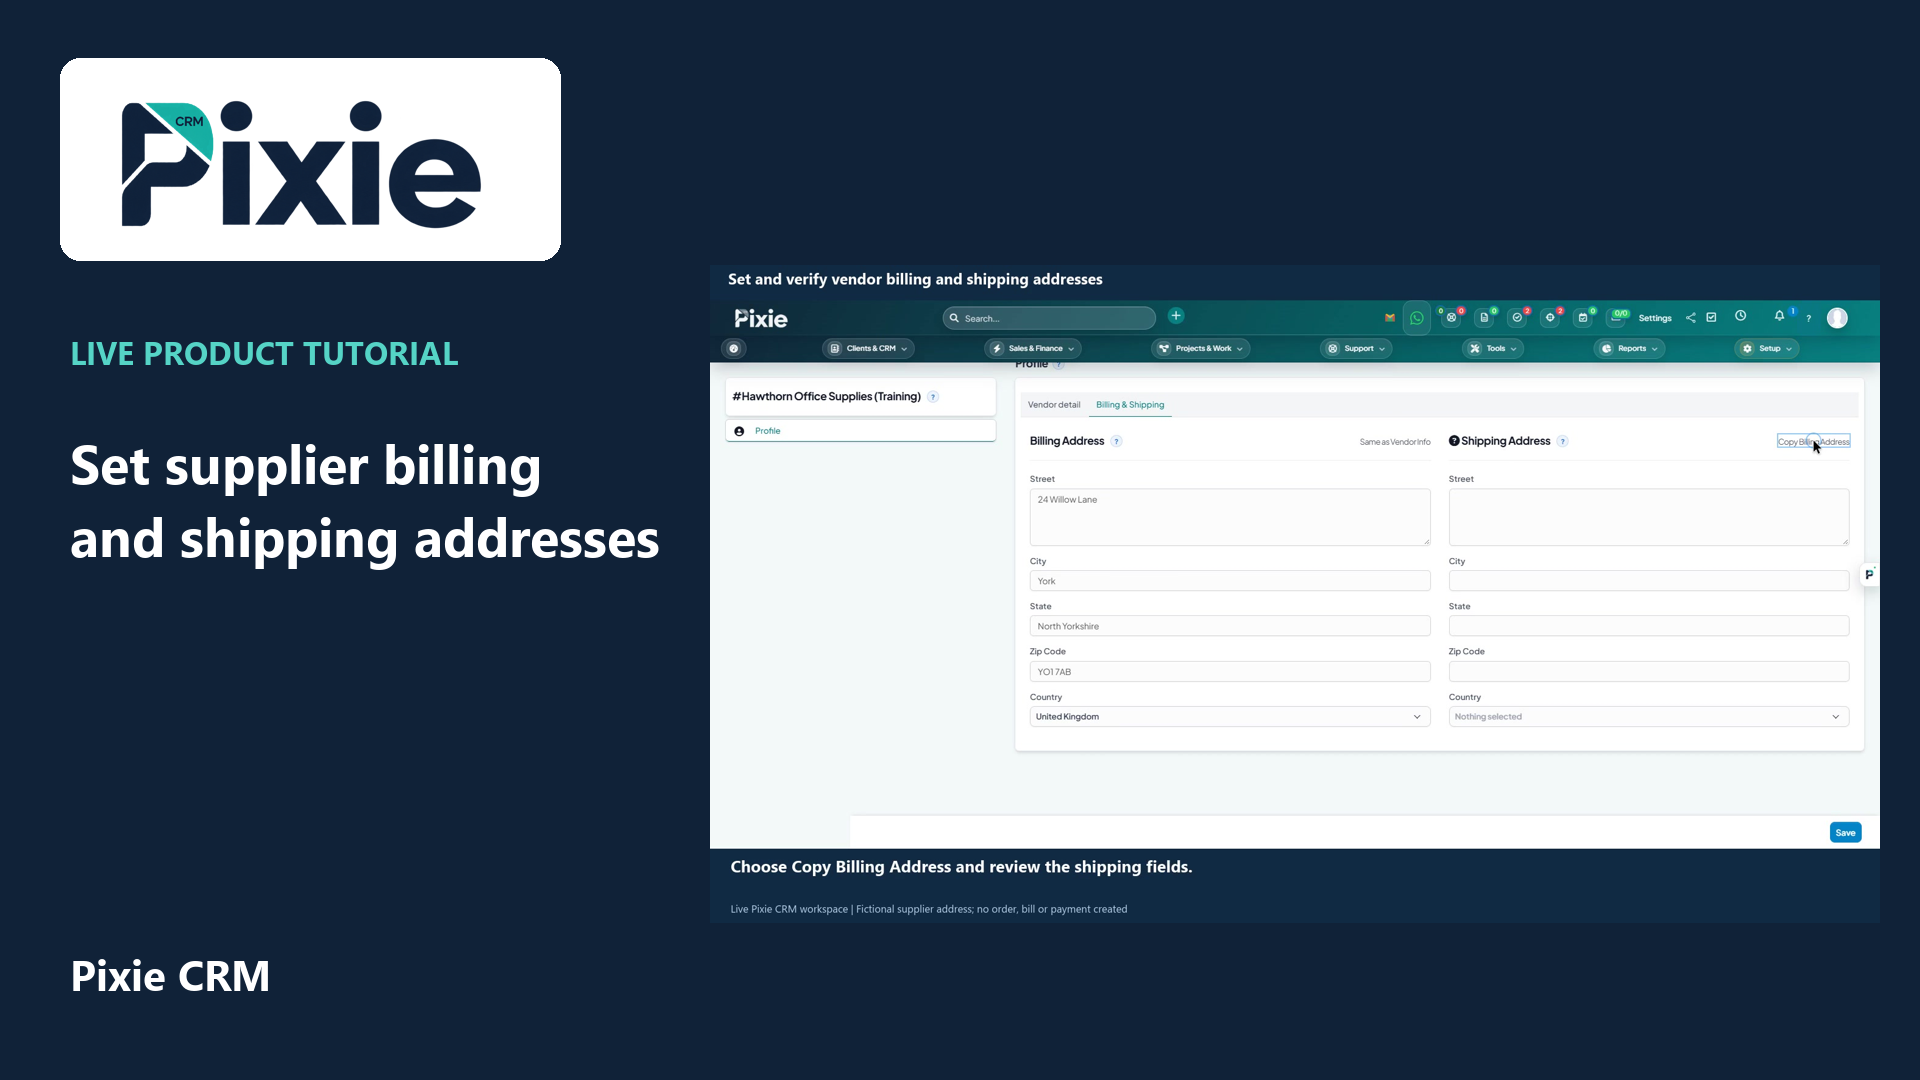 Set and verify vendor billing and shipping addressesRead the matching written guideFollow the instructions at your own pace
More videos in this category · Read the matching instructions
Create a Pixie CRM accounting vendor with live clicks. Enter the supplier identity, phone, GBP currency and address, save the record and reopen it to verify the retained details.
Matching written guide · Download MP4 · English captions
The supplier and contact details are fictional training data in the disposable workspace. No supplier bill, purchase order, payment instruction or customer message is created. Opening balance and VAT fields are left empty.
Watch this tutorial on YouTube ↗ · Related Pixie CRM tutorials ↗
Video chapters
- 0:00 — Open a new accounting vendor
- 0:19 — Enter the vendor identity
- 0:36 — Set the contact number and currency
- 0:52 — Enter the supplier address
- 1:25 — Save the vendor record
- 1:43 — Reopen and verify the vendor details
- 2:09 — Continue with related Pixie CRM tutorials
Read the video transcript
Create an accounting vendor in Pixie CRM. Open Vendors from the Accounting menu, then choose New Vendor. A vendor identifies a supplier for accounting workflows. This example creates a fictional supplier record without entering a bill or making a payment.
Enter a clear vendor code and the company name, Hawthorn Office Supplies, marked as Training. Keep each supplier identity consistent with your internal records. Leave the opening balance and VAT number empty for this demonstration.
Enter the demonstration phone number and select GBP as the vendor currency. This stores the supplier preference; it does not connect a bank account or trigger a transaction. Leave the website empty and keep the language at the system default.
Complete the fictional supplier address: twenty-four Willow Lane, York, North Yorkshire, and the postcode shown. Select United Kingdom. Review address details against the supplier information before saving a real record. The billing and shipping tab provides separate address fields when needed.
Choose Save and confirm Hawthorn Office Supplies in the vendor list. The record retains the company identity and contact details. This creates a supplier profile only; no purchase order, supplier bill, payment or customer message is created.
Open the saved vendor name. Verify the retained code, company, phone number, GBP currency and address. Review these details whenever supplier information changes. The vendor is ready for later accounting setup, with no payment instruction or opening balance entered in this tutorial.
Follow the written instructions
Open the matching written guide ↗ · Browse all Pixie CRM video guides