
Pixie CRM guided video tutorial
Assign and verify a customer group
Recorded live · 1:23 · English captions
Assign and verify a customer group: live walkthrough
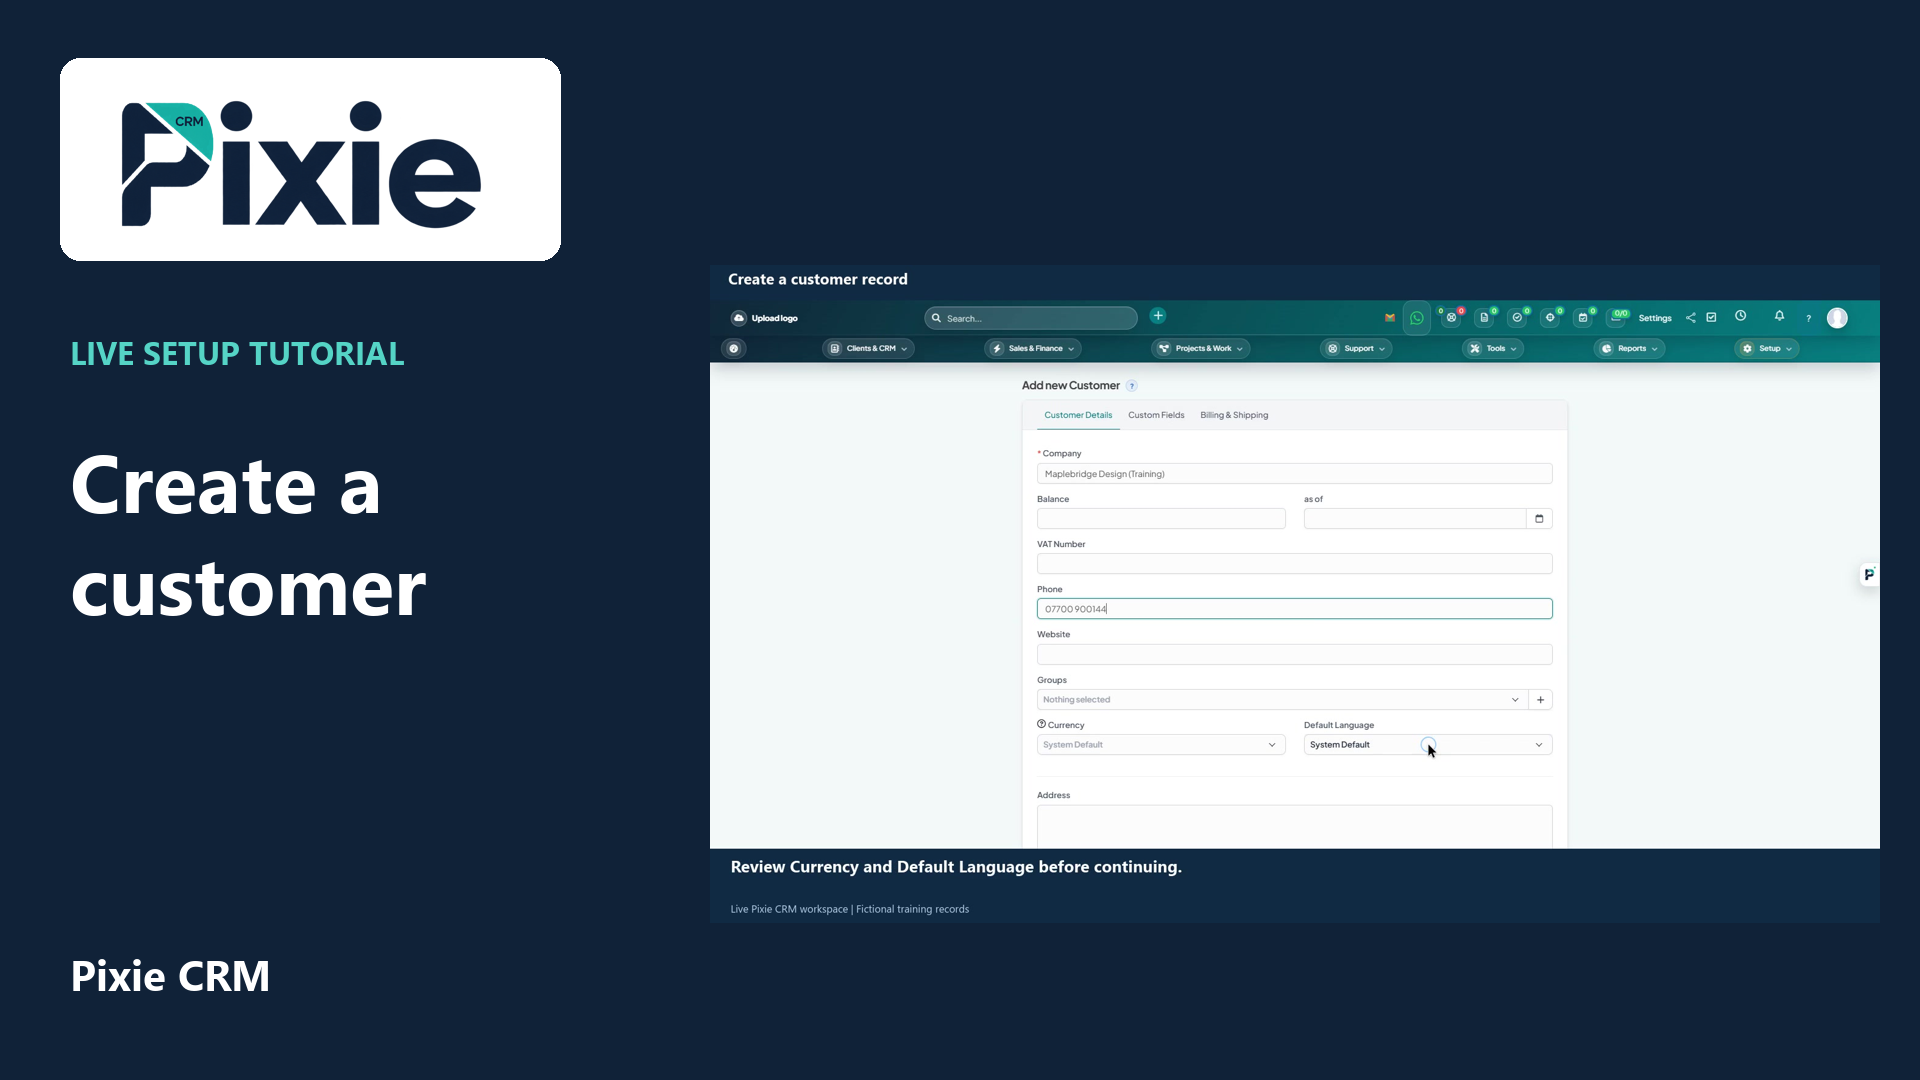 Create a customer record in Pixie CRM
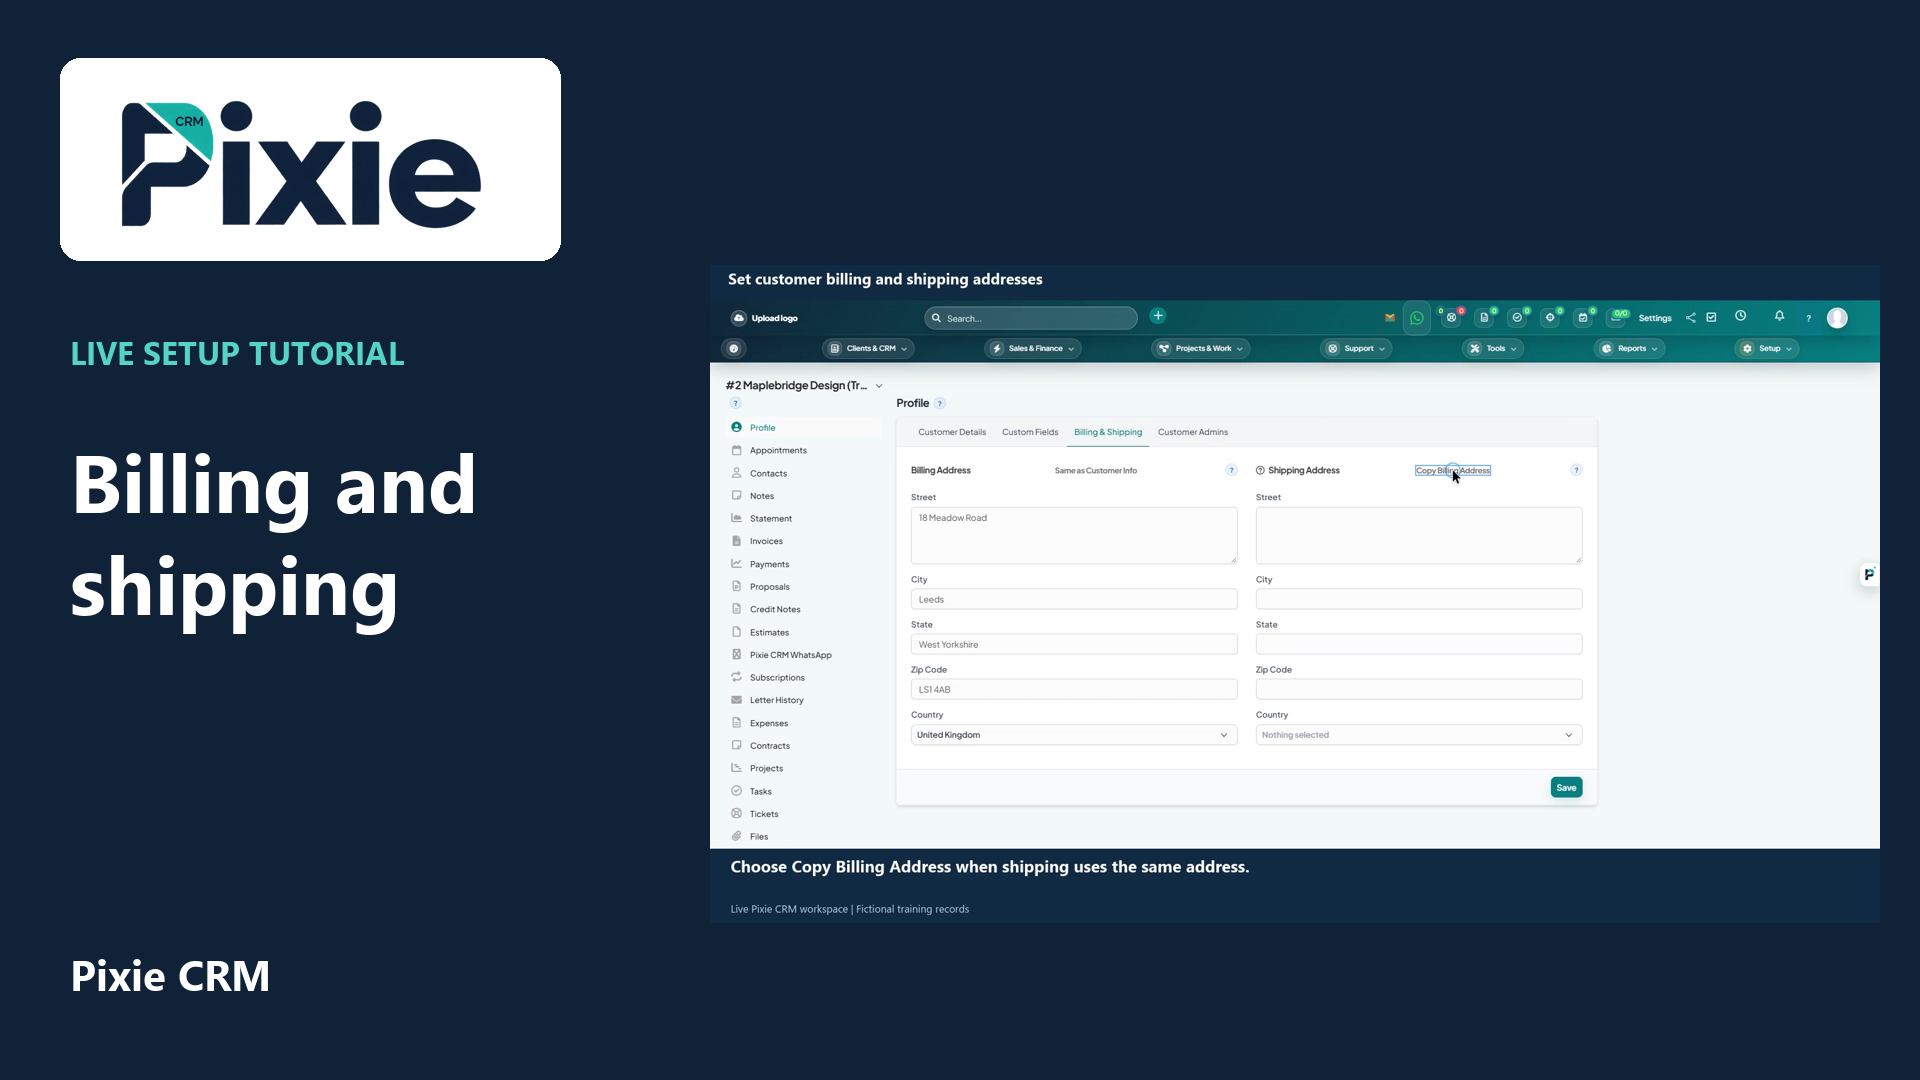 Set customer billing and shipping addresses
More videos in this category · Read the matching instructions
Assign an existing group to a customer in Pixie CRM. Select the group, save the customer profile and reopen it to verify the retained membership with live clicks.
Matching written guide · Download MP4 · English captions
The customer and group are fictional training examples. The workflow changes a customer classification only. It does not grant portal access, change contact permissions or send a customer message.
Watch this tutorial on YouTube ↗ · Related Pixie CRM tutorials ↗
Video chapters
- 0:00 — Open the customer profile
- 0:14 — Choose the customer group
- 0:30 — Save the customer membership
- 0:45 — Reopen and verify the saved membership
- 1:03 — Continue with related Pixie CRM tutorials
Read the video transcript
Assign an existing group to a customer in Pixie CRM. Open Customers and choose Maplebridge Design, Training. Check the customer name before changing its classification.
Open Groups and choose Design and creative clients, Training. The field supports more than one group when that suits your organisation. This selection classifies the customer; it does not change contact permissions or portal access.
Choose Save on the customer profile. Saving the profile applies the selected membership to this customer. Creating a group alone does not save that membership, which is why the profile Save step matters.
Return to Customers and reopen Maplebridge Design. The selected group is retained, confirming that the membership was saved. Use a consistent grouping approach across your customer records so filtering and segmentation remain clear.
Follow the written instructions
Open the matching written guide ↗ · Browse all Pixie CRM video guides