
Create and verify your My Account login
Pixie CRM guidance. Follow the route for your workspace, check your role and enabled modules, and verify the result before moving on.
Register your business details and complete the separate email and WhatsApp checks before using your account.
Learn with Pixie CRM
Watch this workflow
Follow real application screens at your own pace, with English captions and a matching written guide.
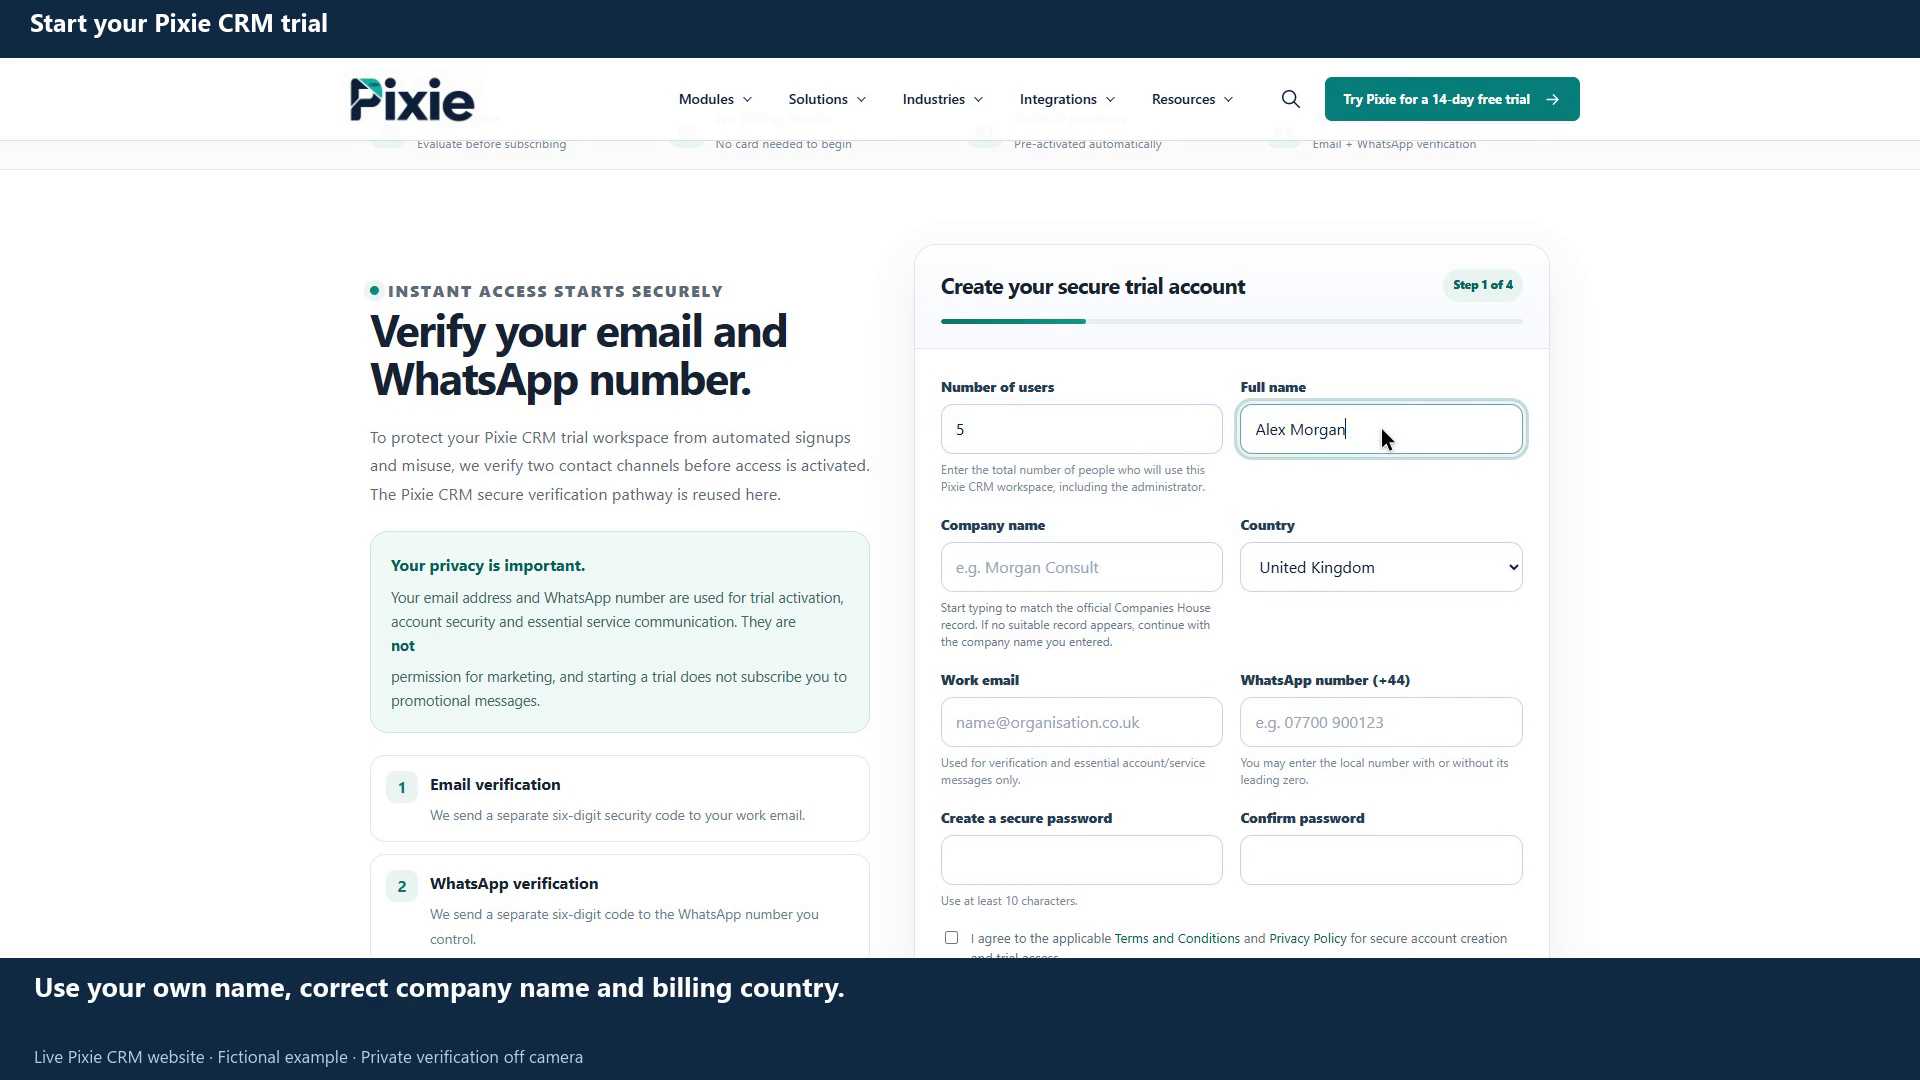
Start your Pixie CRM trial
Follow the live Pixie CRM trial registration form: choose your user count, enter company details, review email and WhatsApp verification, and understand how to open your workspace when it is ready.
Recorded in a demonstration workspace; available options depend on your plan and permissions.
Visit the Pixie CRM YouTube channel
Follow these steps
- Open the Register page and enter your full name, company, work email, mobile number and country.
- Choose a password of at least 10 characters and enter it again. Select your interests and read the terms and privacy information before confirming the required agreement.
- Submit the registration form. The verification screen asks for two separate six-digit codes: one sent by email and one by WhatsApp.
- Enter each code in its matching field, then choose Verify both codes and continue.
- If a code has not arrived, check email junk folders or the selected WhatsApp number, then use the resend option for that channel.
- If a contact detail is wrong, use Change email address or Change WhatsApp number, correct it, and save to send a new code.
Details that matter
Common questions
Can I skip one verification?
The registration flow requires both email and WhatsApp verification.
Why does a code fail?
Use the latest code for the correct channel. Request another if it has expired; do not share it with anyone.