
Manage staff timesheets
Pixie CRM guidance. Follow the route for your workspace, check your role and enabled modules, and verify the result before moving on.
Follow this guide to review time entries by member, date and related task before billing or reporting.
Learn with Pixie CRM
Video walkthroughs for this guide
Follow real application screens at your own pace, with English captions and a matching written guide.
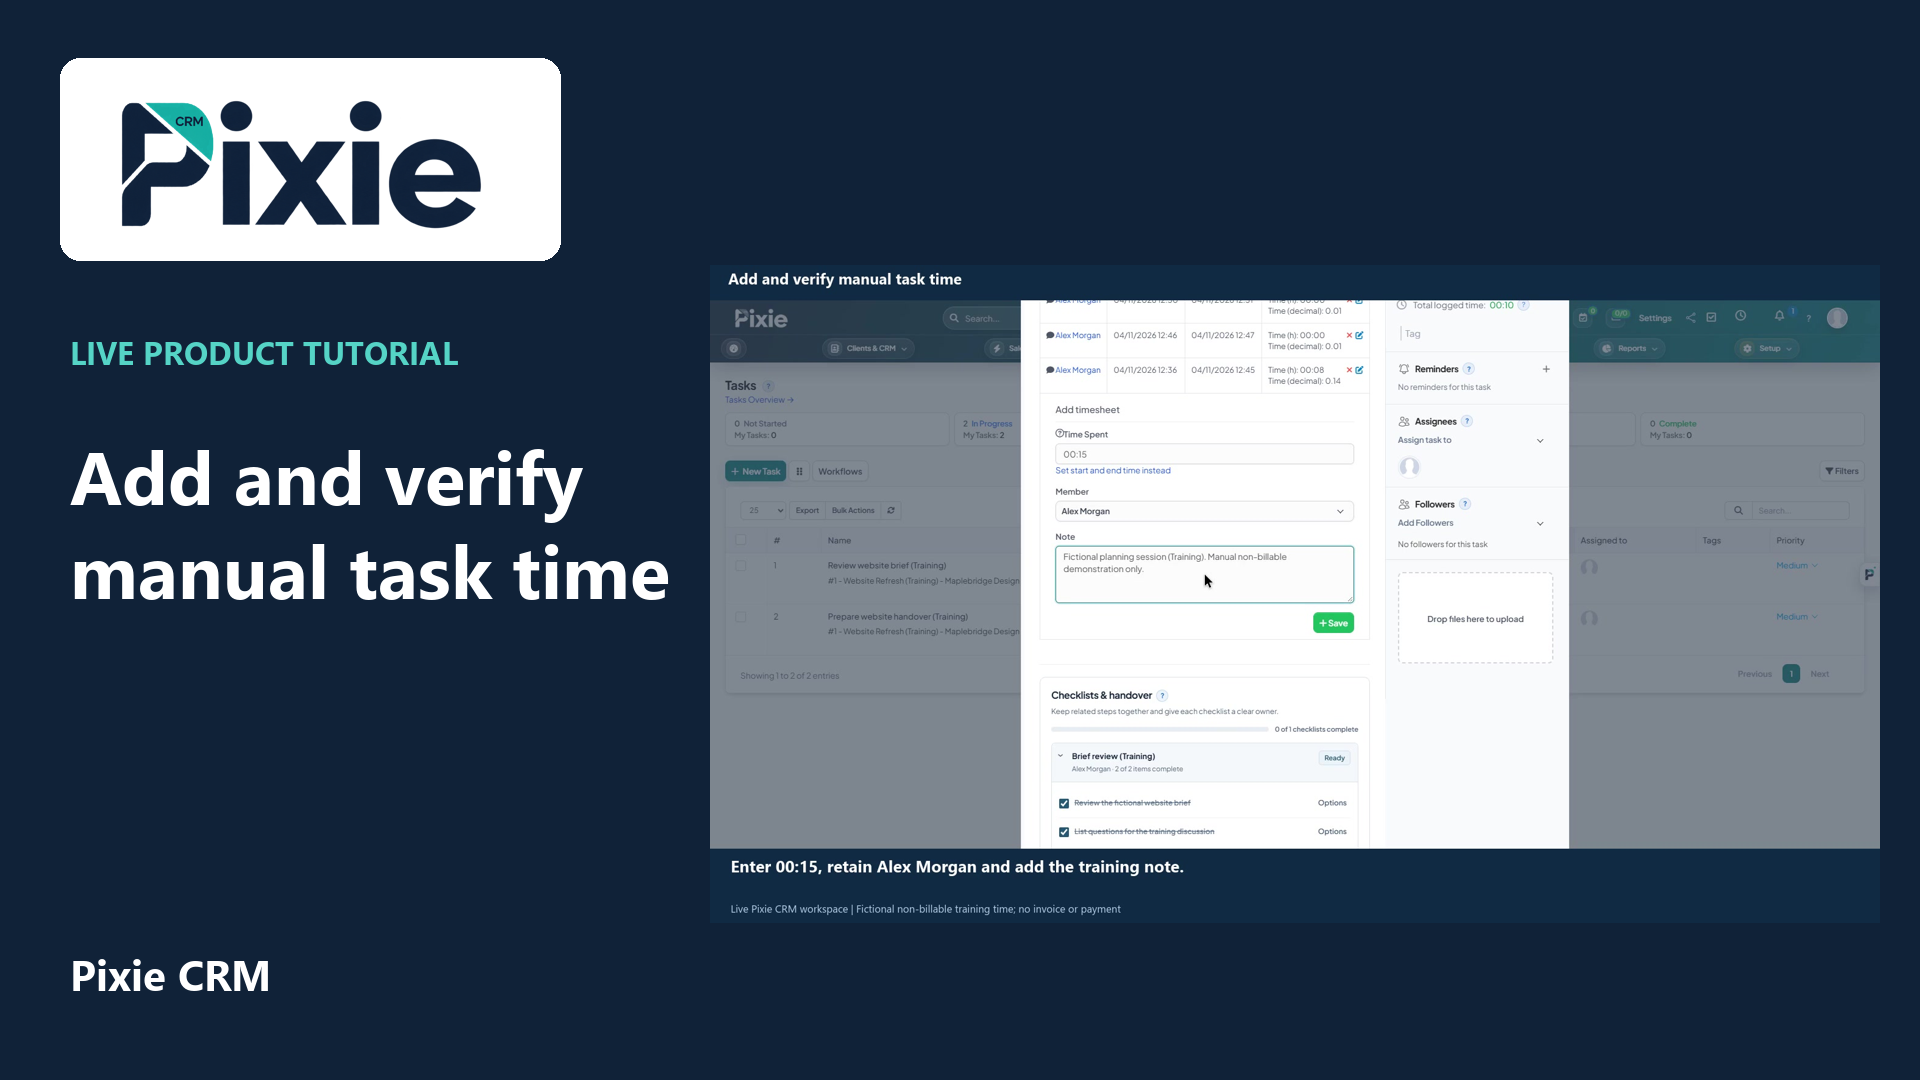
Add and verify manual task time
Add a manual Pixie CRM task timesheet with live clicks. Enter a duration, confirm the staff member, add a clear note, save and reopen the task to verify the retained entry.
Explore 1 more tutorial for this workflow
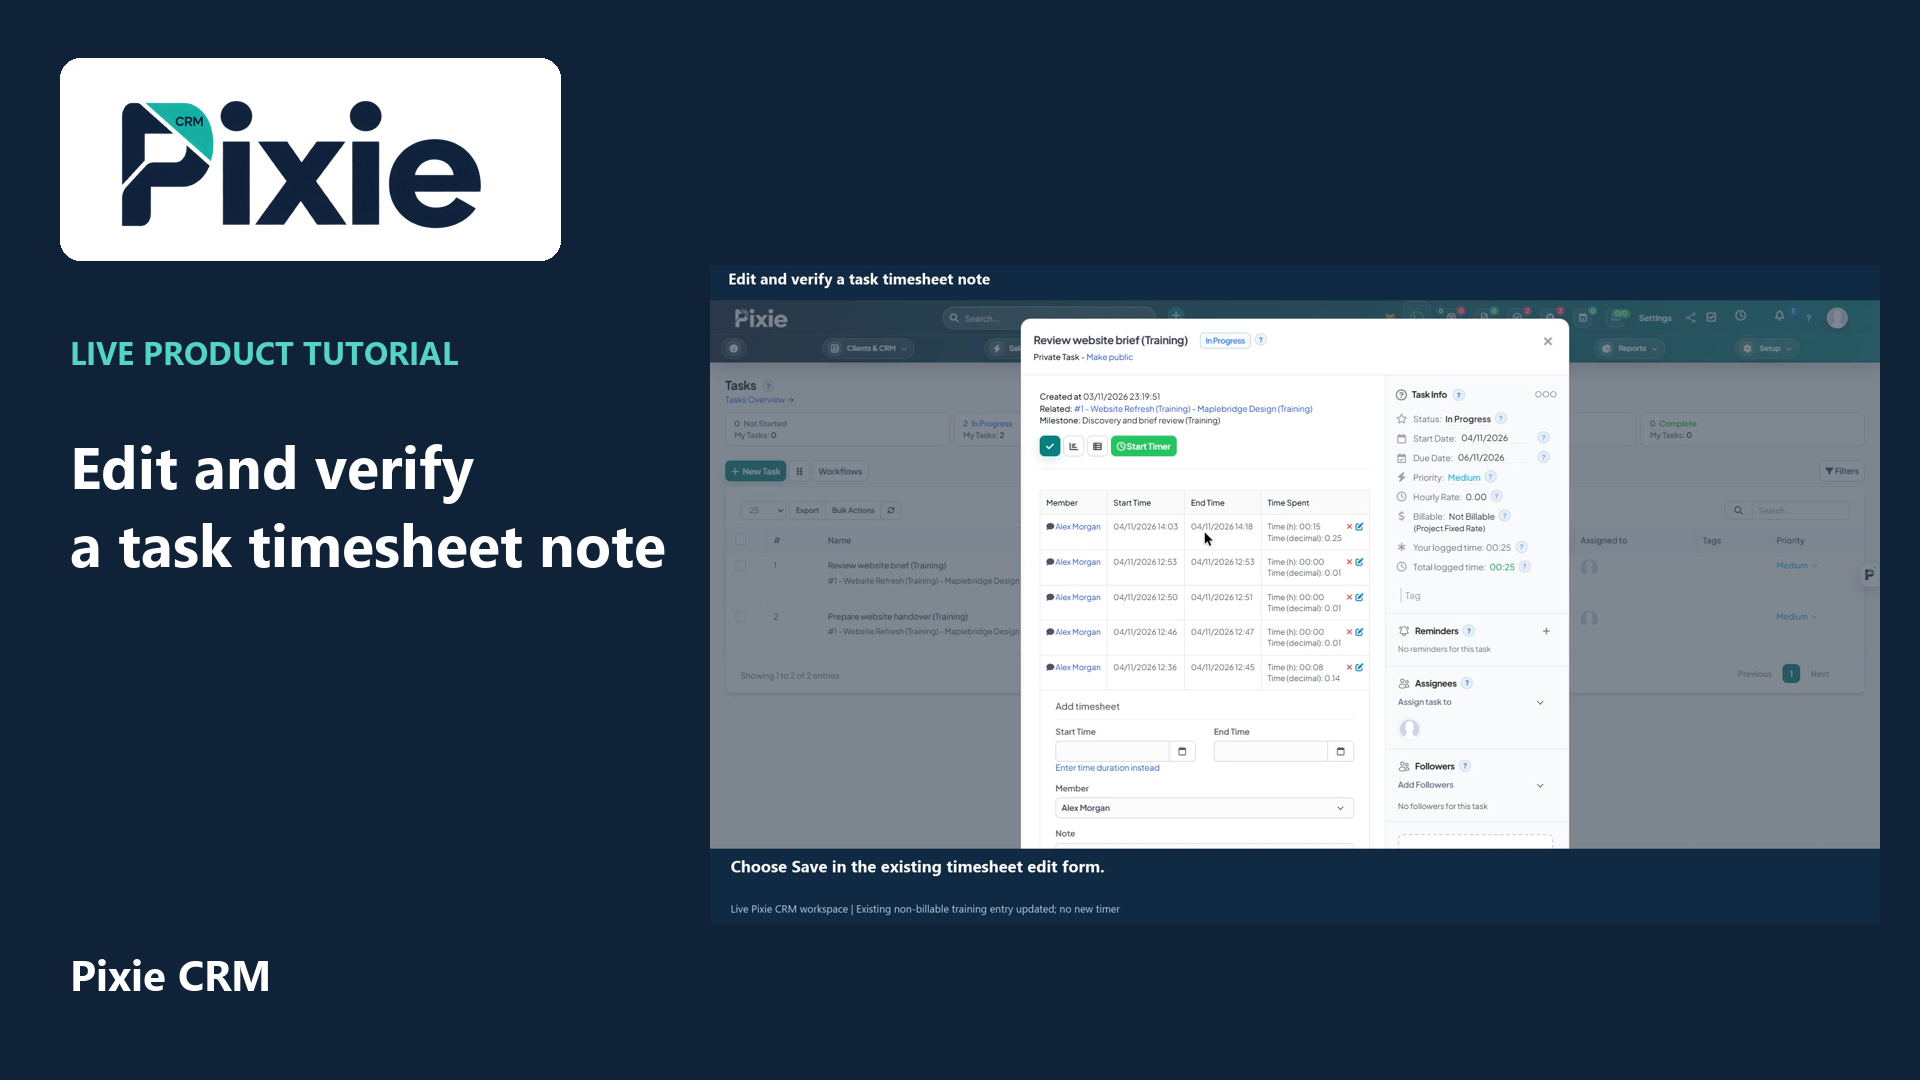
Edit and verify a task timesheet note
Edit a saved Pixie CRM task timesheet note with live clicks. Update the wording, retain the existing member and timestamps, save and reopen the entry to verify the retained changes.
Recorded in a demonstration workspace; available options depend on your plan and permissions.
Visit the Pixie CRM YouTube channel
What this guide helps you do
Review time entries by member, date and related task before billing or reporting. Pixie CRM keeps the result connected to the relevant customer, staff member and operational history where the feature supports those relationships. That connection is important for search, reporting, client portal visibility and future automation.
Follow these steps
- Go to Staff → Timesheets and select the relevant record or setup list.
- Use search, filters or status tabs to confirm you are working on the intended item.
- Check linked records, activity and permissions before changing status, ownership or visibility.
- Use the available edit, status, reorder, attach, copy or delete action as required.
- Complete any confirmation dialog carefully; destructive actions may be restricted when linked data exists.
- Check the updated state in the list and record view.
- Check downstream client portal, reporting or automation effects where applicable.
Settings to check
Checks before you finish
- Use one clear outcome per task.
- Set realistic dates.
- Stop active timers before changing ownership or completing work.
- Check whether the result should be visible to a customer contact or only to staff.
- Confirm the final status, activity entry, generated document or notification before leaving the record.