
Create a knowledge base article
Write a knowledge-base article and choose its group, staff-only visibility and active state.
Learn with Pixie CRM
Watch this workflow
Follow real application screens at your own pace, with English captions and a matching written guide.
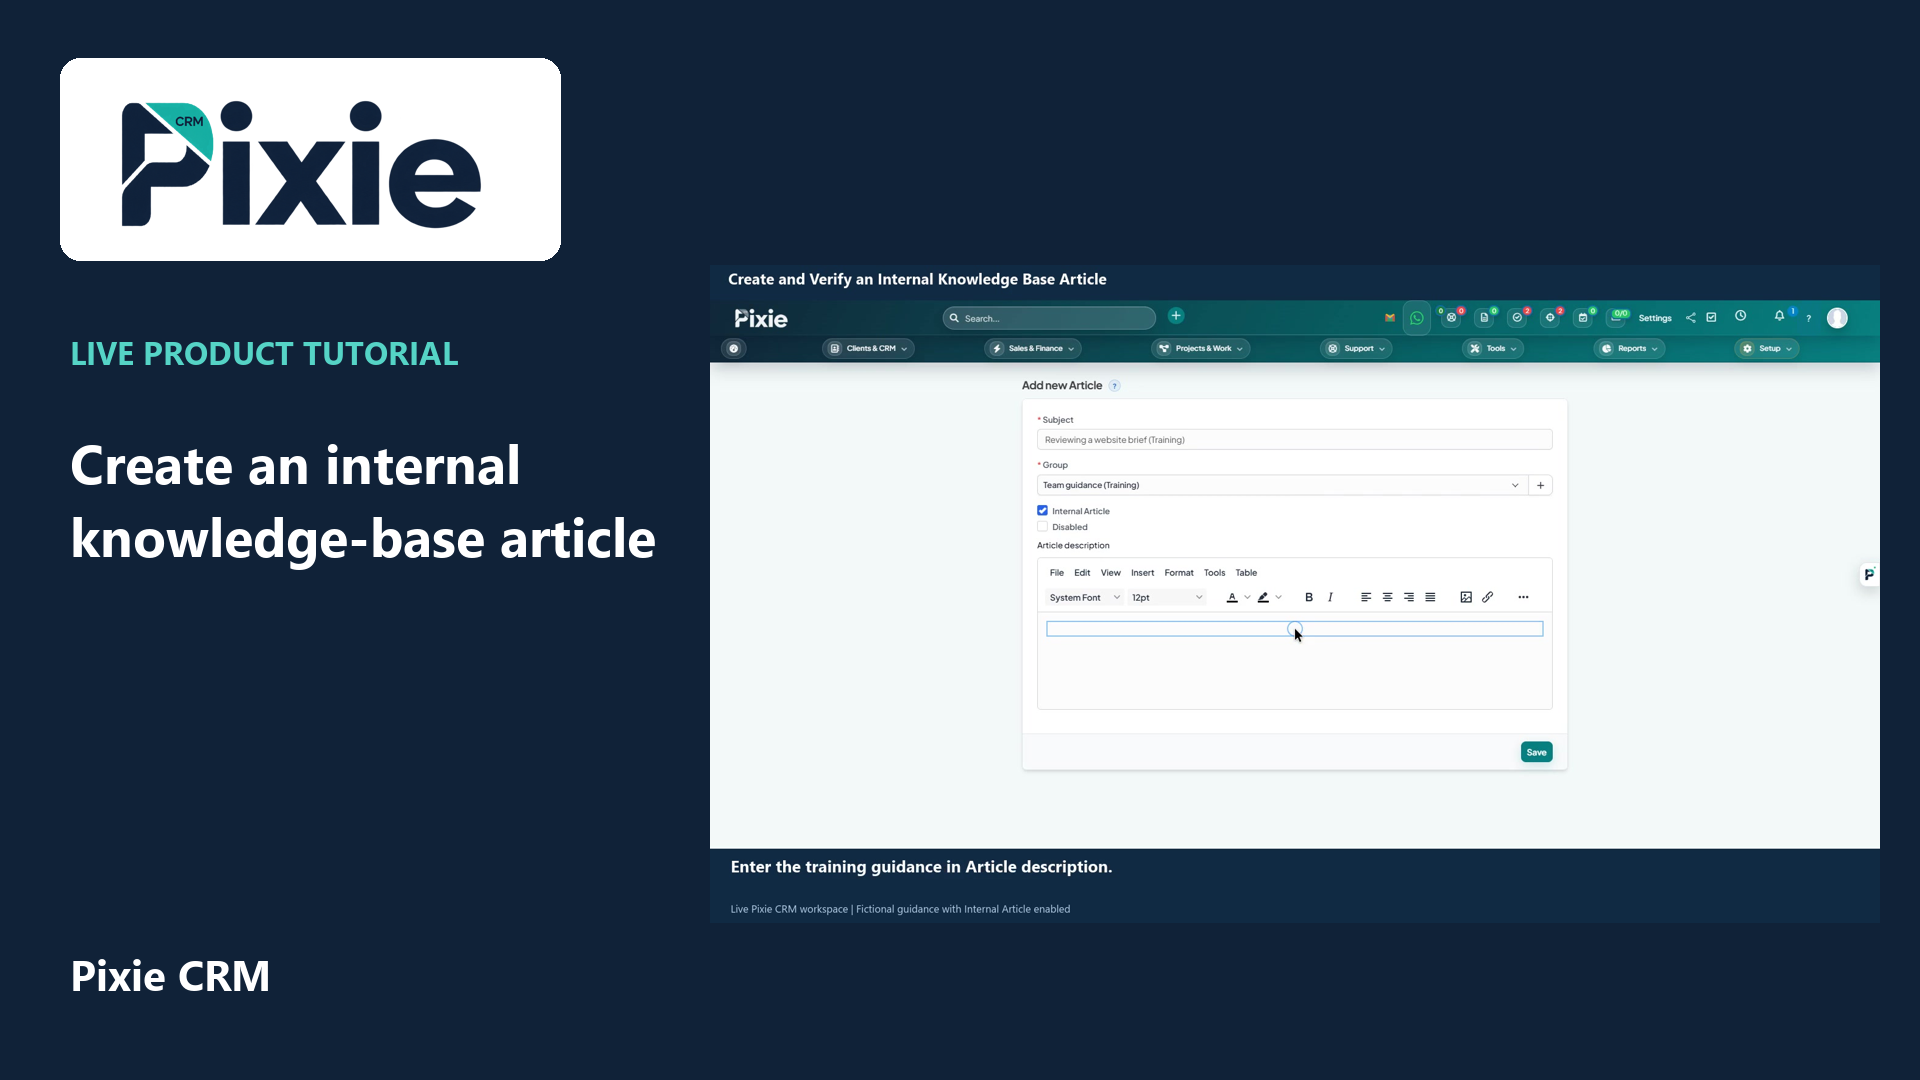
Create and verify an internal knowledge base article
Create an internal Pixie CRM knowledge-base article with live clicks. Set its title and group, choose Internal Article, write the guidance and verify the saved audience and content.
Recorded in a demonstration workspace; available options depend on your plan and permissions.
Visit the Pixie CRM YouTube channel
CRM workspace → Support → Knowledge base → New article
Before you start
- Sign in to the correct CRM workspace with permission to use this area. Your role and enabled modules determine the controls offered.
Follow the steps
- Open Knowledge base and choose the new-article action.
- Enter Subject and select the Article group.
- Write the article content in the editor with clear headings and task steps.
- Review Staff article and Disabled. Staff-only content and disabled content have different visibility effects.
- Submit, then open the article from its group and check the intended reader view.
Check the result
- The article appears in the correct group and is visible only to its intended audience. An inactive article should not be treated as published self-service content.
If something is different
An option is missing
Check the record state, enabled module and your role with the workspace administrator. Use the controls actually shown for this organisation.
A field will not save
Read the validation message, correct the named field and submit once. Reopen the saved record to confirm the result.