
Pixie CRM workspace overview
Pixie CRM guidance. Follow the route for your workspace, check your role and enabled modules, and verify the result before moving on.
This guide explains how customers, sales, projects, support and reporting connect in one workspace.
Learn with Pixie CRM
Video walkthroughs for this guide
Follow real application screens at your own pace, with English captions and a matching written guide.
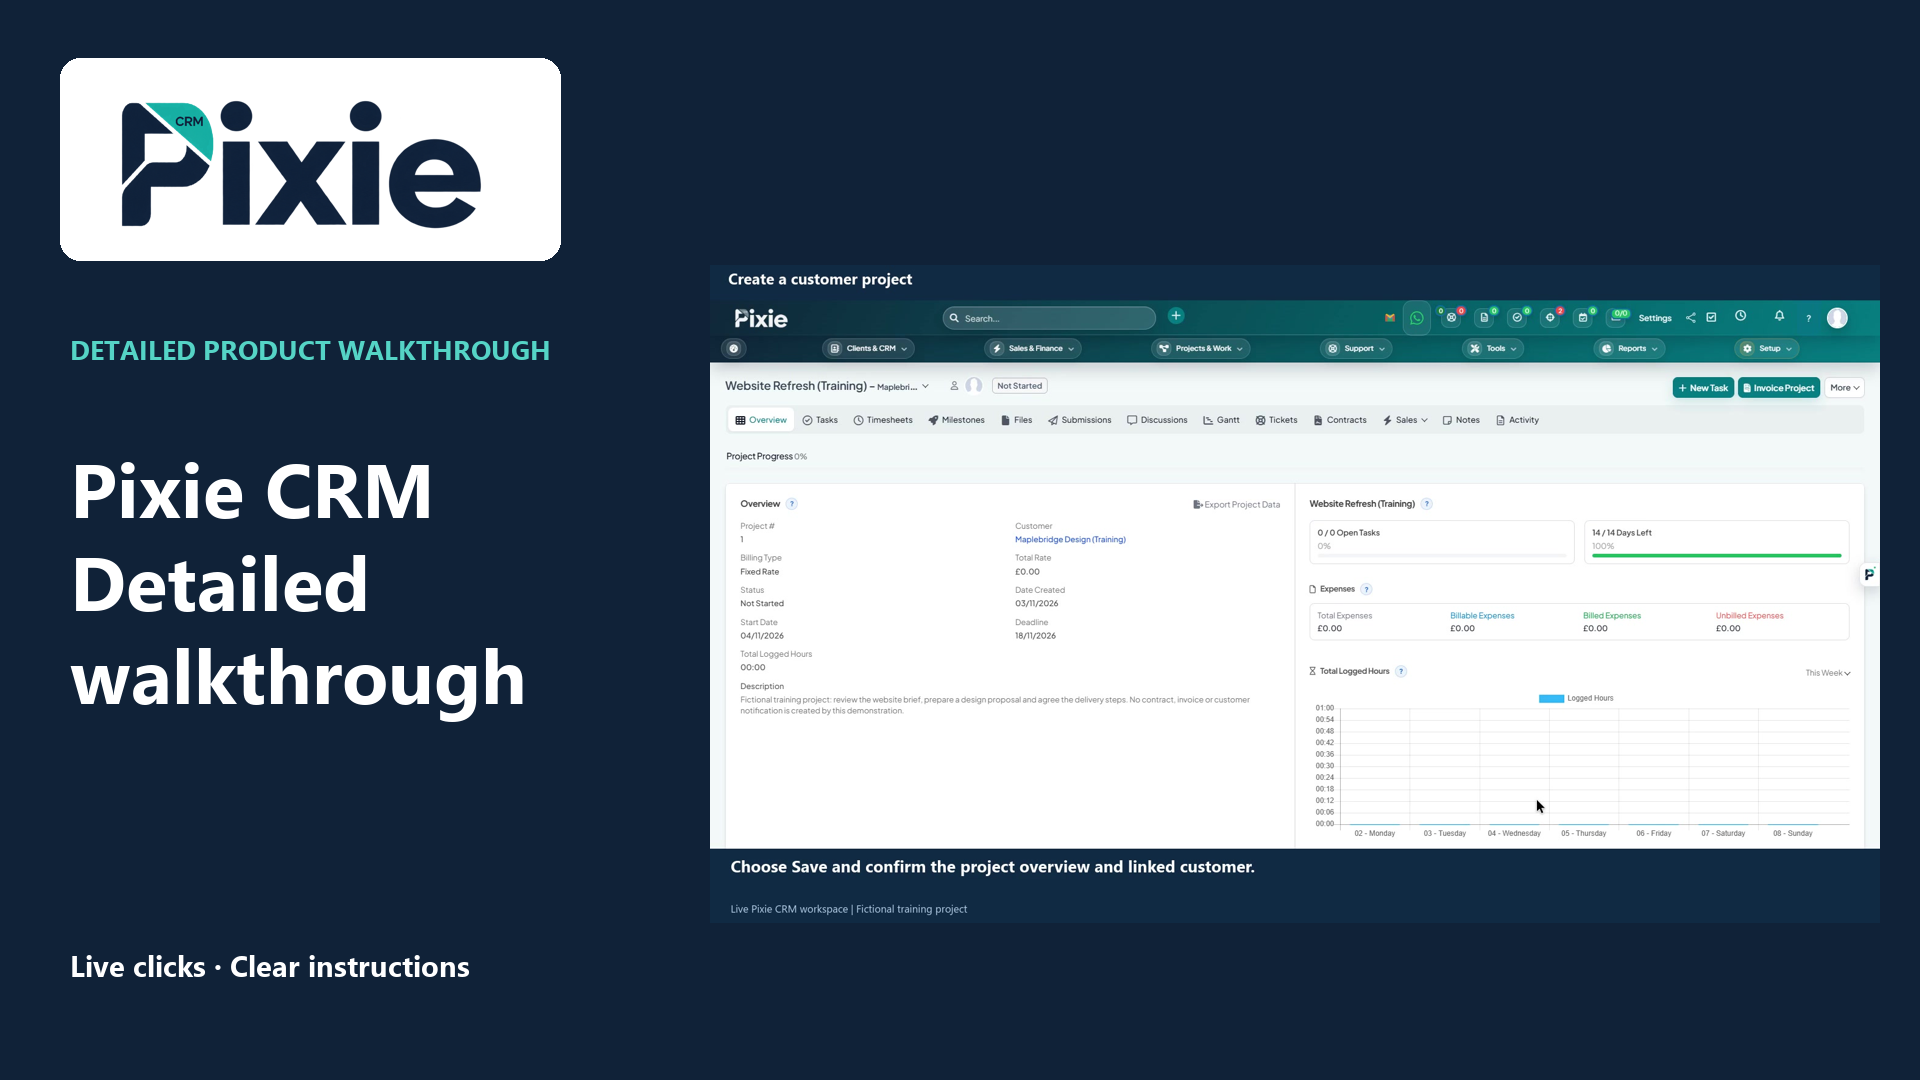
Detailed product walkthrough
Follow a detailed Pixie CRM walkthrough with actual application screens, live clicks and clear instructions. Start with trial registration guidance and company setup, then work through customers, leads, projects and tasks before exploring the wider business tools.
Explore 2 more tutorials for this workflow
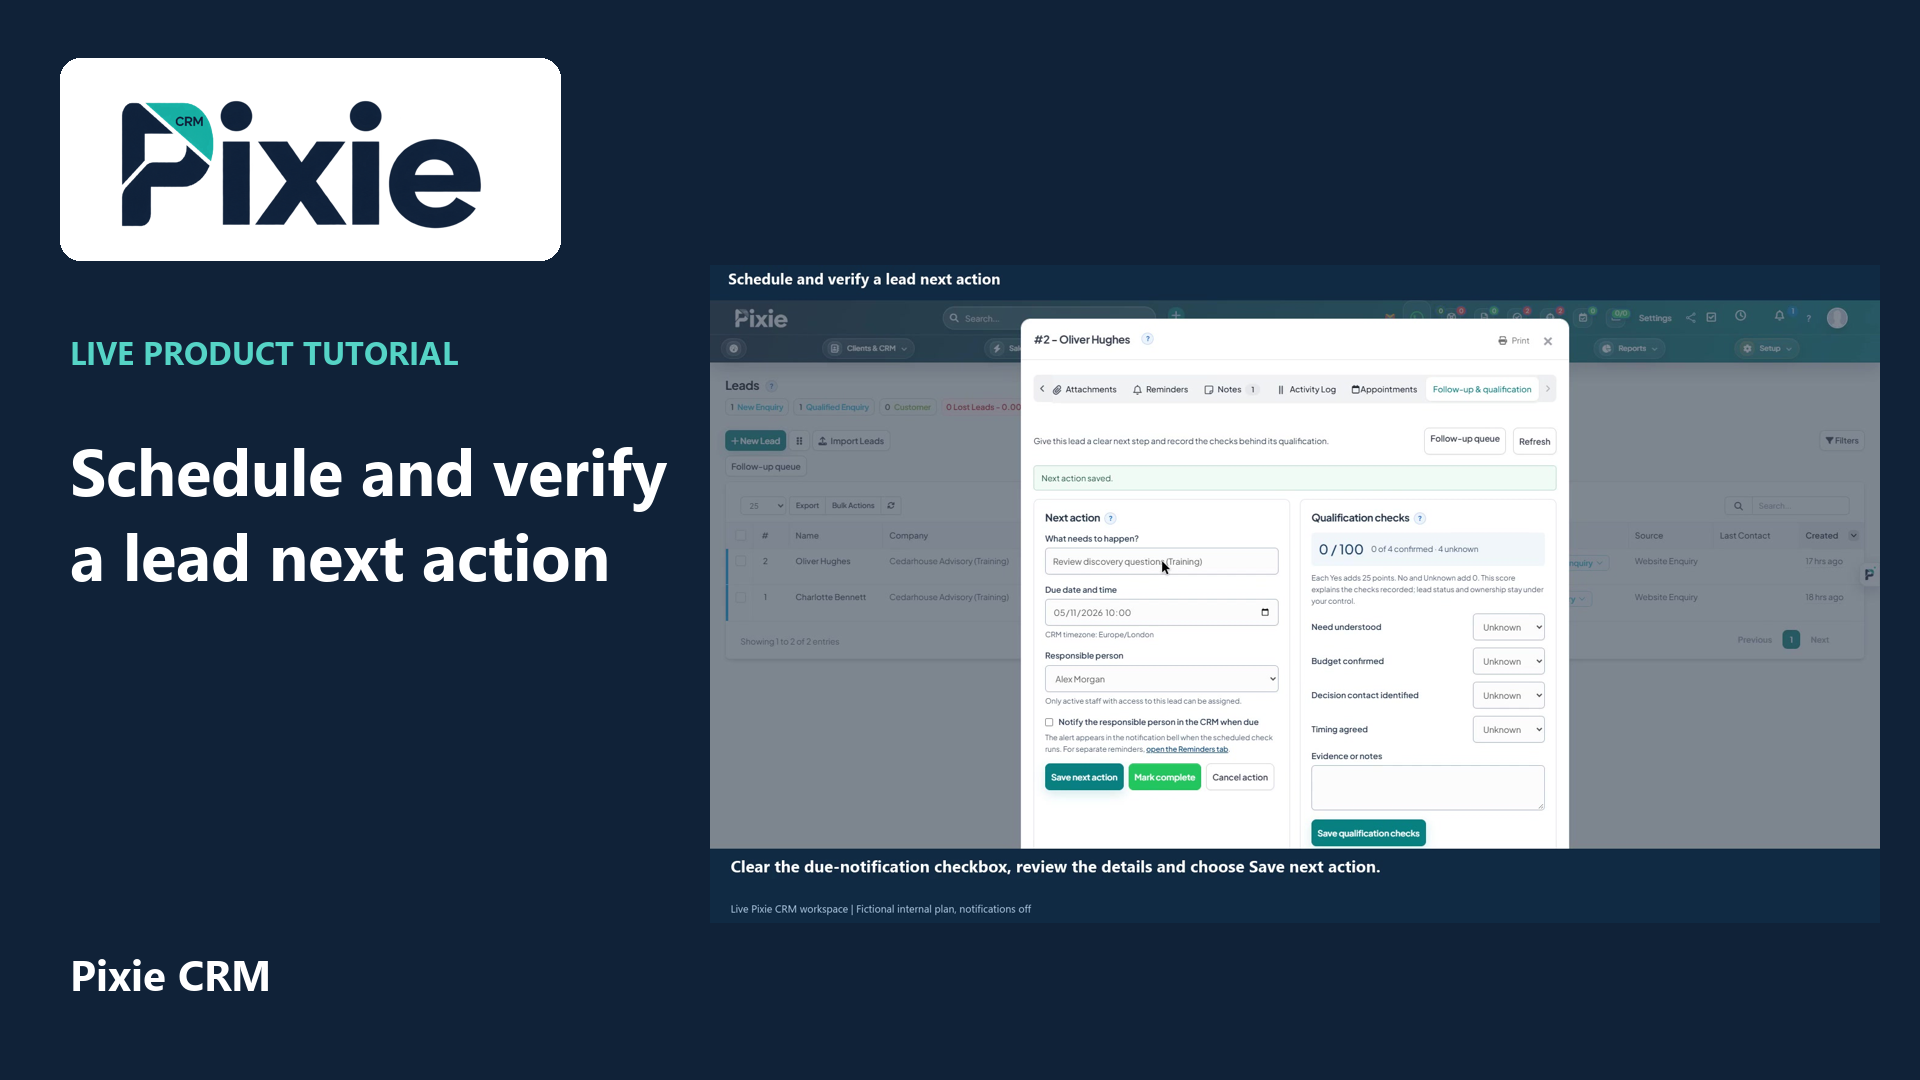
Schedule and verify a lead next action
Schedule a Pixie CRM lead next action with live clicks. Set the title, due date and time, responsible person and notification choice, save and reopen to verify the plan.
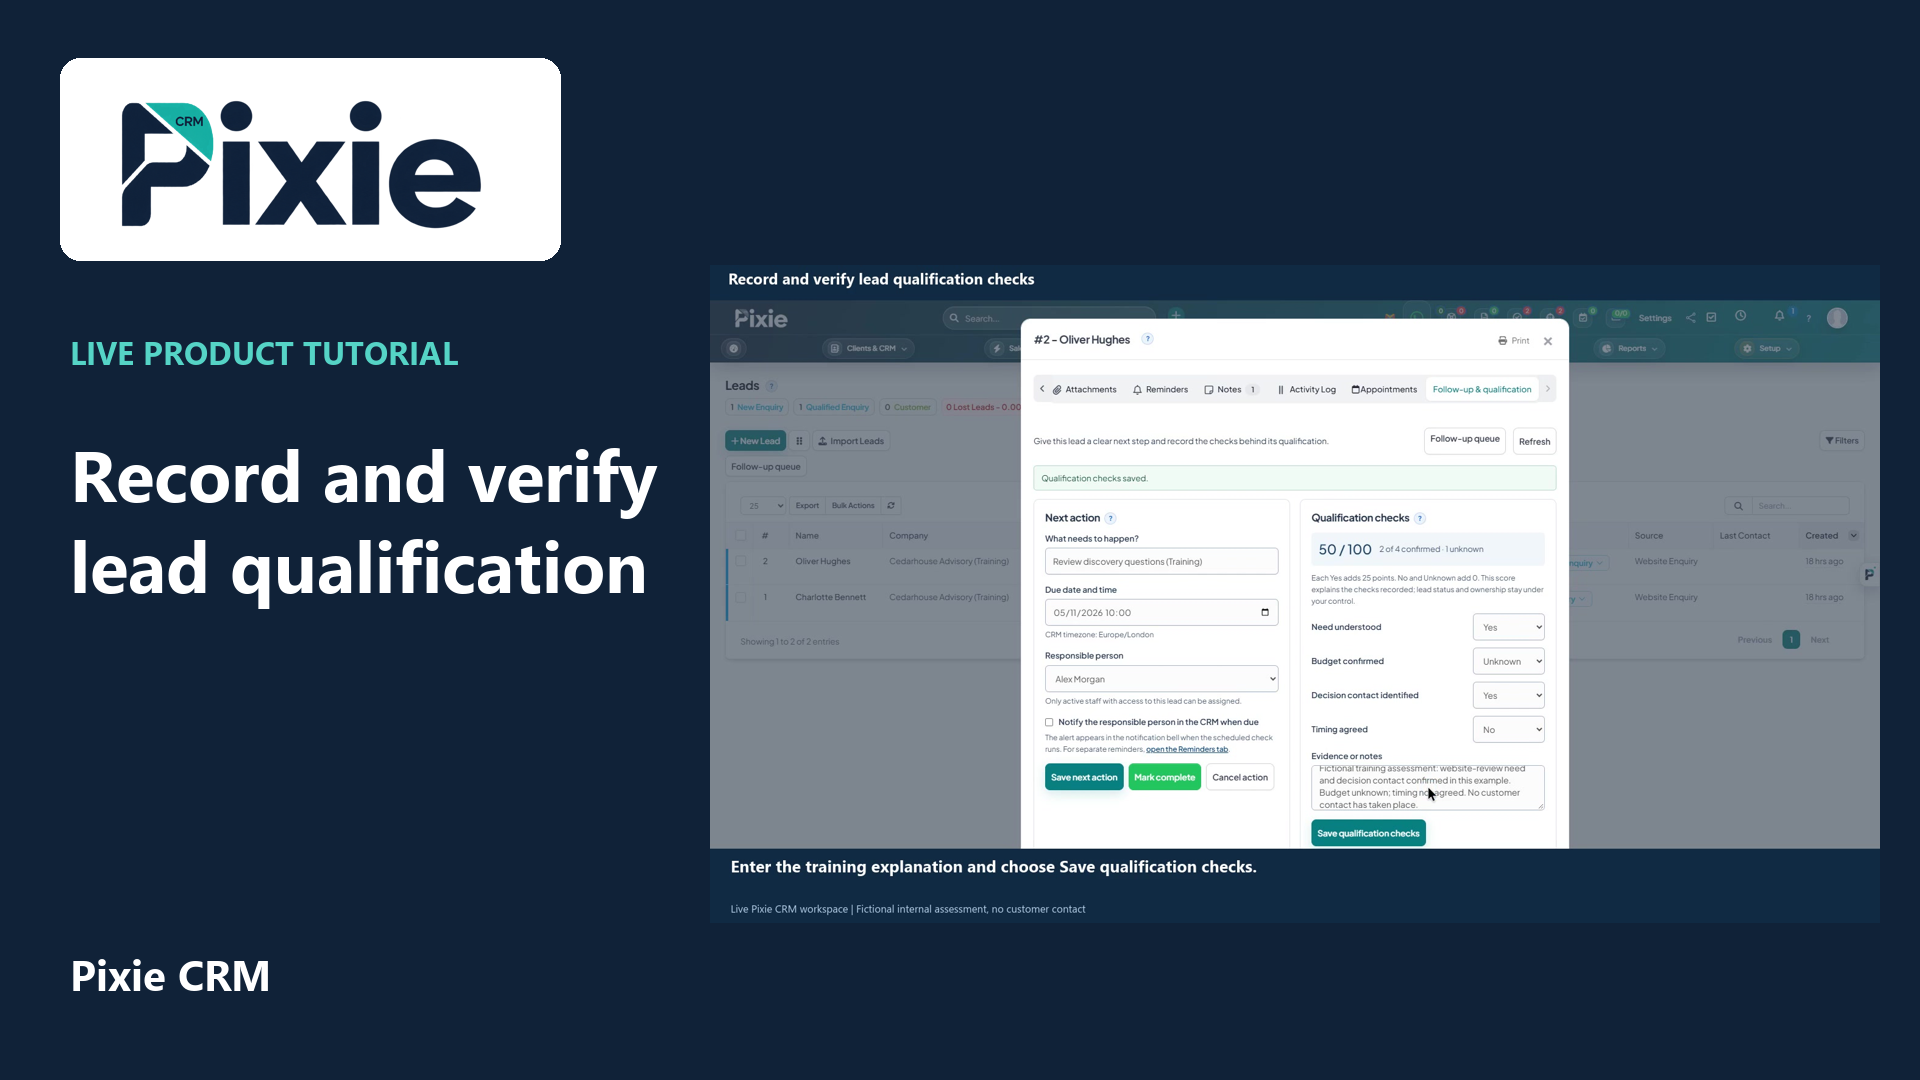
Record and verify lead qualification checks
Record Pixie CRM lead qualification checks with live clicks. Set each check, add evidence, save and reopen to verify the retained values and score.
Recorded in a demonstration workspace; available options depend on your plan and permissions.
Visit the Pixie CRM YouTube channel
What this guide helps you do
Understand how customers, sales, projects, support and reporting connect in one workspace. Pixie CRM keeps the result connected to the relevant customer, staff member and operational history where the feature supports those relationships. That connection is important for search, reporting, client portal visibility and future automation.
Follow these steps
- Go to Admin area → Dashboard.
- Identify the purpose of the screen and the records visible to your role.
- Use search, filters, status controls and record links to move from summary information to detail.
- Check related customers, ownership, dates, activity and financial information before taking action.
- Follow the linked task-specific articles for creation, configuration, sending, conversion or troubleshooting.
- Verify every completed action through the resulting status, timeline, document or notification.
- Contact an administrator when a menu or action is unavailable rather than attempting to bypass permissions.
Settings to check
Checks before you finish
- Search for duplicates first.
- Use a shared business email only when appropriate.
- Check contact permissions before sending portal access.
- Check whether the result should be visible to a customer contact or only to staff.
- Confirm the final status, activity entry, generated document or notification before leaving the record.